Installation instructions for mounting a 208c and 218e V3 in a Best Case case
Please take your time and be careful! Make sure you have good light.
First step: when you receive your Best Case, remove any tape that's holding the ribbon cables and mounting screw
If you're removing your 208c from a Command case, start by unscrewing all the mounting screws on the panel edges.
Carefully lift the module out one side at a time. Be gentle with the ribbon connectors which will rub against
Carefully lift the module out of the case. You'll see it's connected to the power supply with three cables.
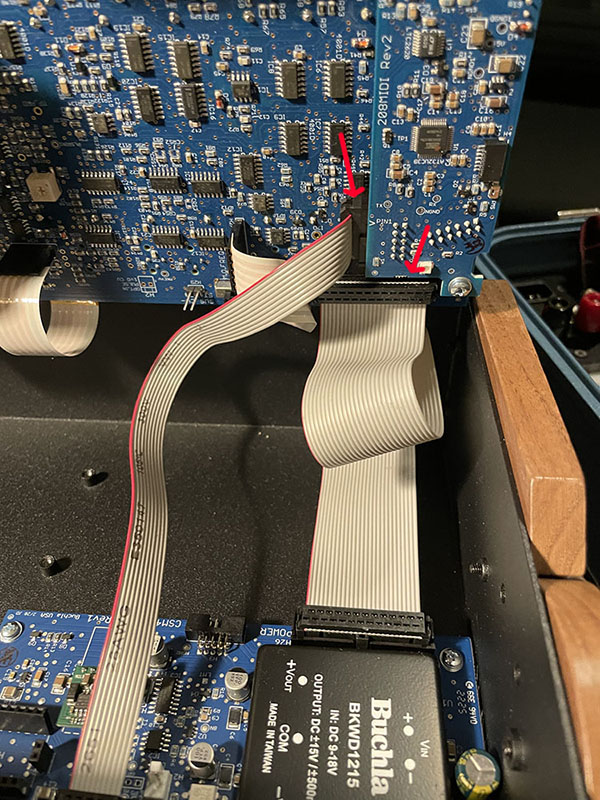
Unplug the power and MIDI ribbon cables indicated with arrows here.
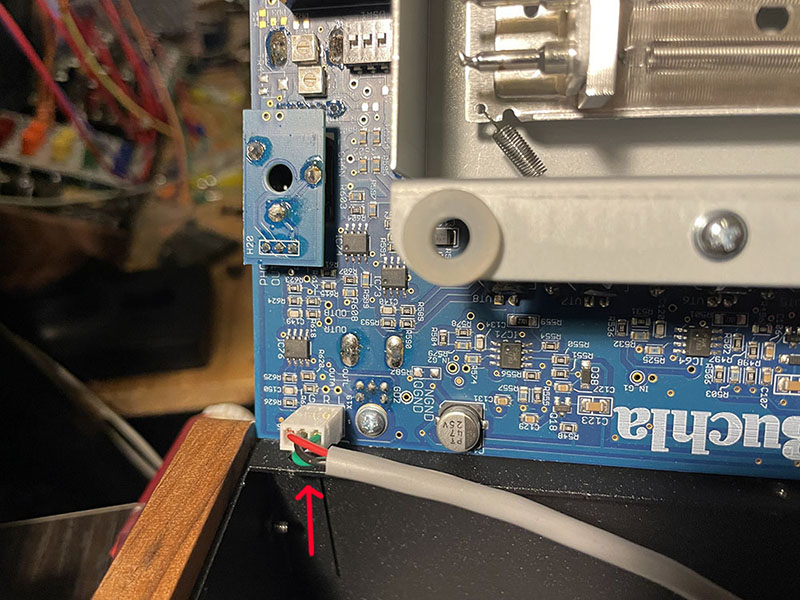
Unplug the audio output cable shown with an arrow here.
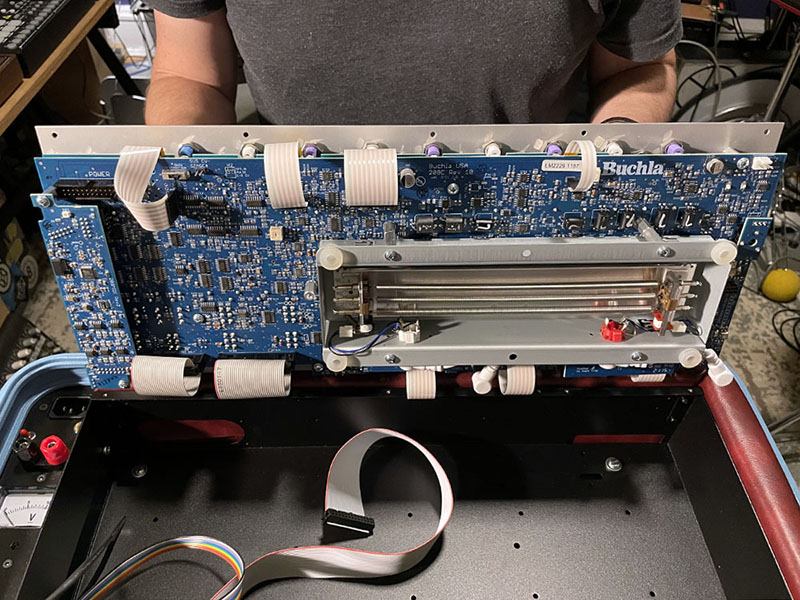
Now lift the 208c away from the Command case and rest it above the new case. If you purchased a 208c module only, you can start here.
If you ordered your Best Case with a 5XIO pod, there will be two cables in the upper boat. One is the MIDI connection
** note - all the ribbon cables are polarized and need to be put in the right way. **
Each jack will have a cutout in the center that the tab needs to be mated to in order to keep them oriented correctly.
If you'll be using MIDI make sure you have the 208MIDI board mounted on your 208c. The Command has this included but if you bought
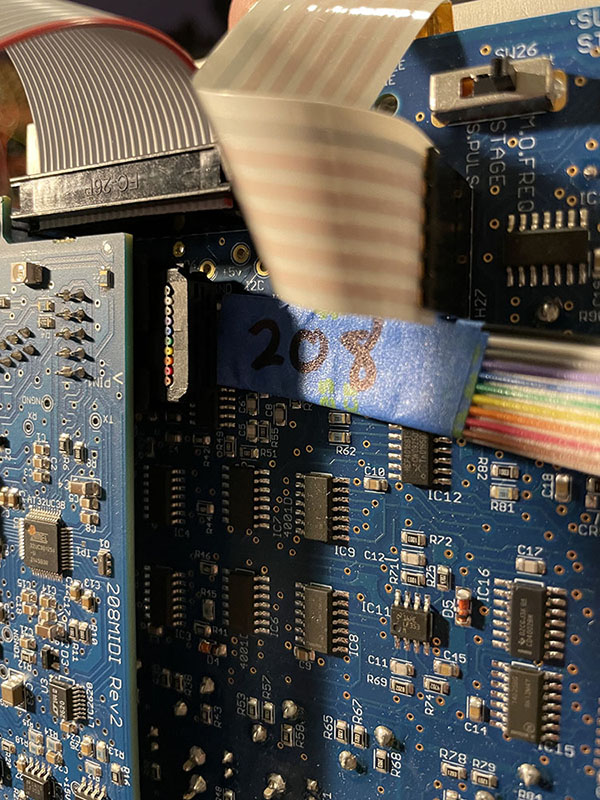
Plug the large 26-pin power ribbon from the power board into the 208c. If you have a 5XIO, also plug in the smaller MIDI
Close-up of the power and MIDI ribbons plugged in. The ribbon plugs have a tab on one side, so they'll only insert one way.
Close-up of the audio cable plugged in.
Carefully lower the 208c into its boat. Be careful not to pinch the edge ribbons - you may need to tuck them in as you lower the module.
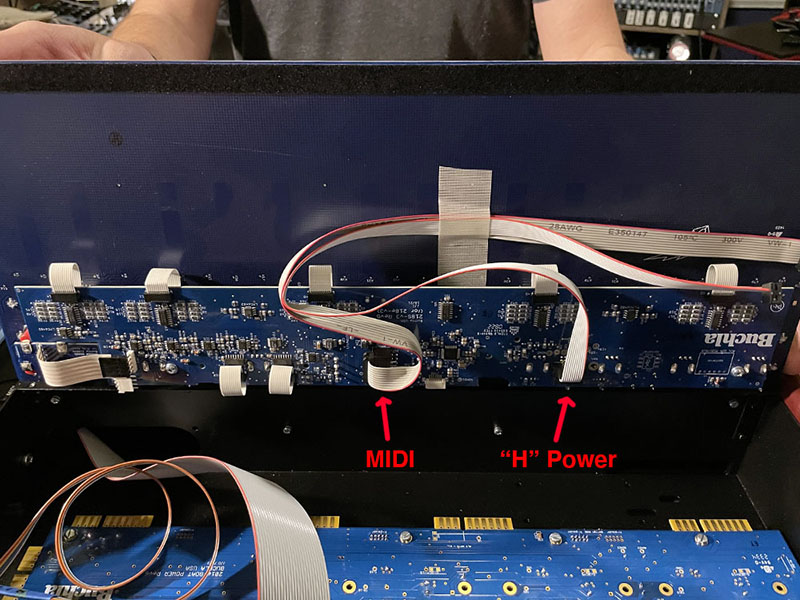
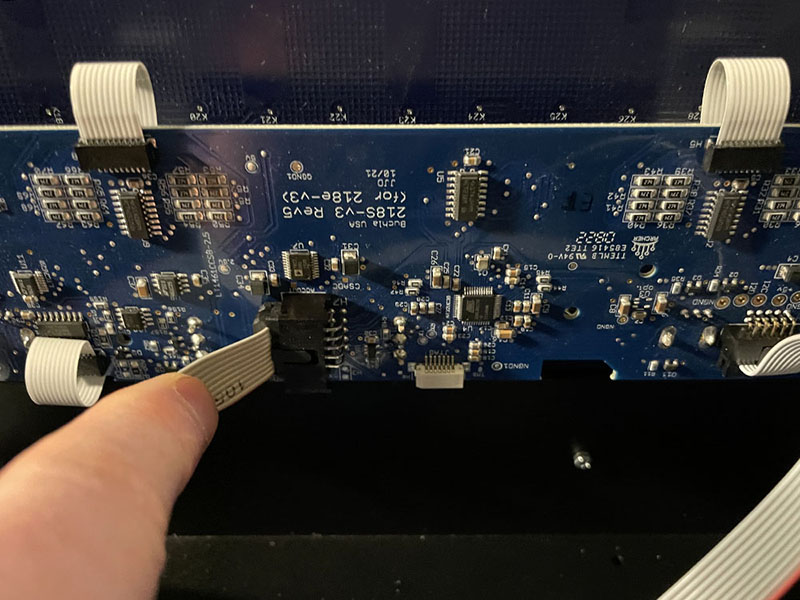
Now for the 218 - this has two cables. One is for power and is a standard Buchla "H" ribbon. The other is for MIDI (and sustain pedal).
Remove the MIDI cable that came with the module.
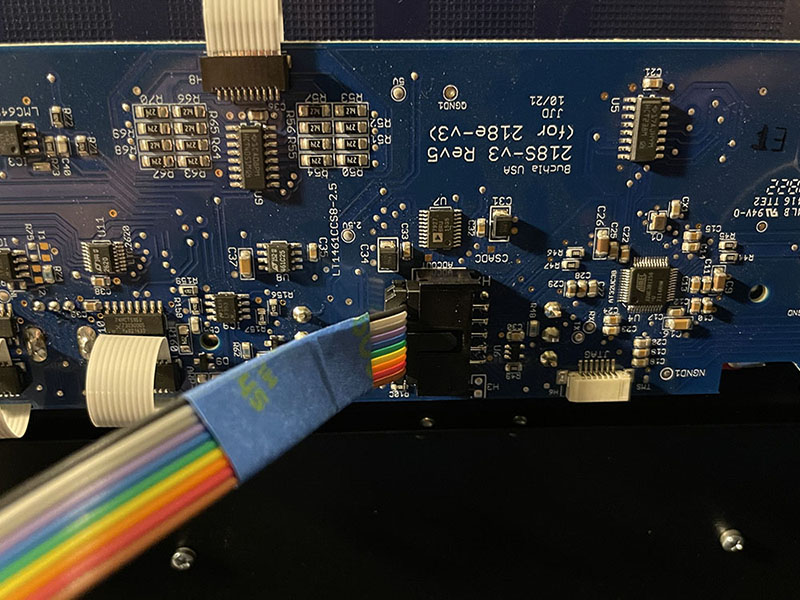
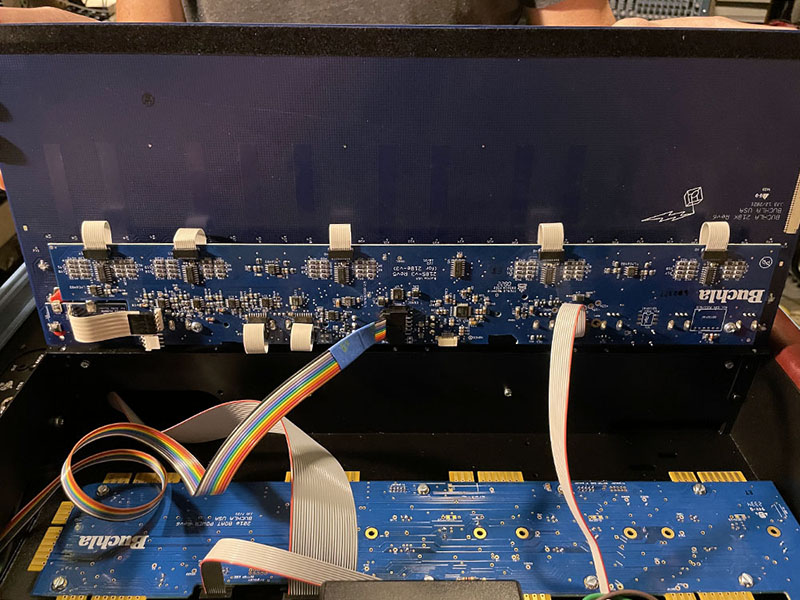
Connect the "H" power ribbon that came with the module to one of the "H" jacks on the power board, circled here.
If you ordered your Best Case with a V3IO or a second 5XIO for your 218e, there will be a MIDI cable in the lower boat.
Here is how it should look with both the H power and MIDI cables plugged in.
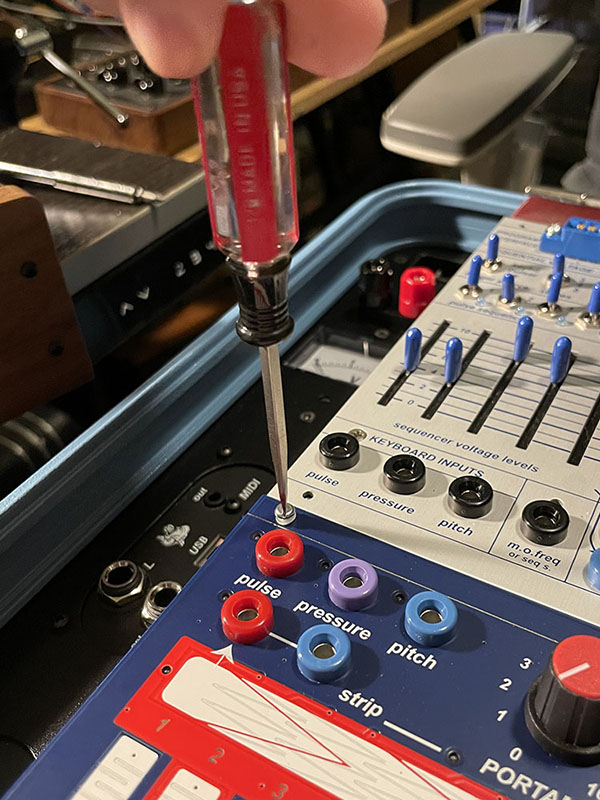
Lower the module into place. Use the provided M2.5 screws to mount the modules.
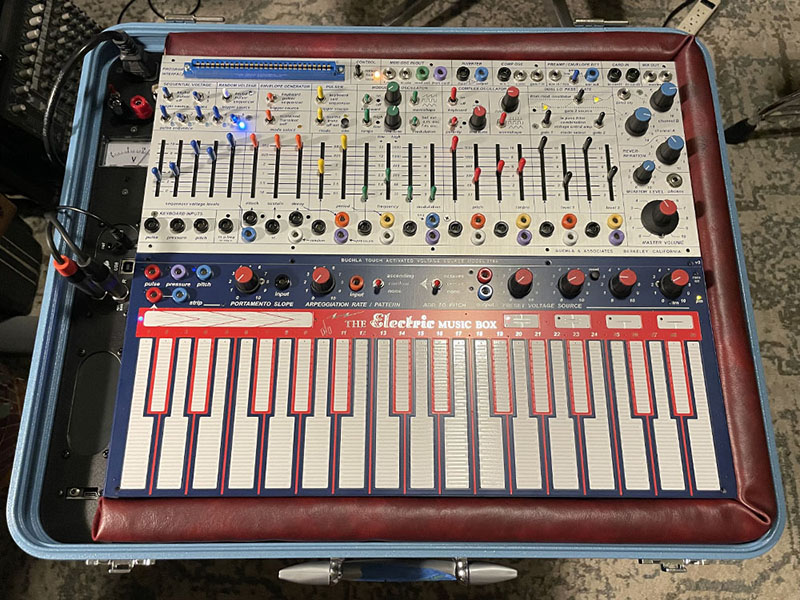
NICE job! Go make some weird musics.
The only tools you should need are screwdriver(s) for the mounting screws.
down to the boats for shipping. Set aside the mounting screws.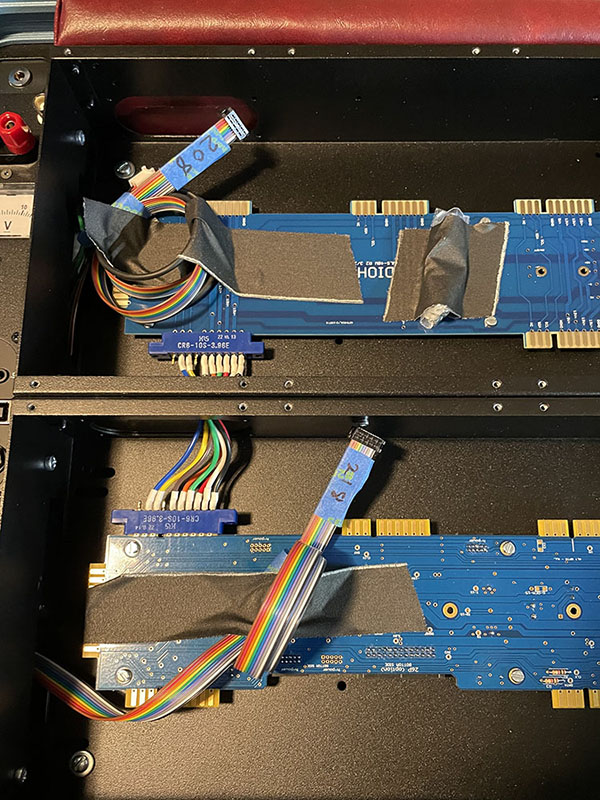
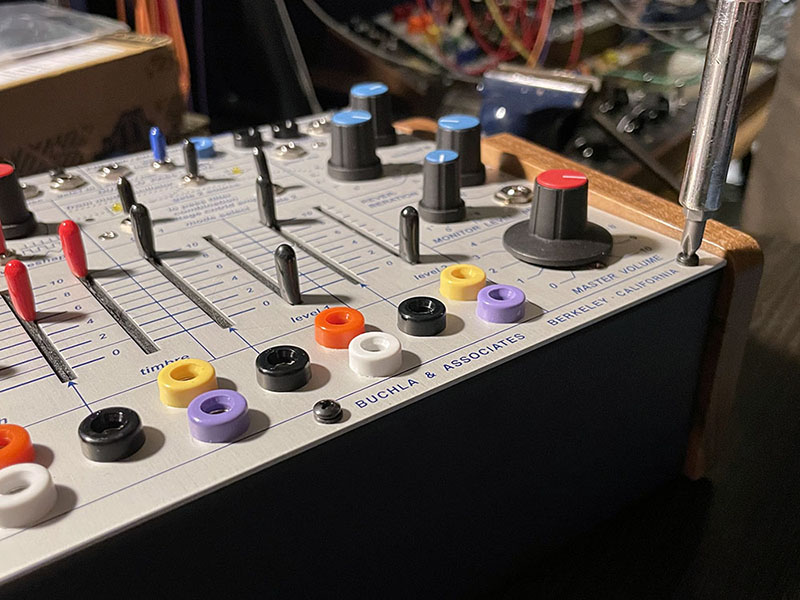
the edge of the case as you lift it out.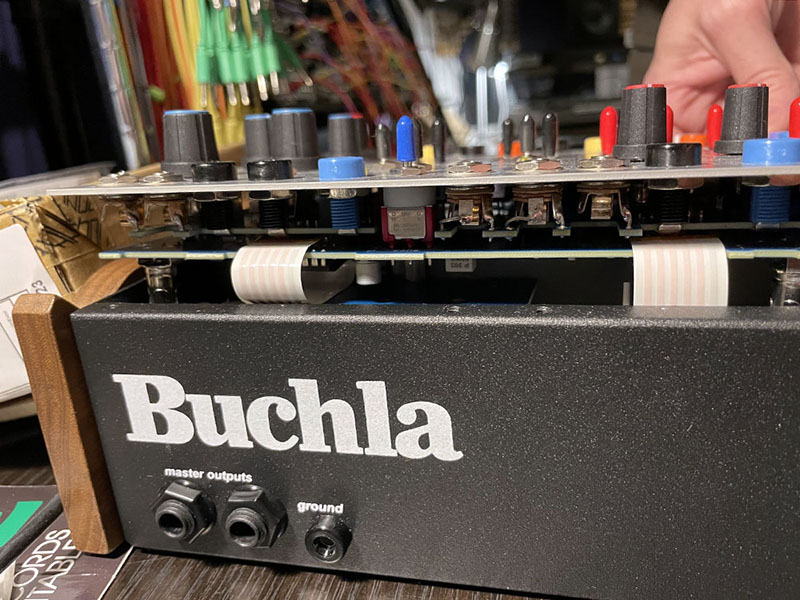
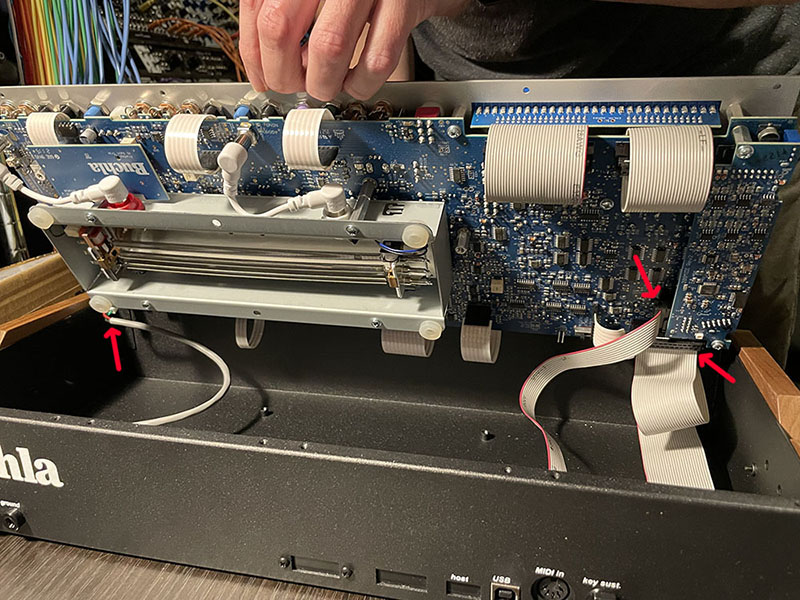
and the other is the audio output which connects to the two 1/4" output jacks. Both these need to be connected to your 208c.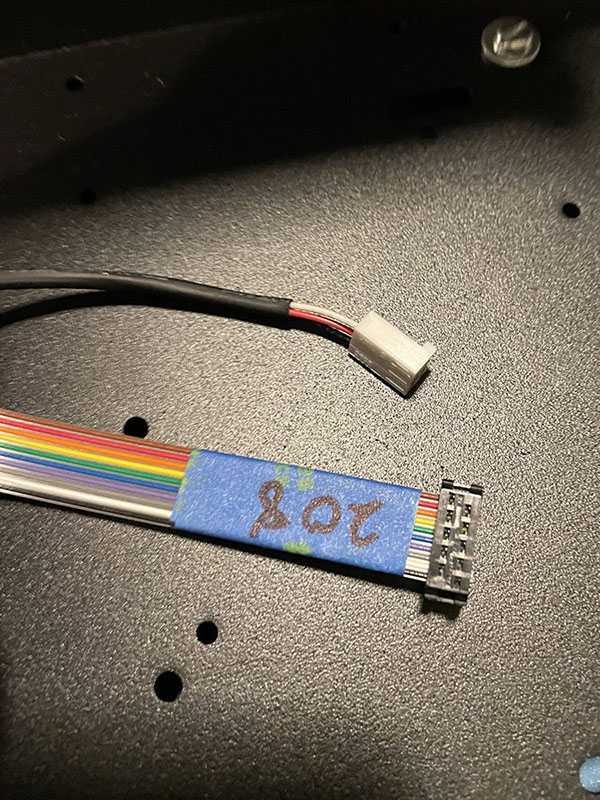
There is a tab that protrudes in the center of one side of each plug.
Some jacks also have a notch on the opposite side, but not in the center, which can be confusing. Just connect center tab to center notch!
your 208c module separately you may need to order it separately from Buchla. This is where you'll plug the 5XIO MIDI cable.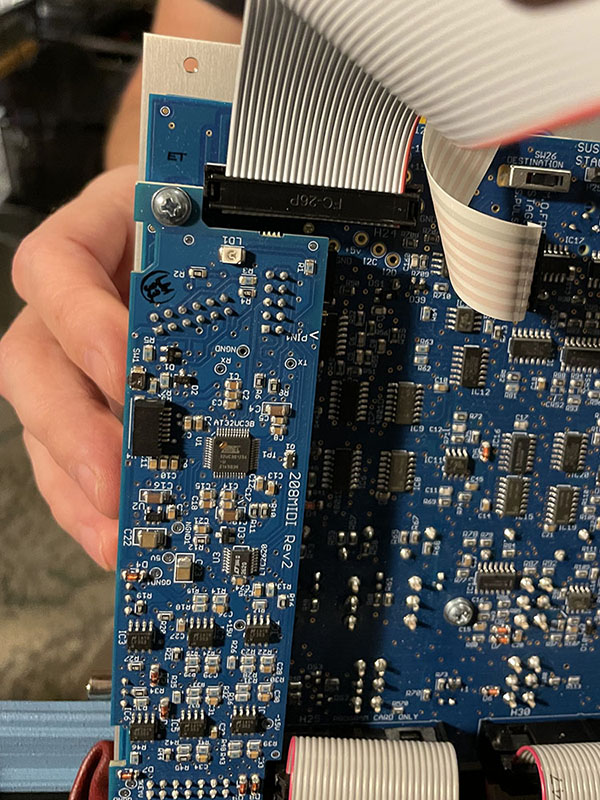
ribbon and the audio cable from the 5XIO at the arrow-indicated locations.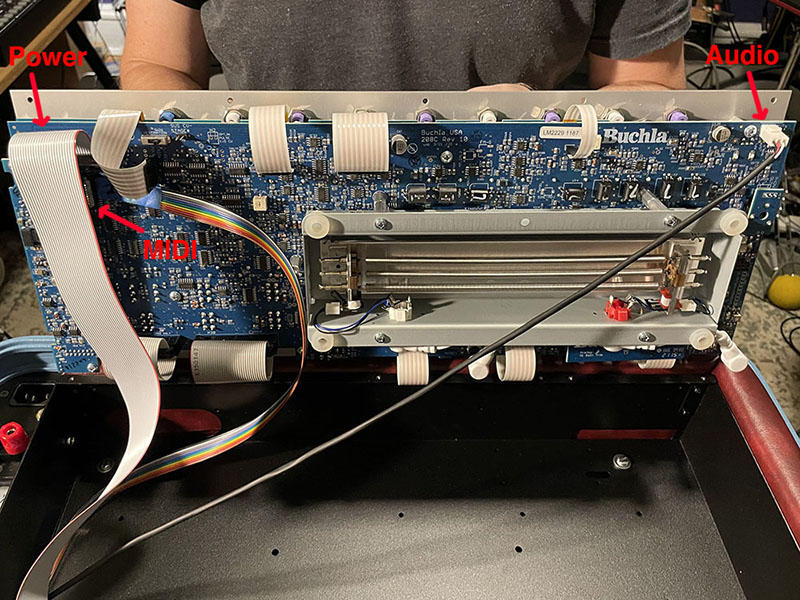


If you're installing this module in a system without H connectors, you may need an E2H adapter, but you shouldn't with our cases.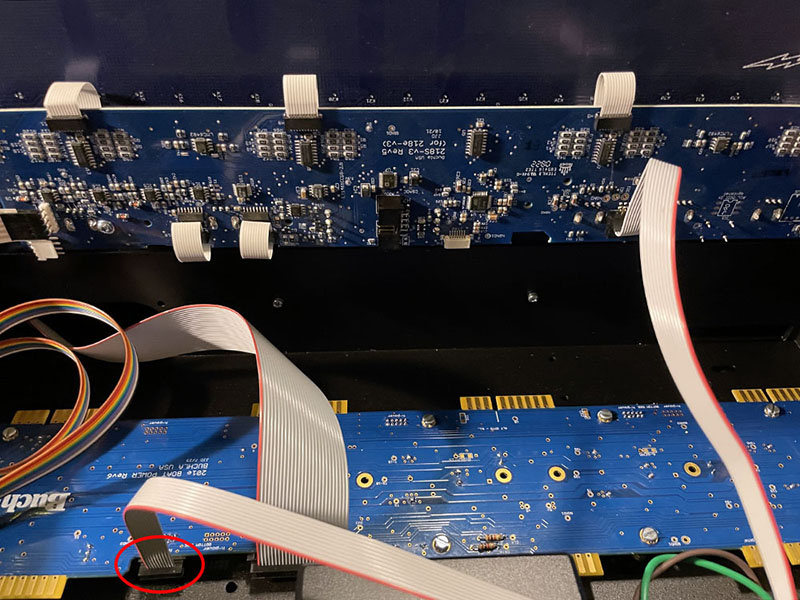
Plug it in to the MIDI jack on the 218e.