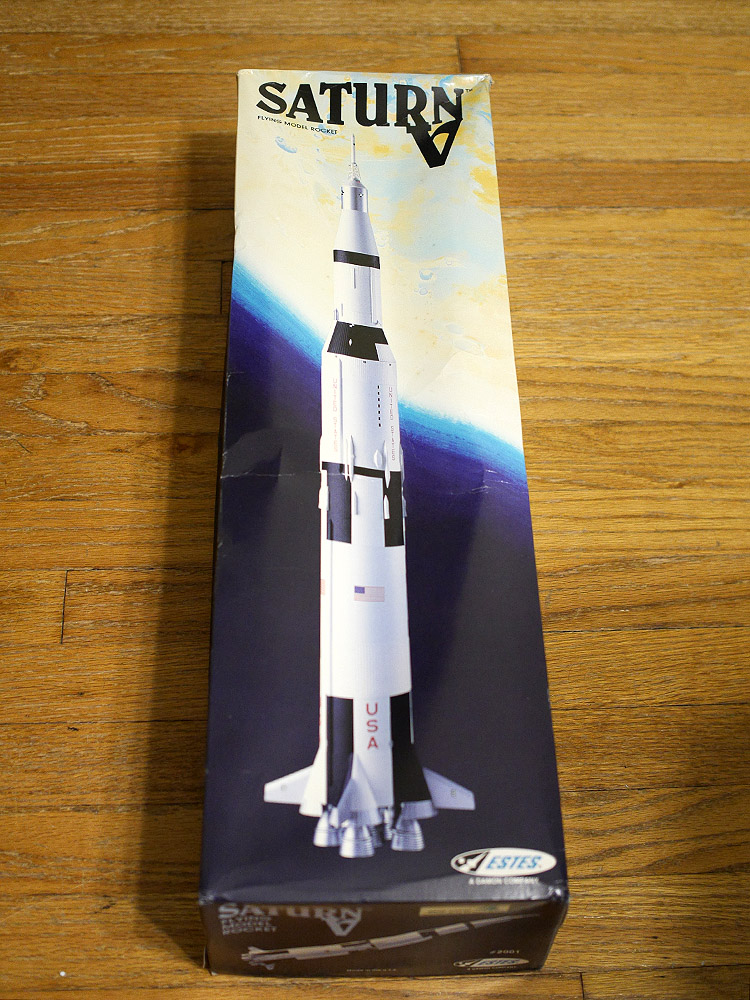
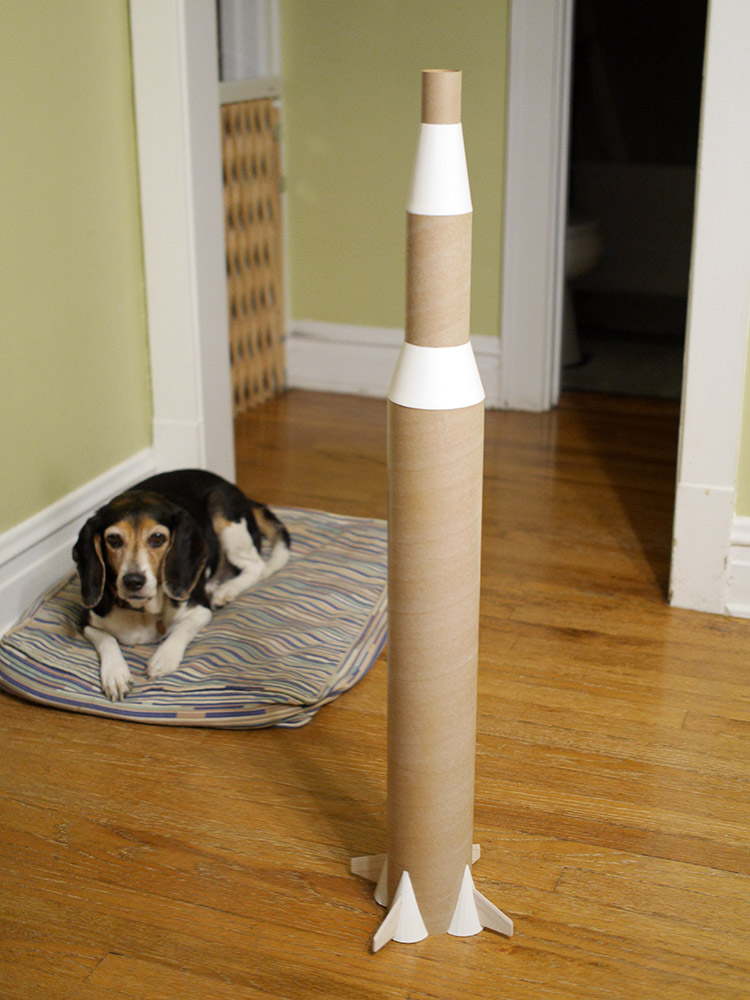
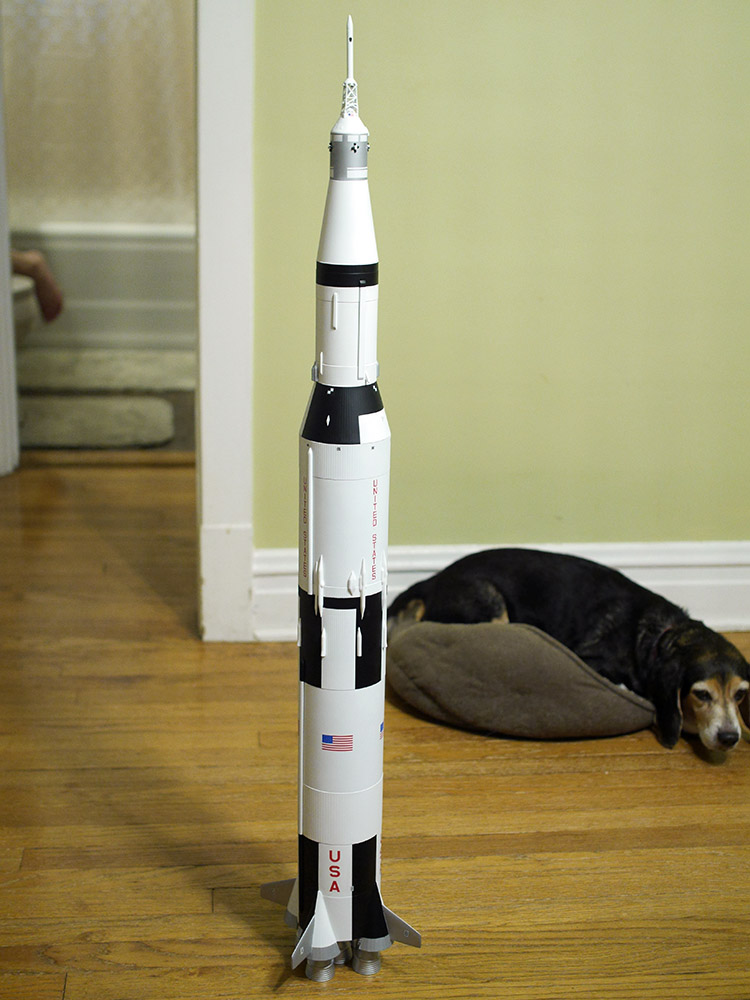
Estes Saturn V #2001 build
As a kid in the 1980s I built and launched several Estes model rockets. I spent a lot
of time leafing through their catalog, and the Saturn V was the most expensive as well
as most difficult kit they made. My 5th grade teacher Mr. Jordan had one he had built
on a shelf at the front of the room, but he told us it was quite challenging to build
with all the wraps and detailed parts. I wasn't very patient and cut corners back then,
and I knew I couldn't do justice to the great Saturn V. However now, in my mid-40s I've
got a lot of difficult and detailed projects under my belt, so I decided to return to this
rocket and see how I could do. My goal: to make it at least as nice as Mr. Jordan's!
I found a kit on eBay from the same era as the one I would have built during that time.


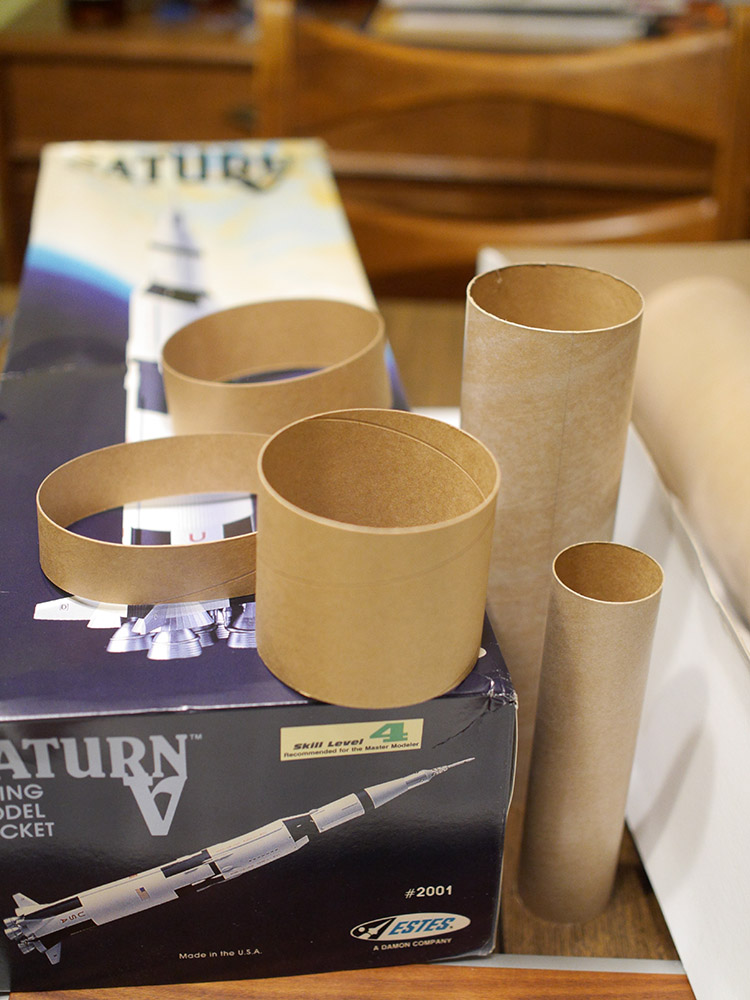

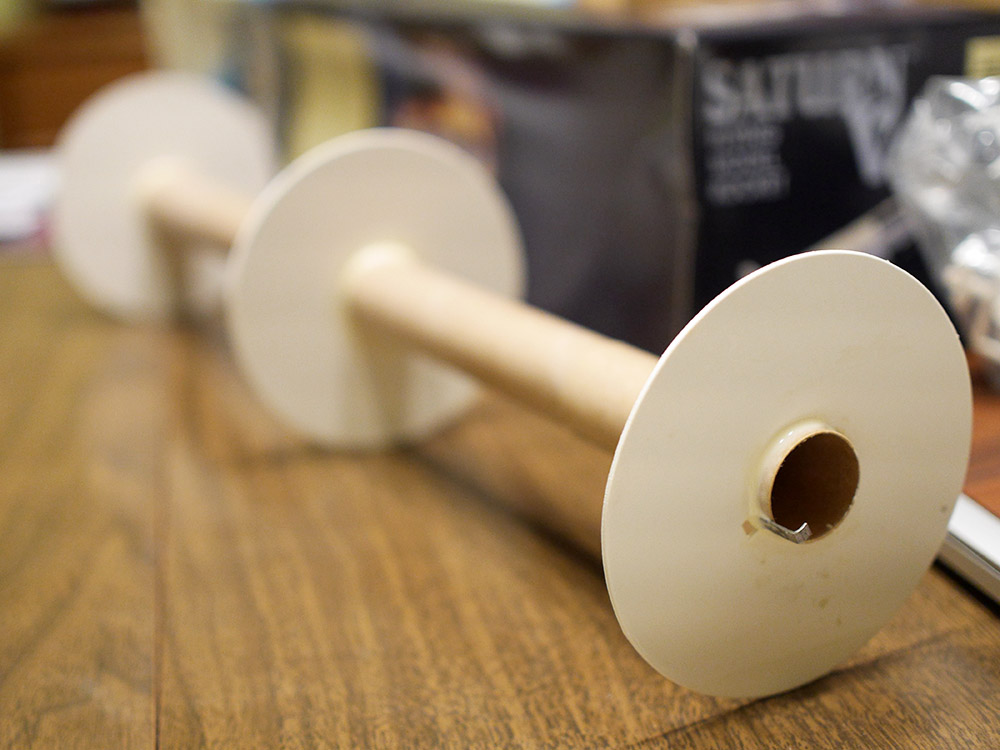
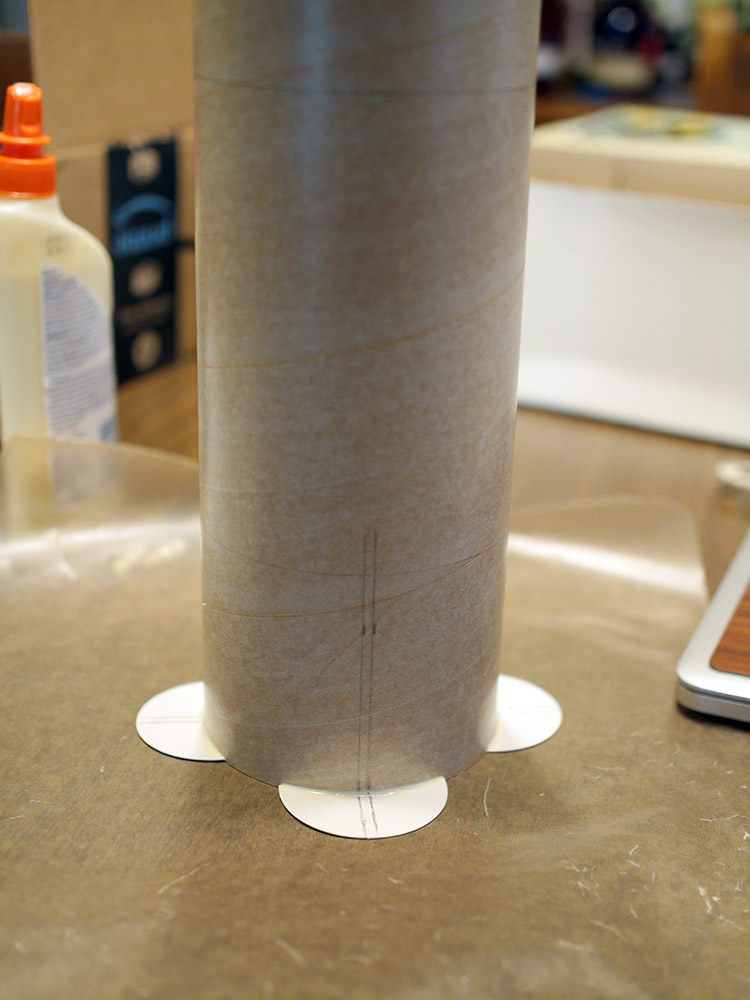
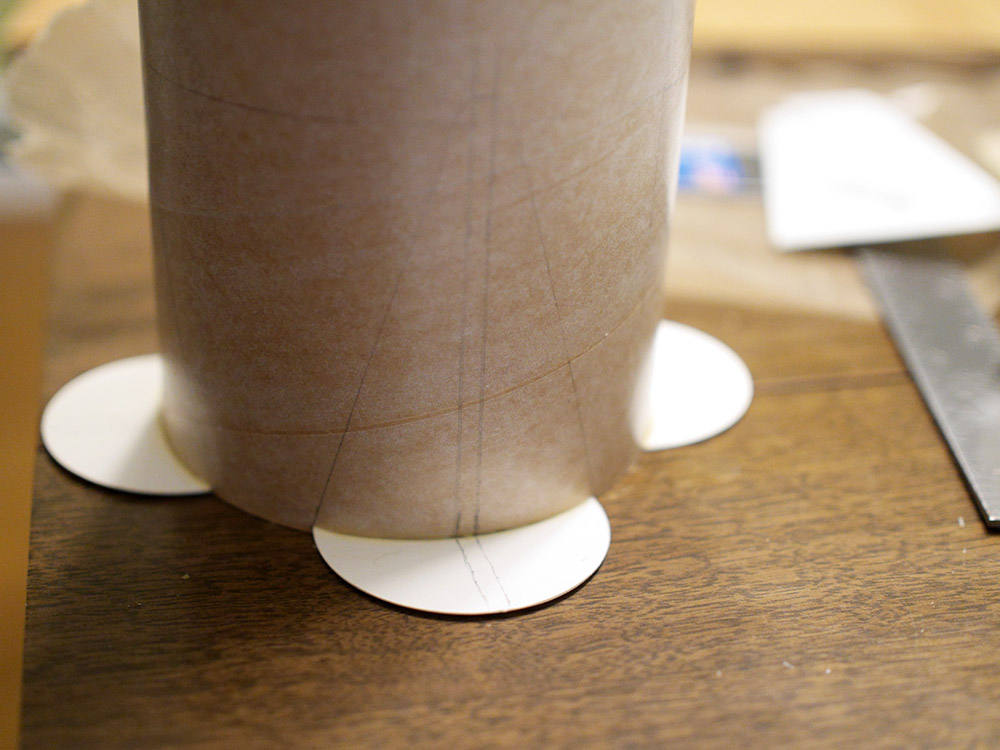
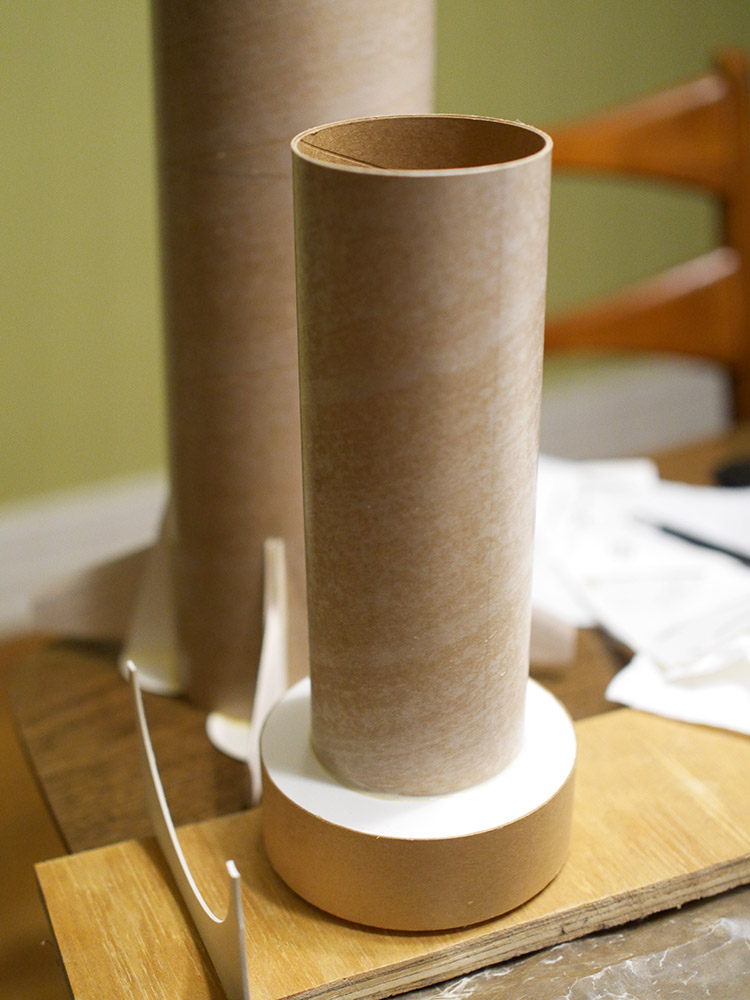
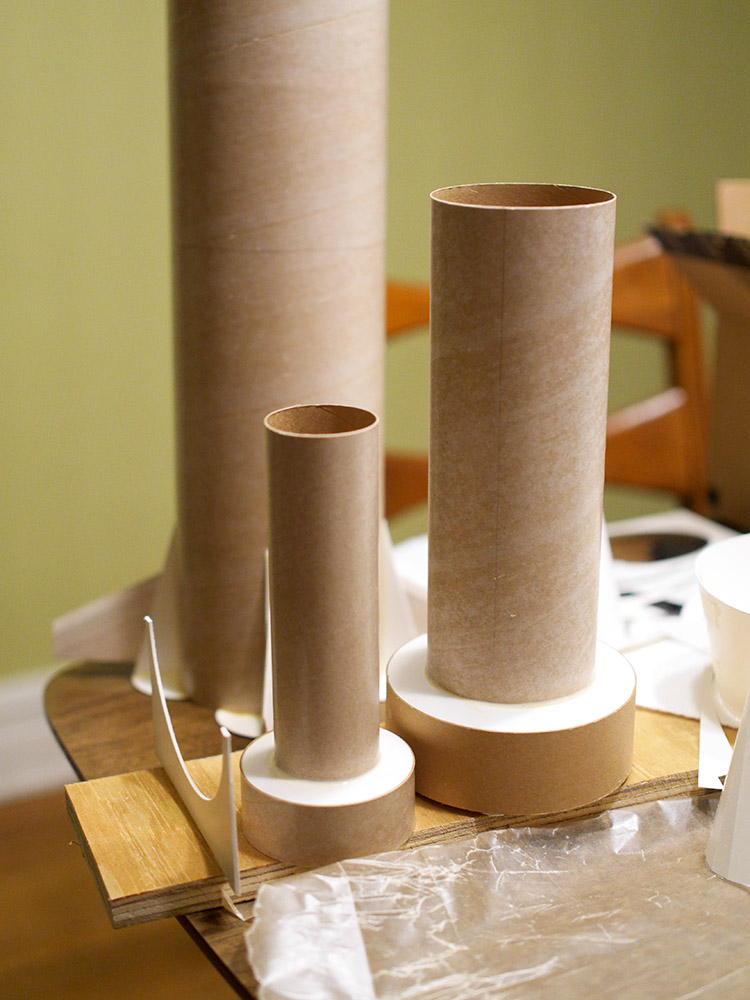
The instructions were very well written and detailed, with great drawings. They
informed the builder of a simple cradle that could be built with a piece of wood
and a couple pieces of the leftover cardboard. Very nice!

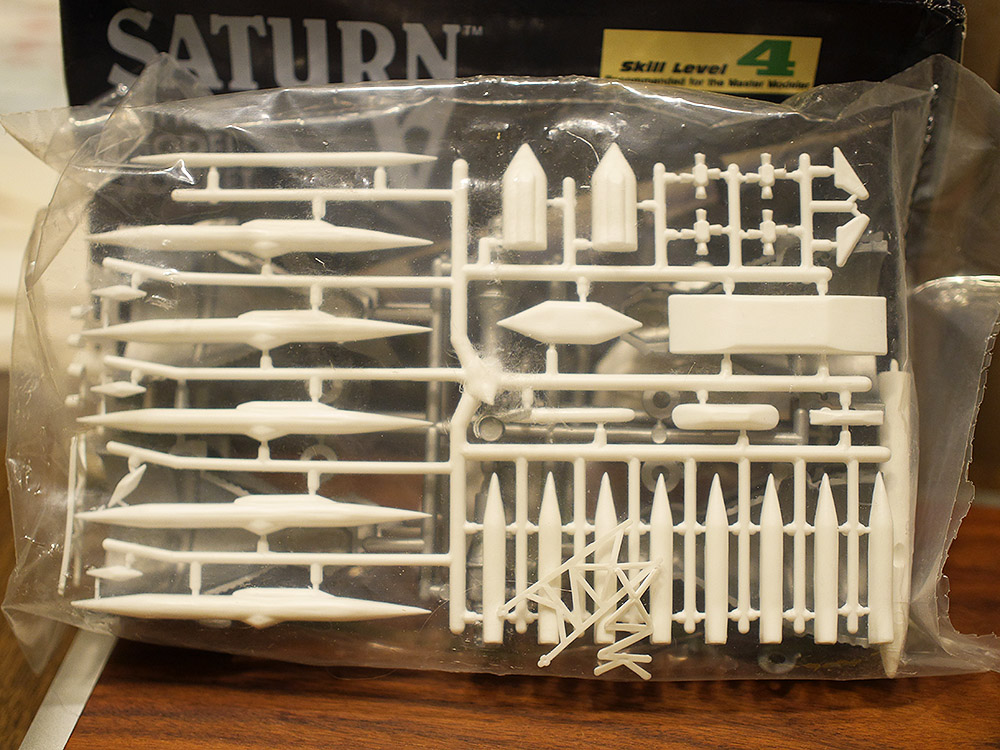
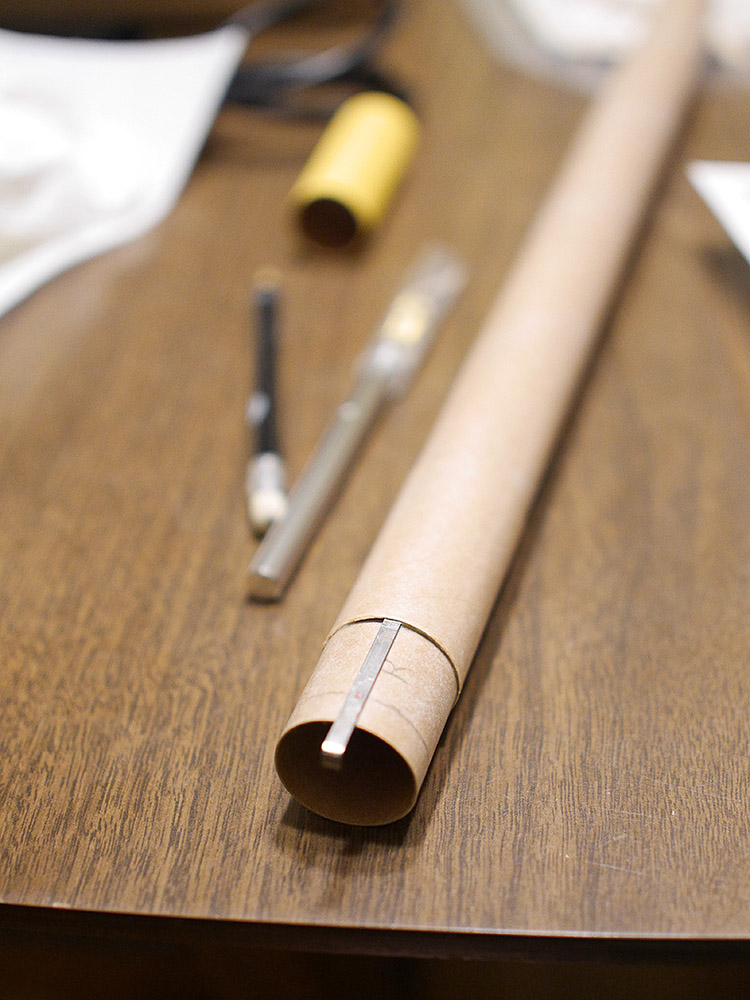
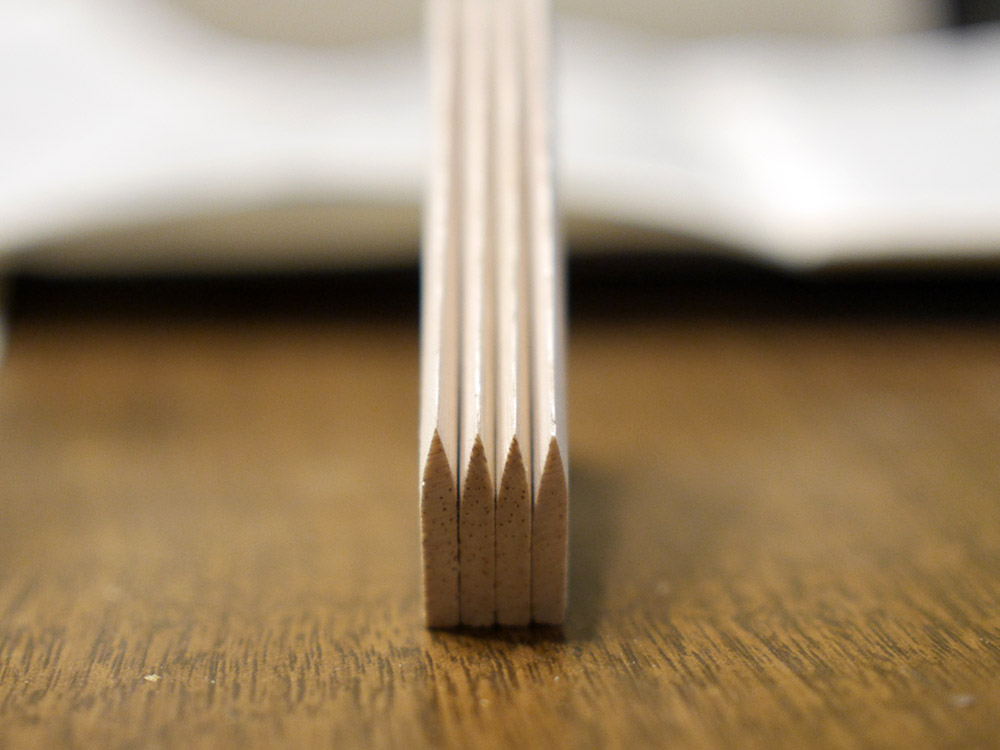
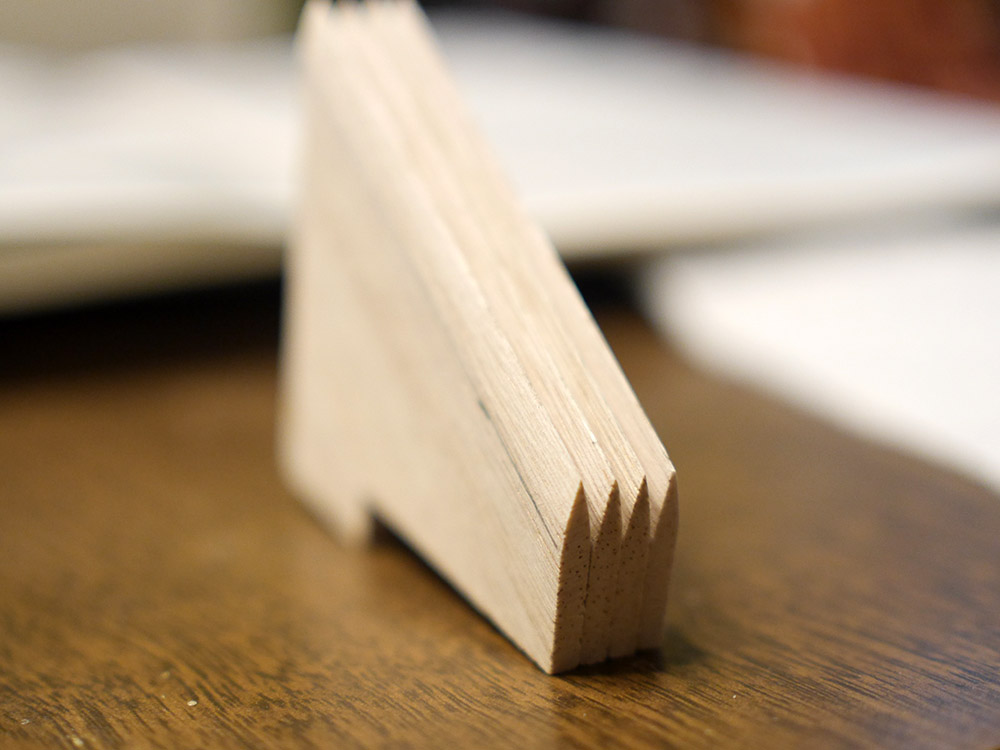
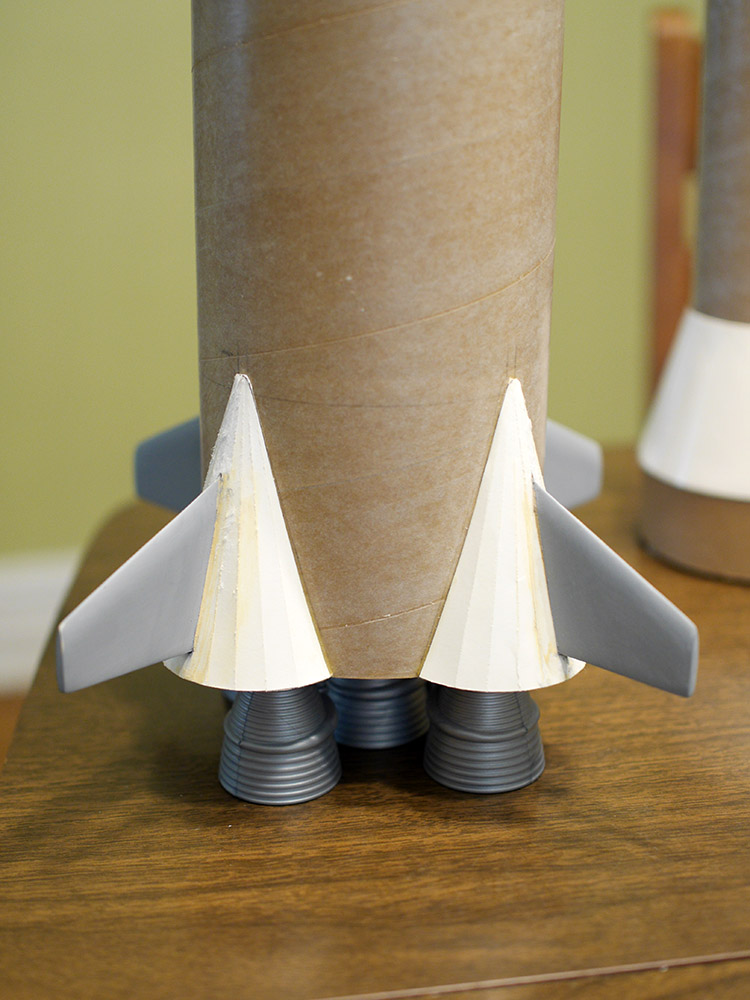
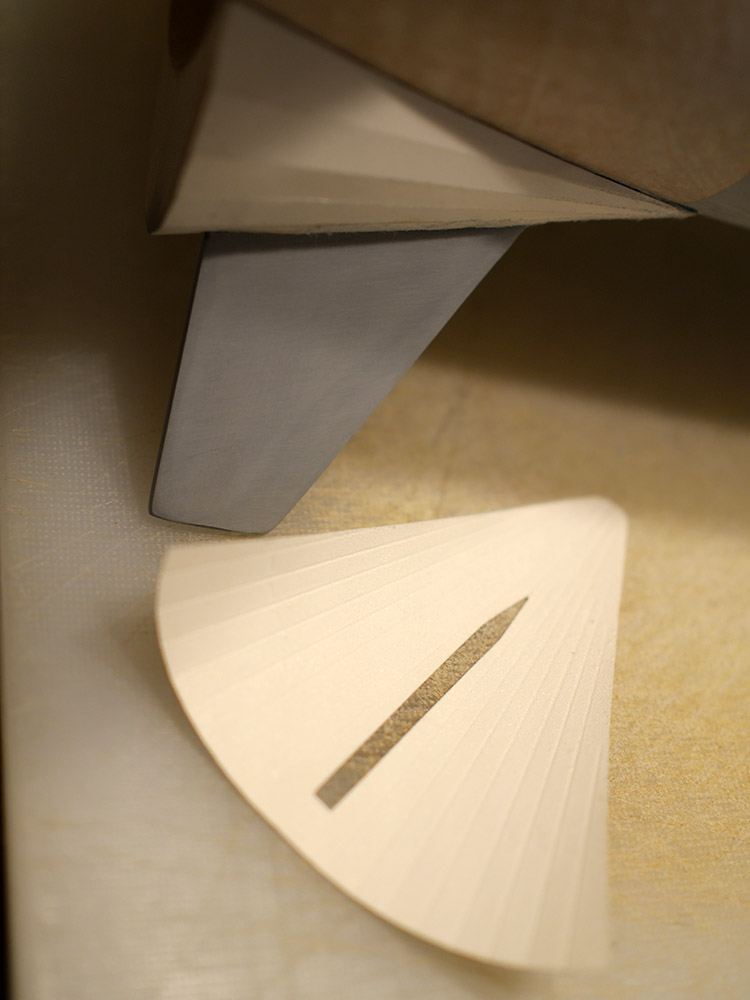
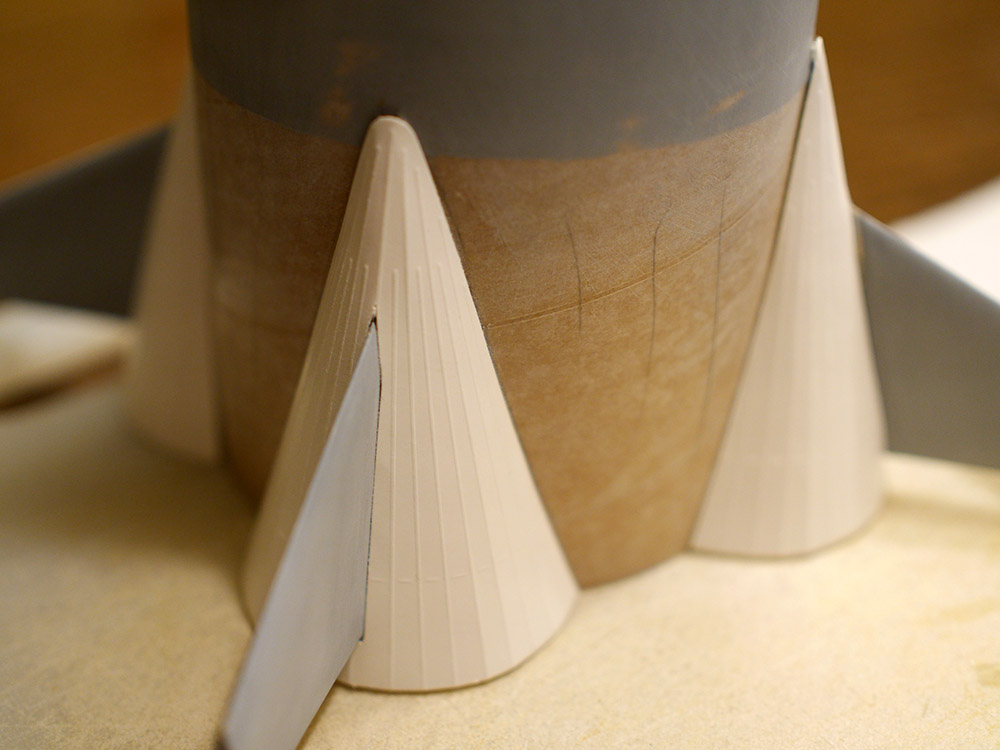
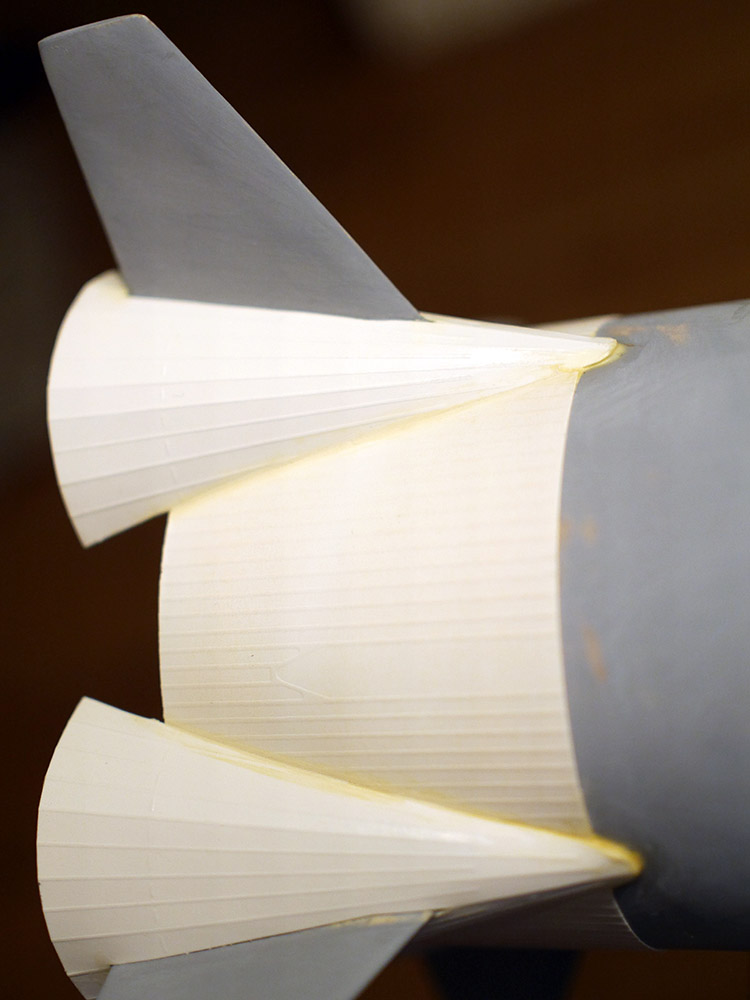
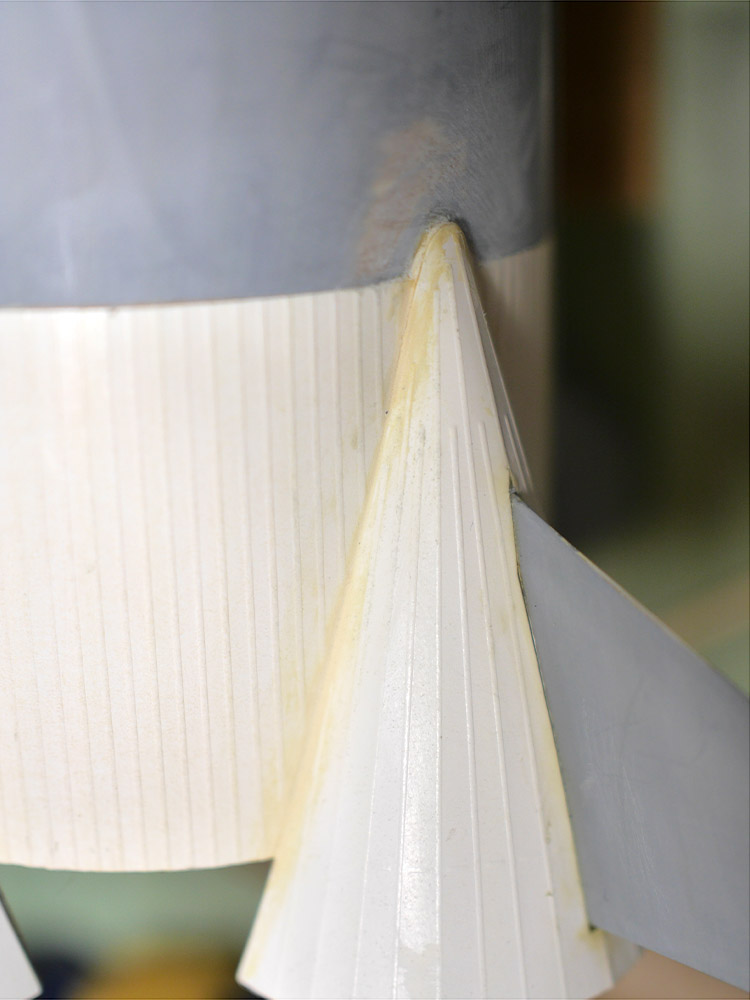
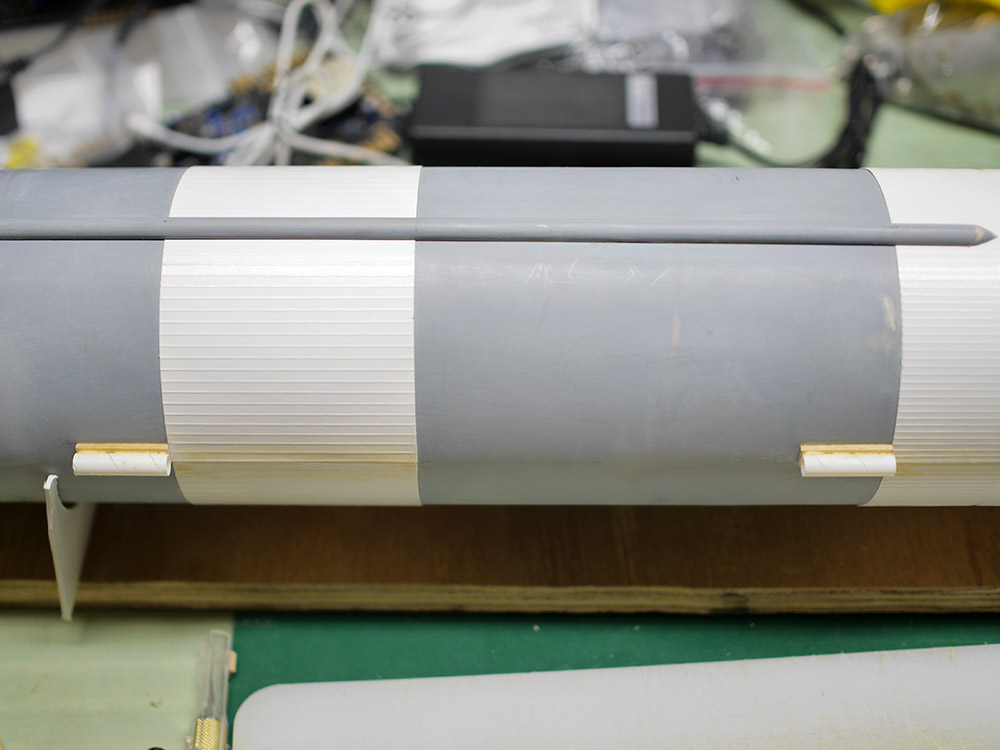
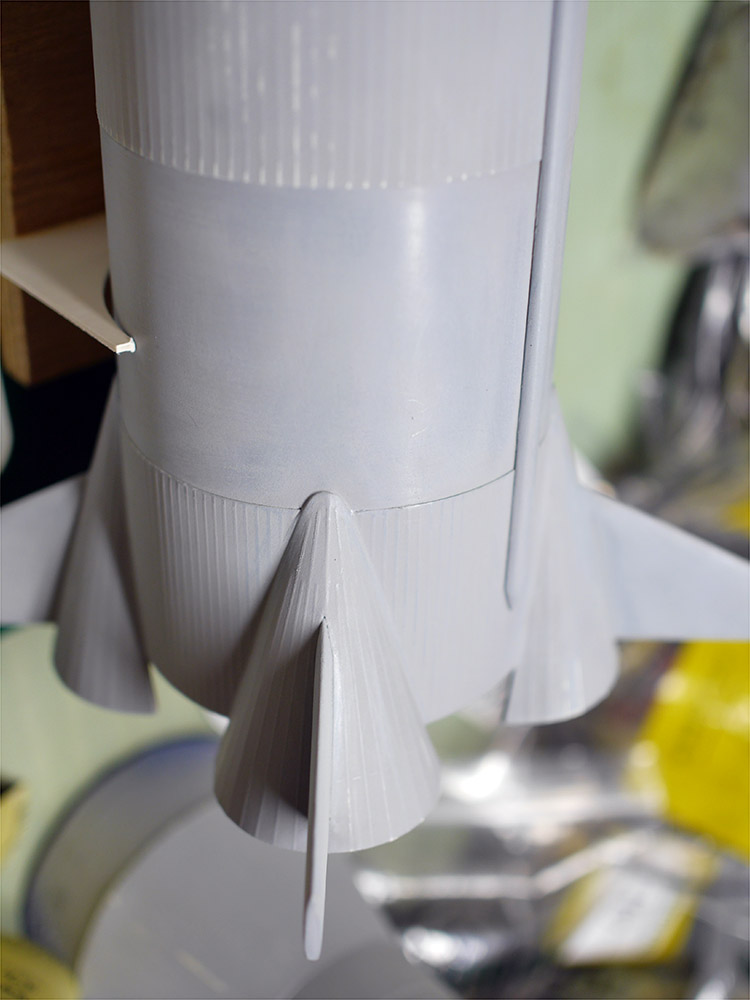
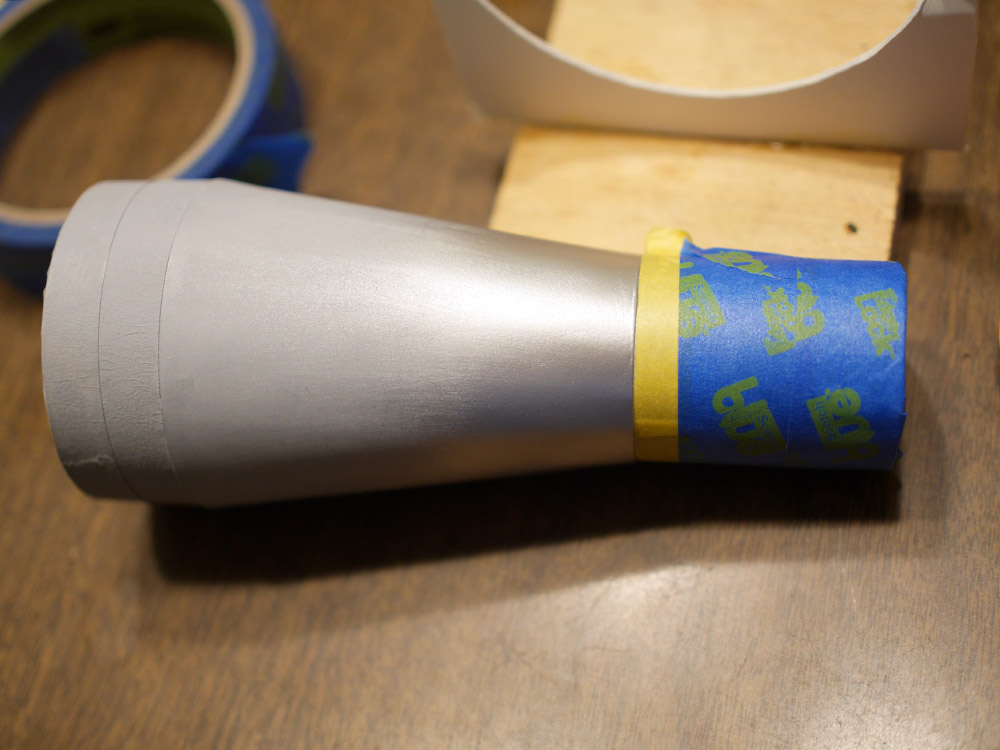
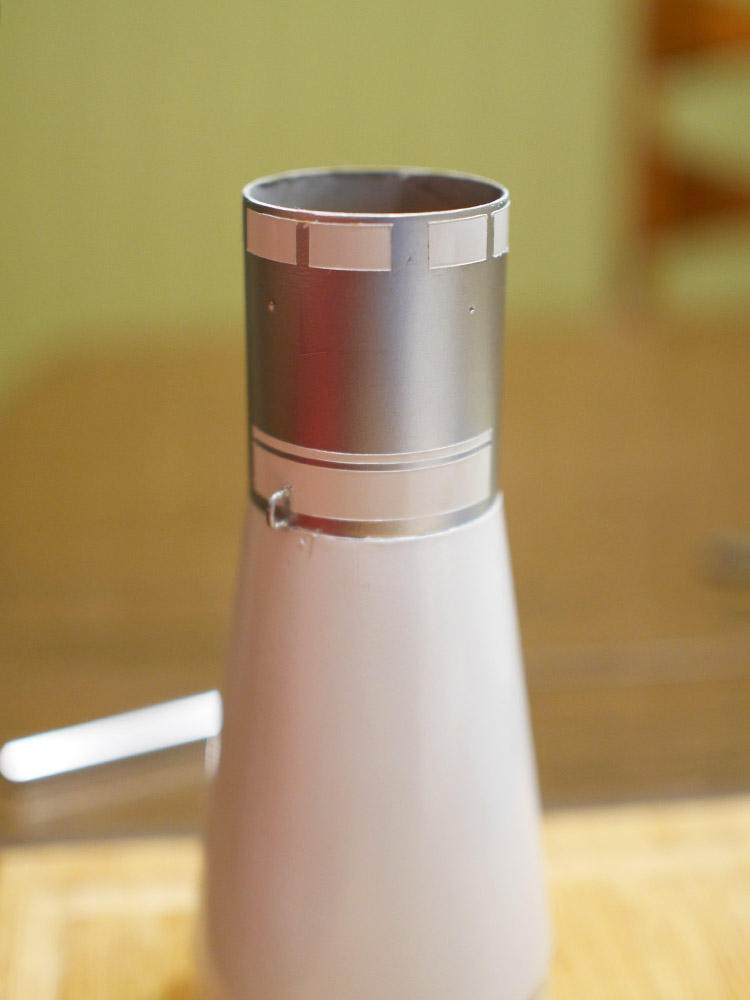
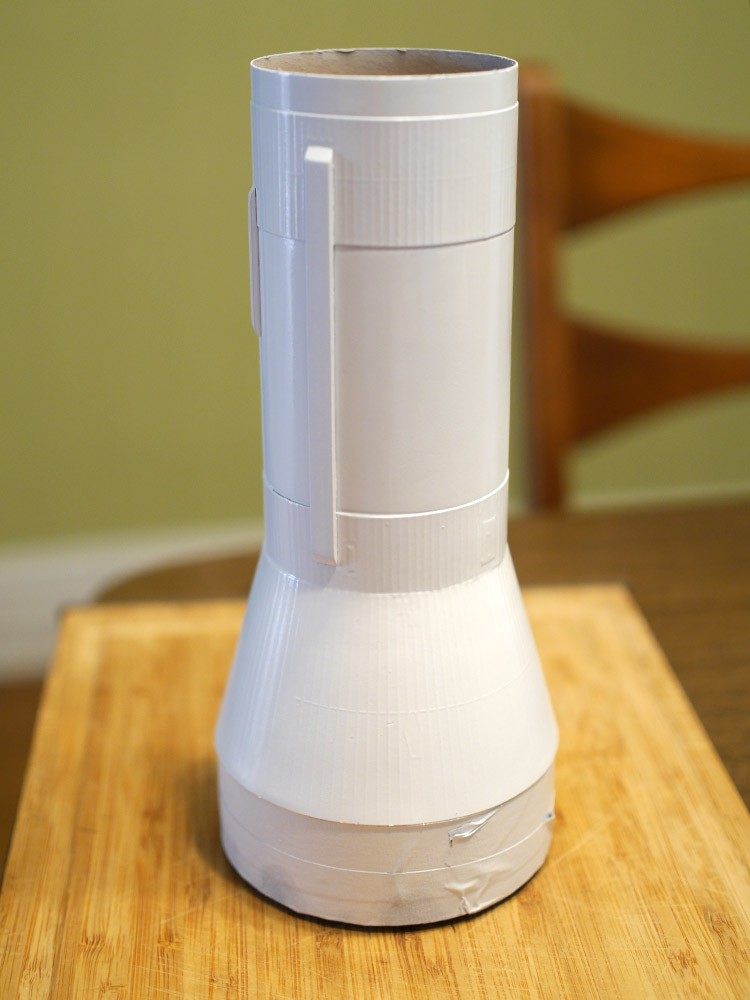
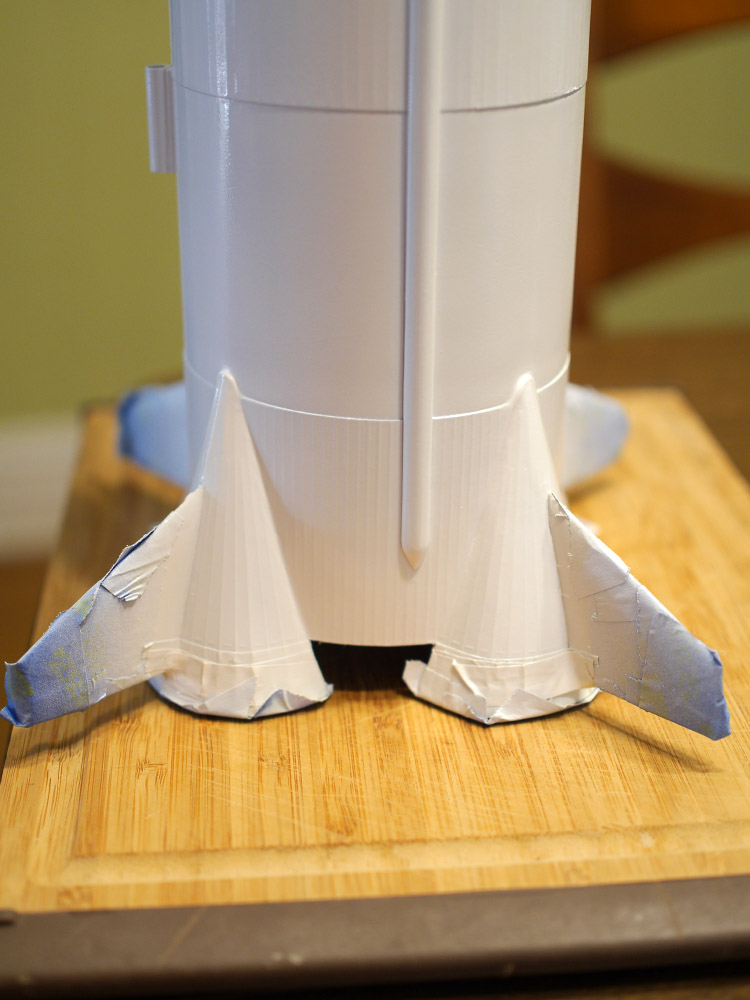
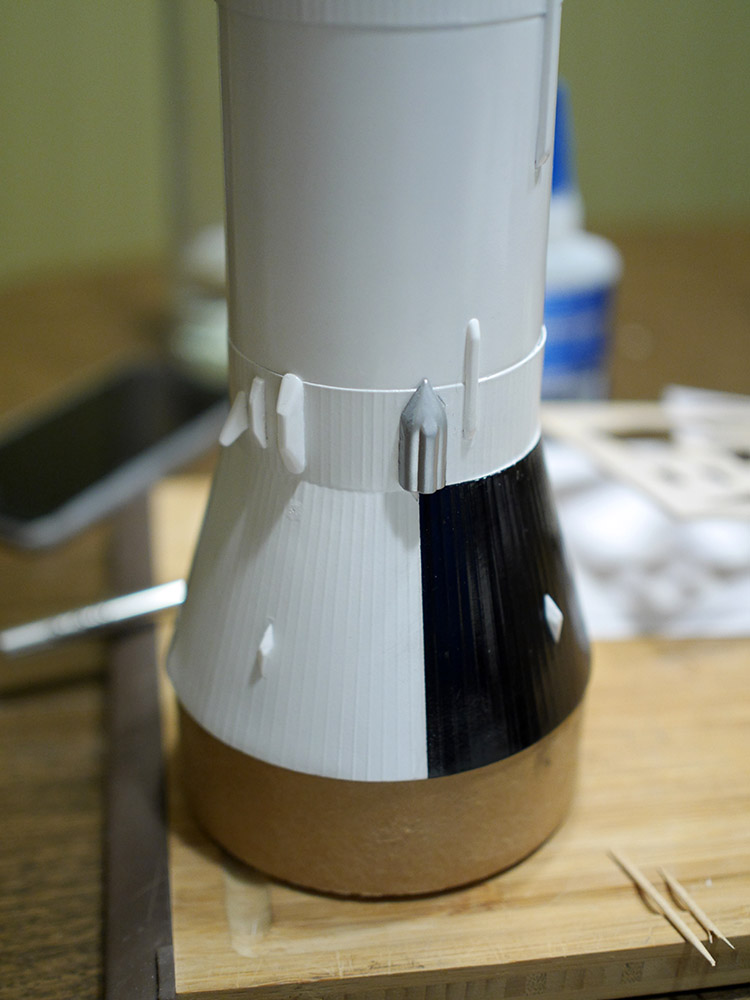
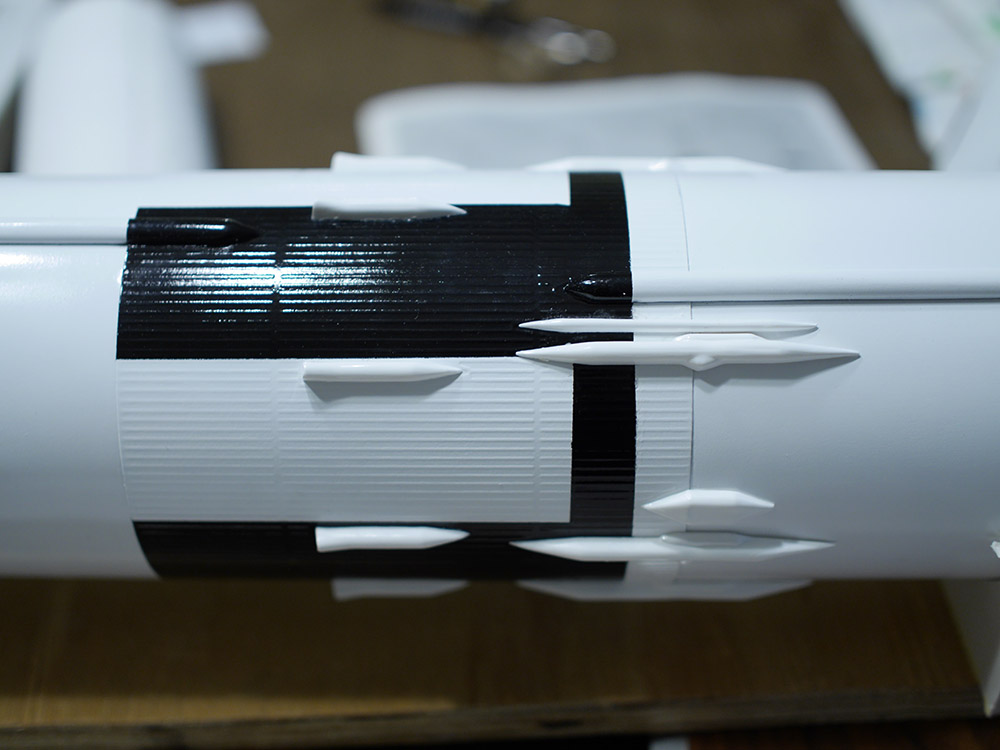
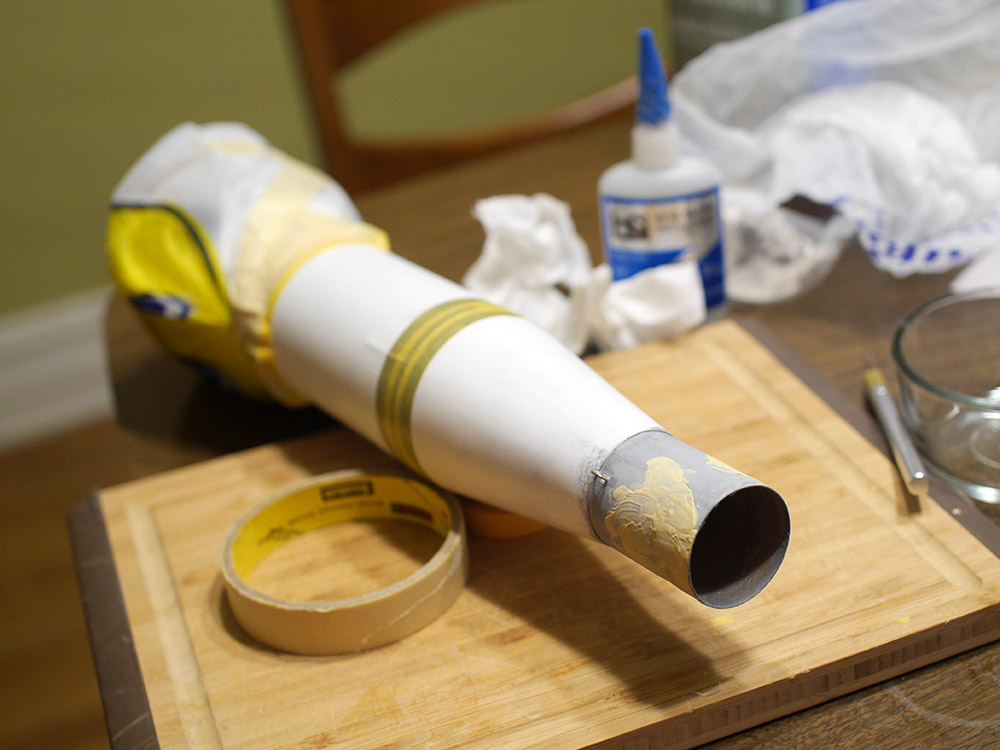
A lot of the time on this kit was spent on the fins and the shrouding that goes around them.


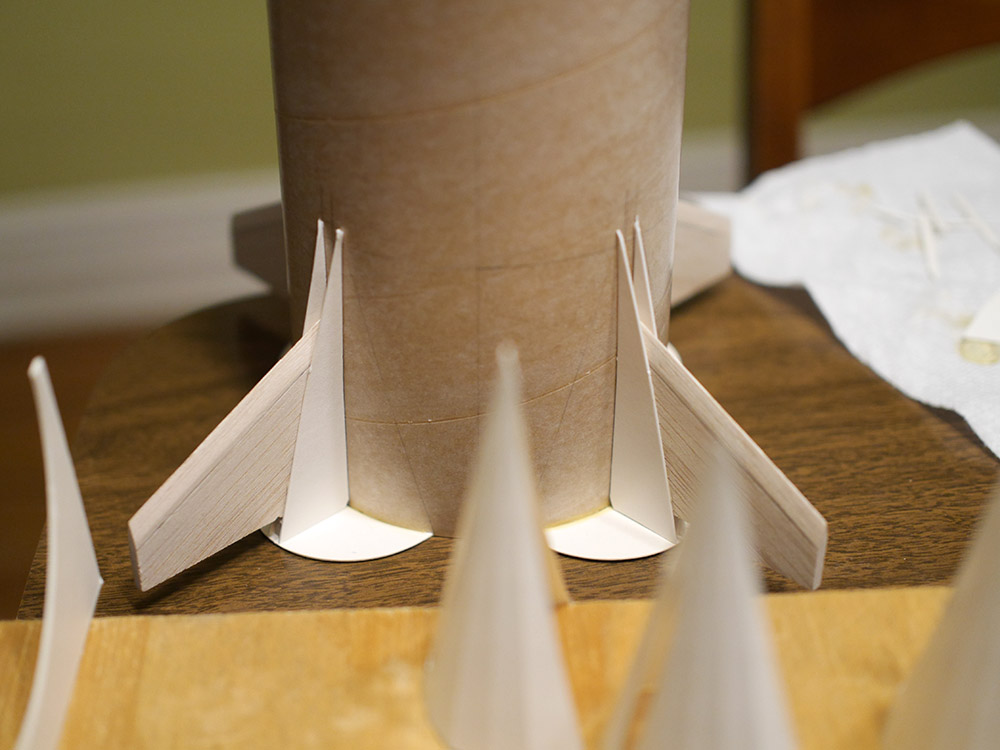


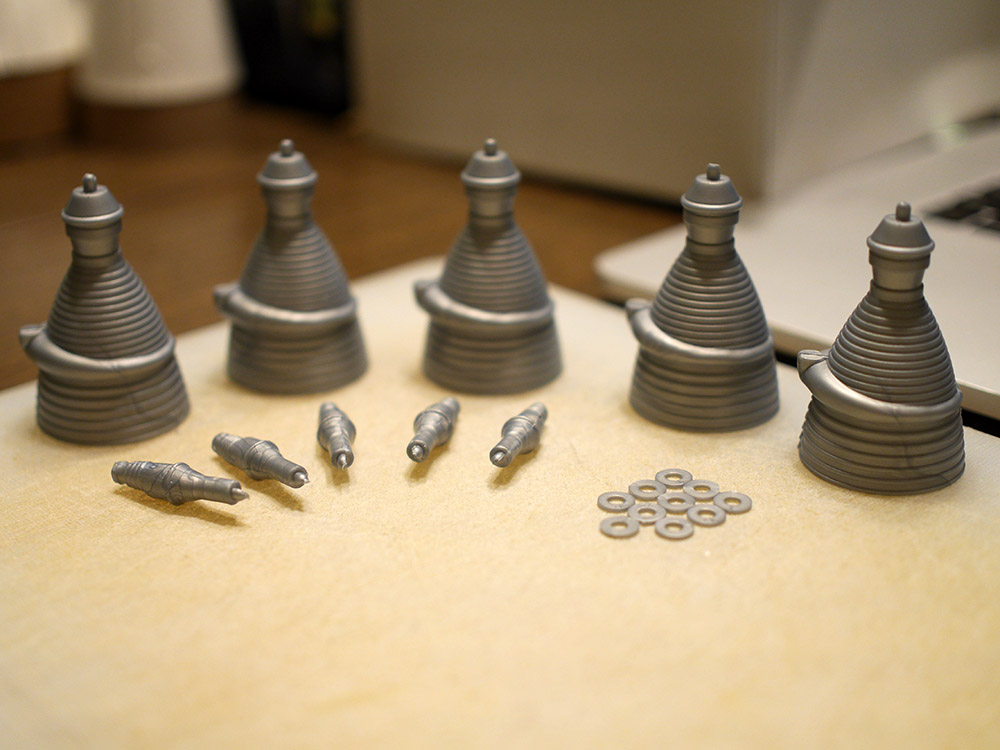

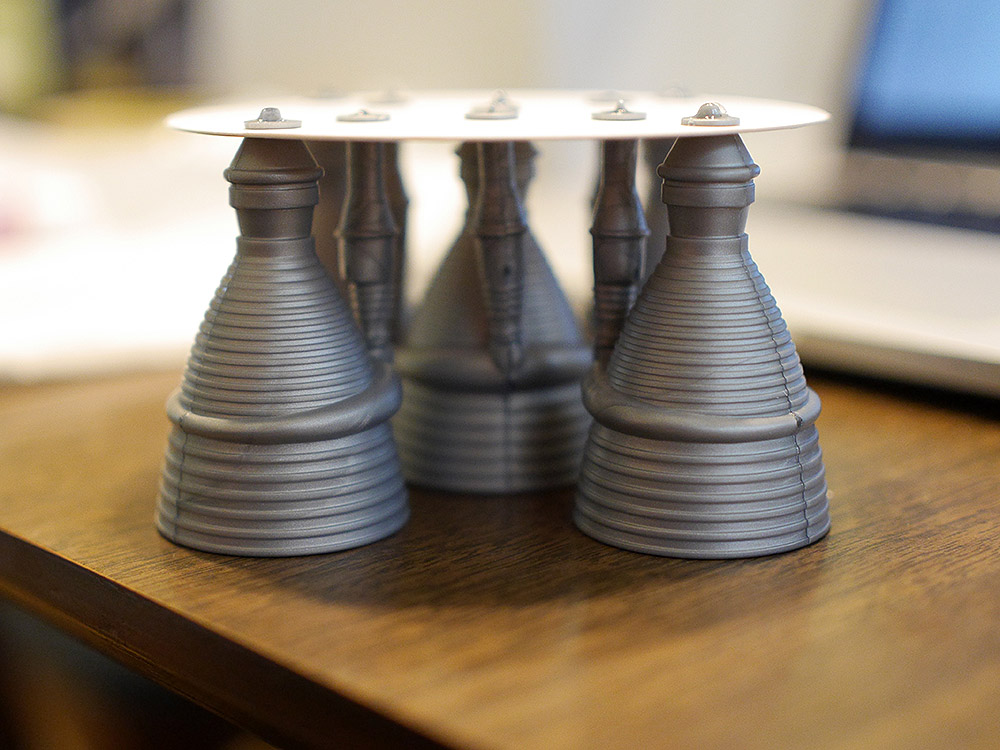


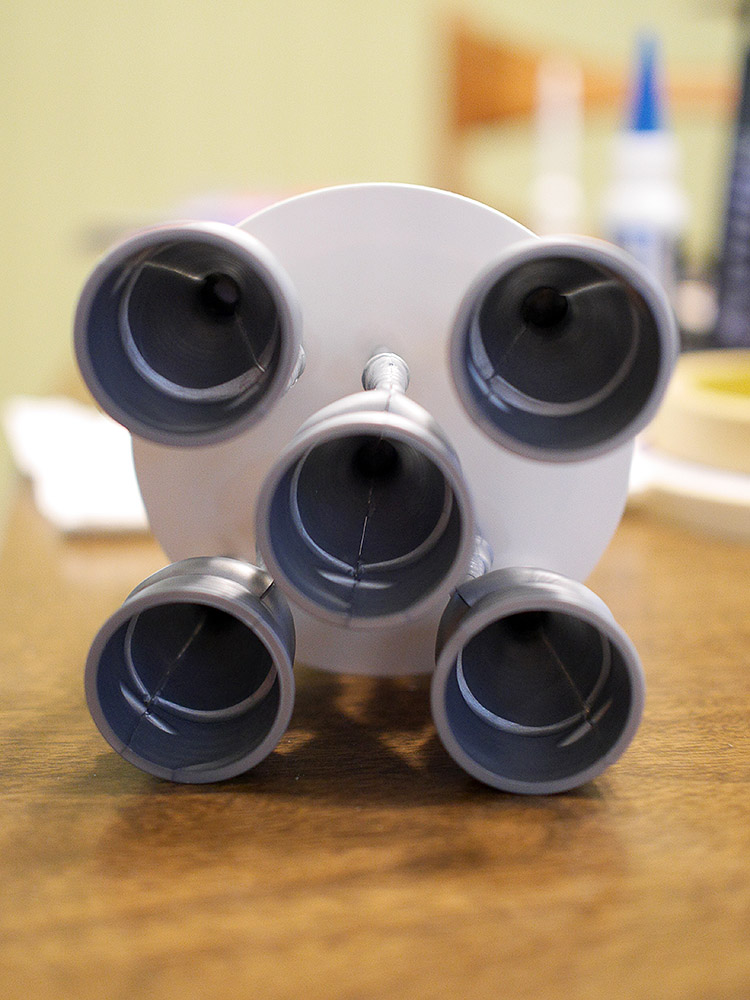
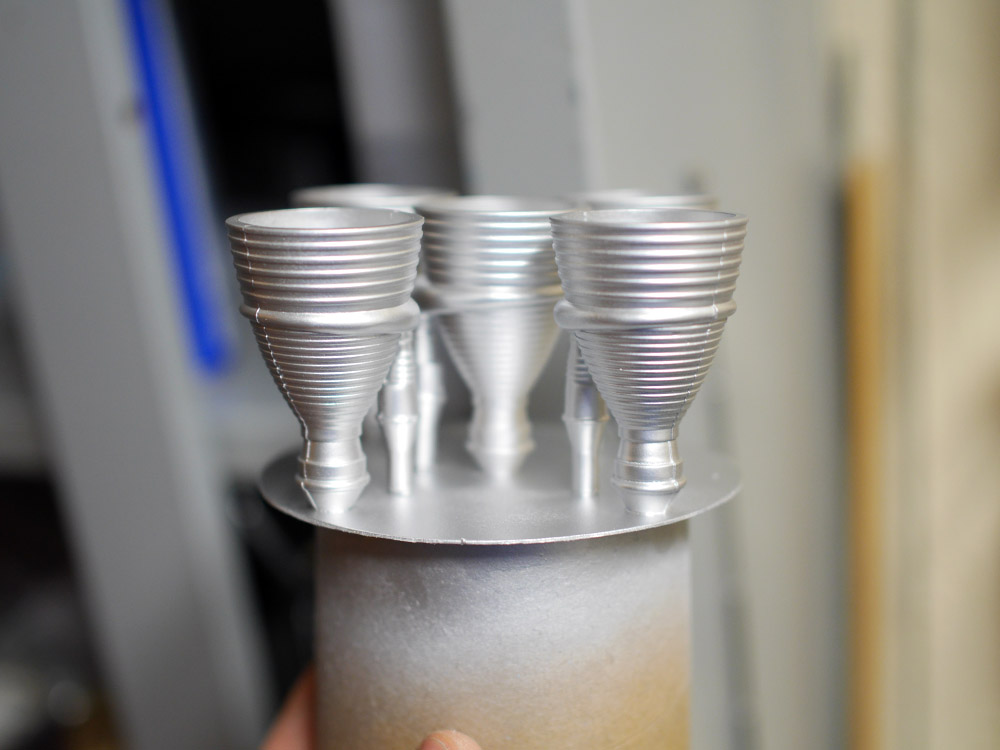
The nozzle cluster is inserted into the bottom of the rocket, and removed before launching.

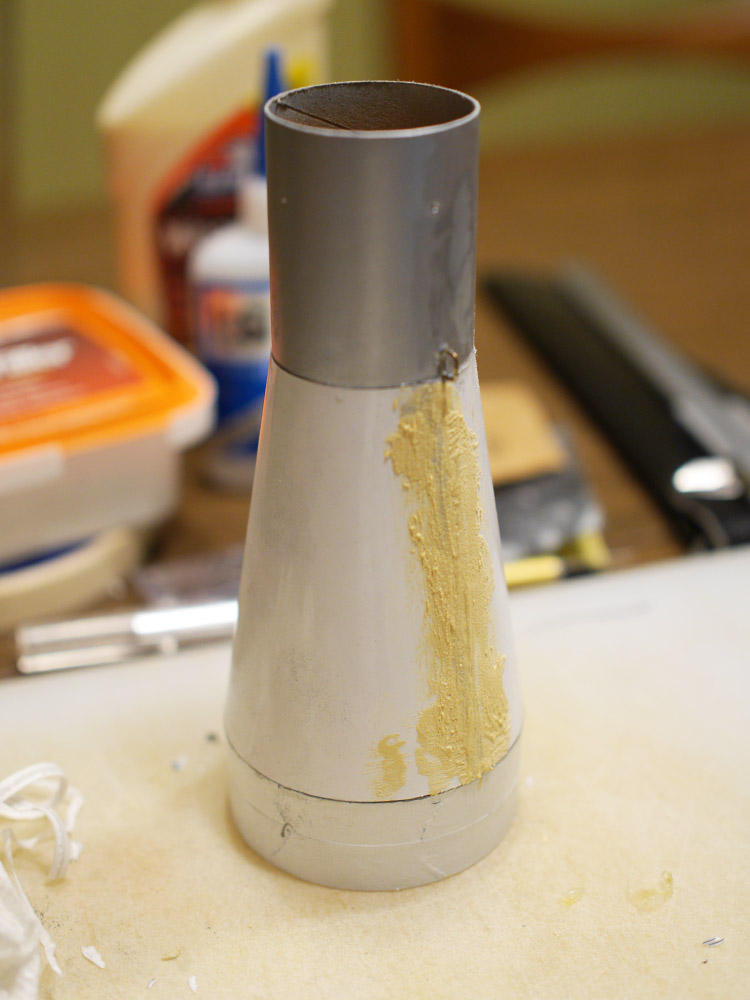
I spent a lot of time with plastic wood filler and primer to get the fins perfectly smooth.


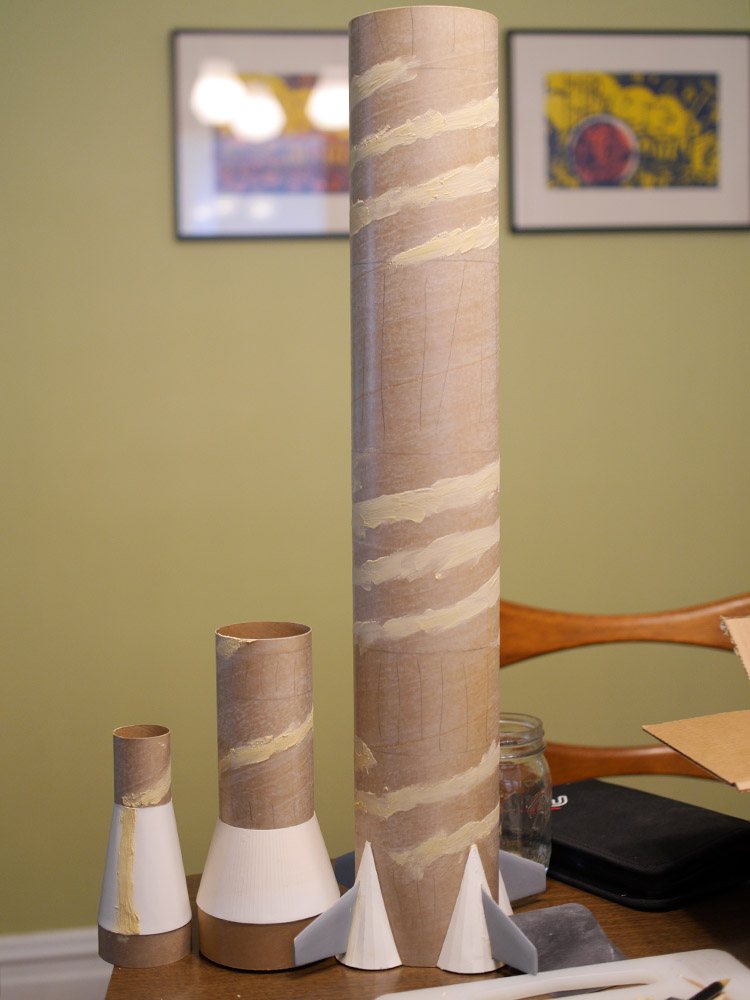
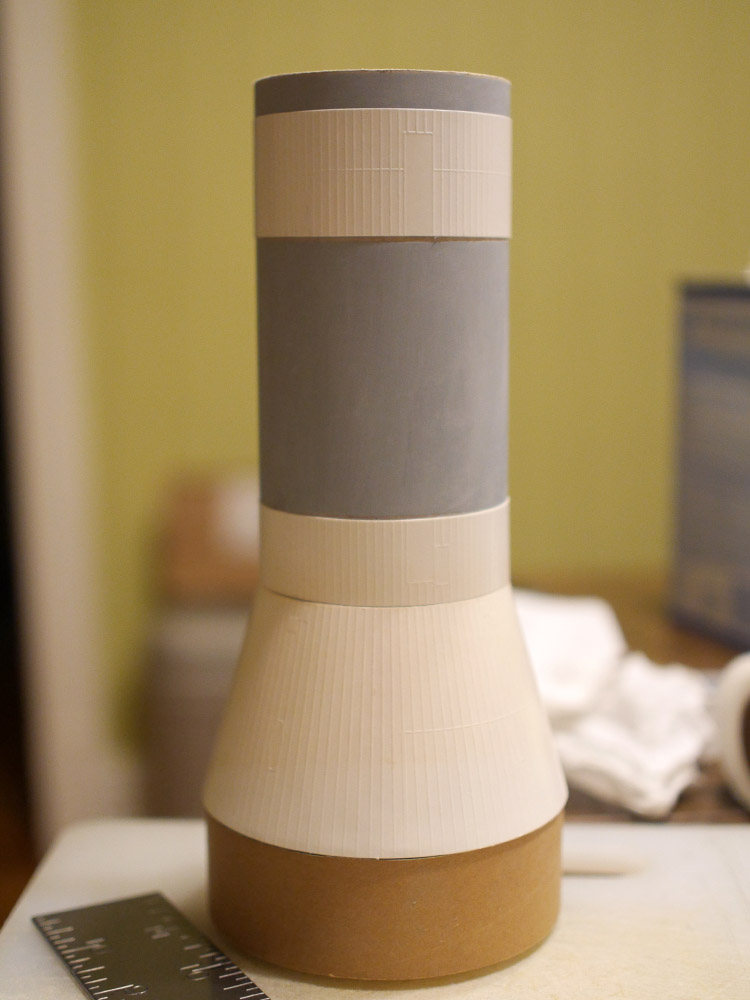
The instructions said to use white primer. I ignored this, as I've done a lot of auto paint work
and grey primer has always served me well no matter what color was going on top. Lesson learned -
The lacquer white paint I used for this kit does not cover well, and I ended up using several cans
to cover up the grey and get the color right. I'll be using white primer on all my future builds.


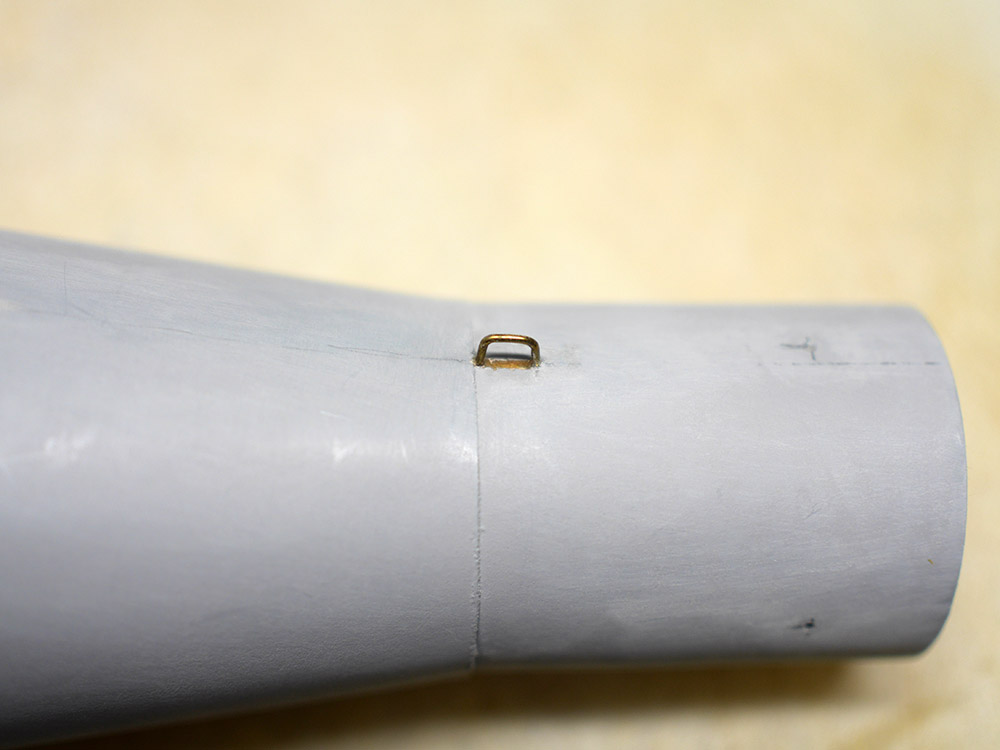
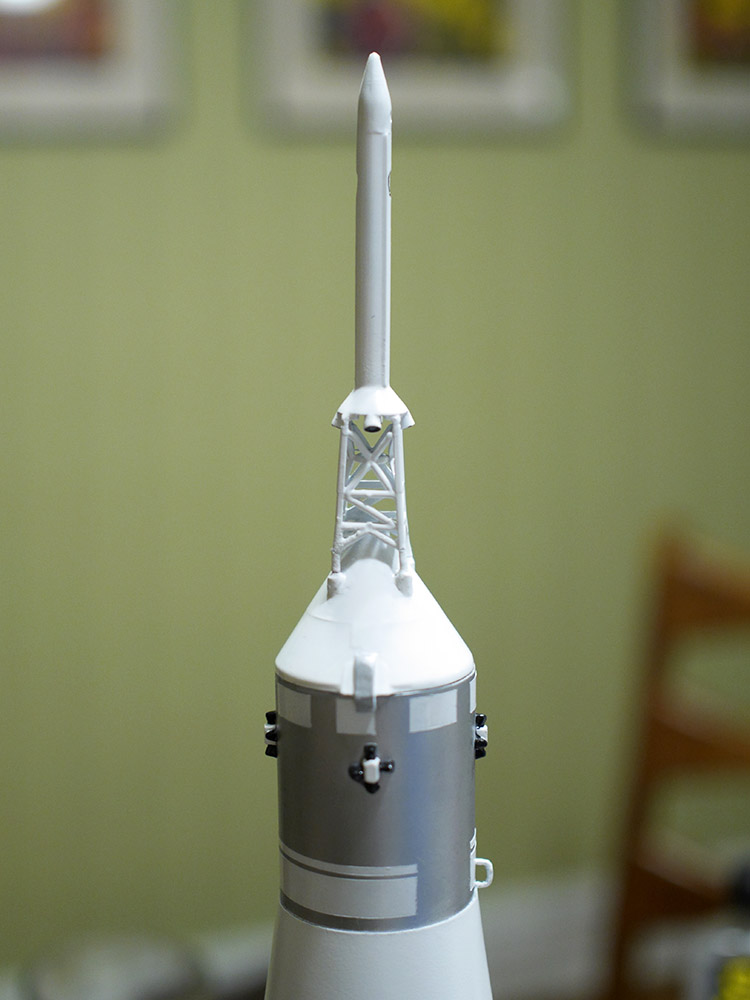
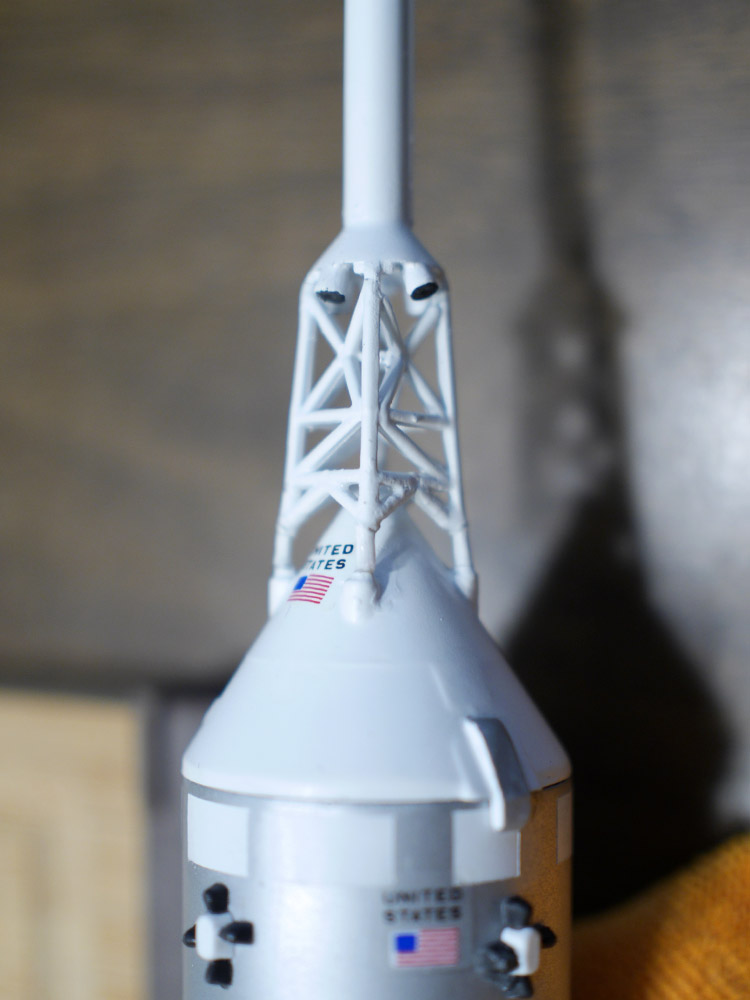
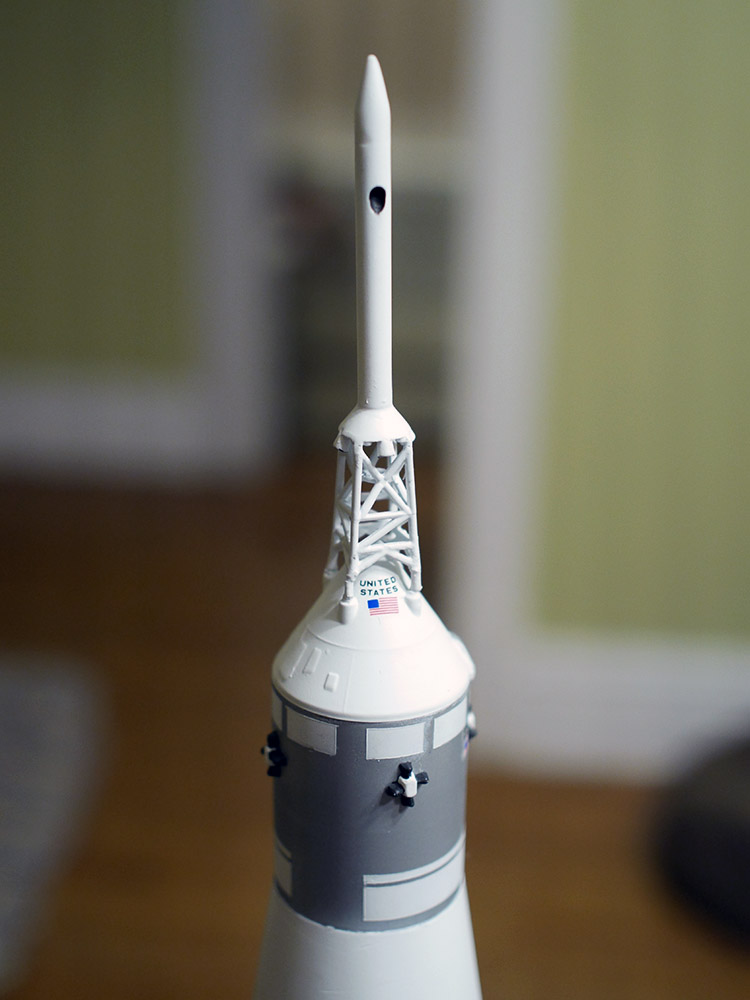
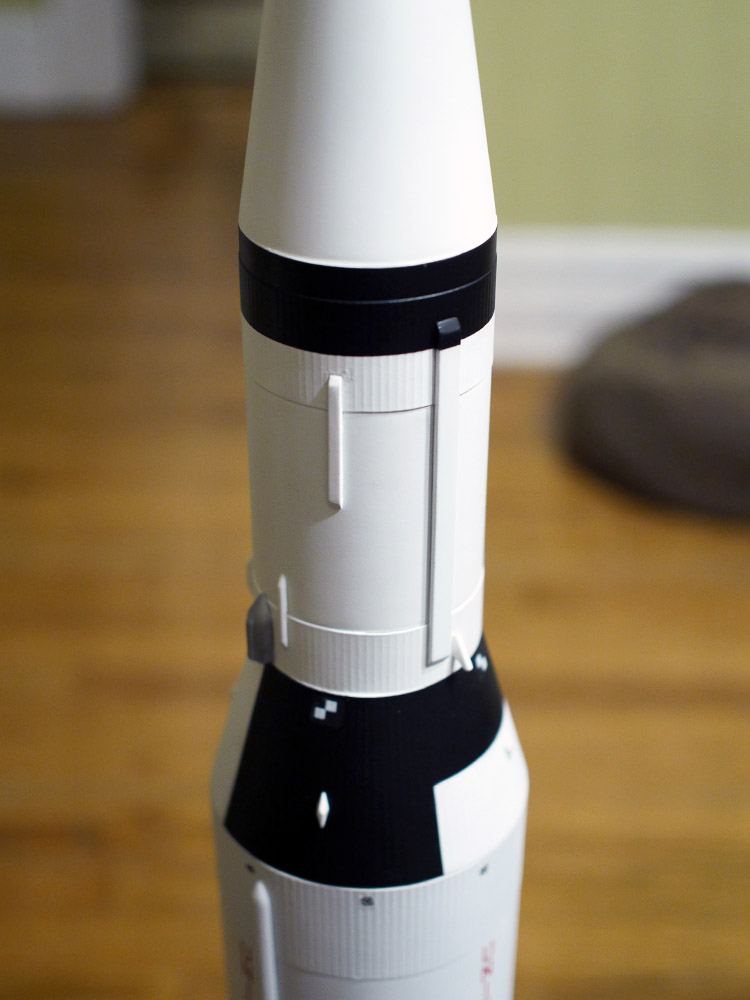
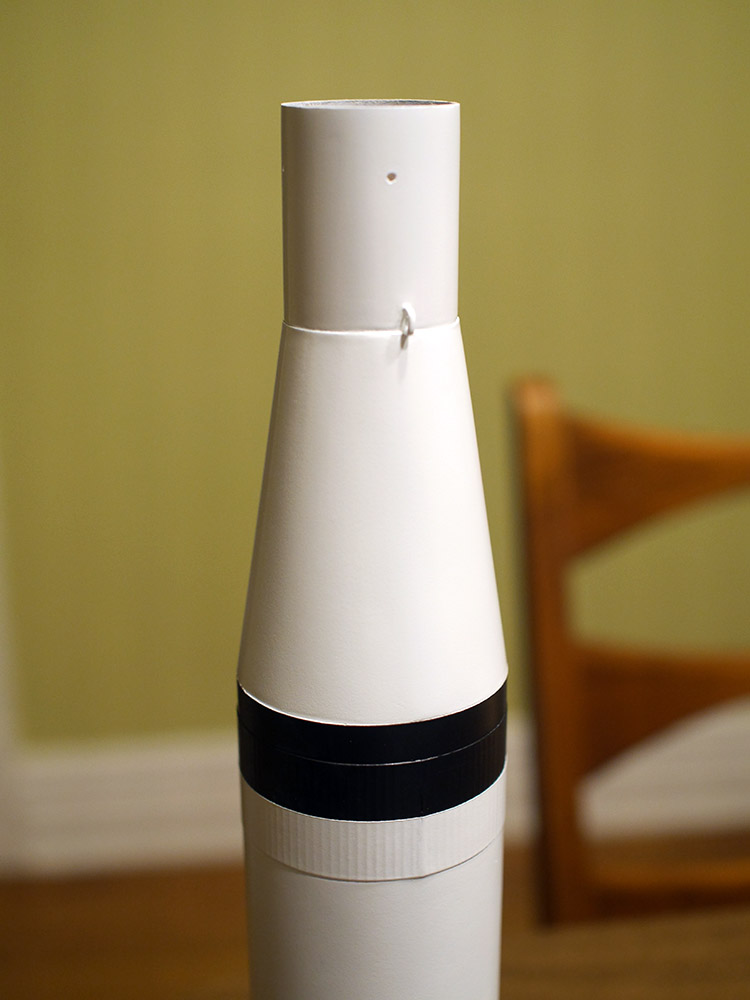
This hook isn't present on the original Saturn, but is needed for the parachute system.


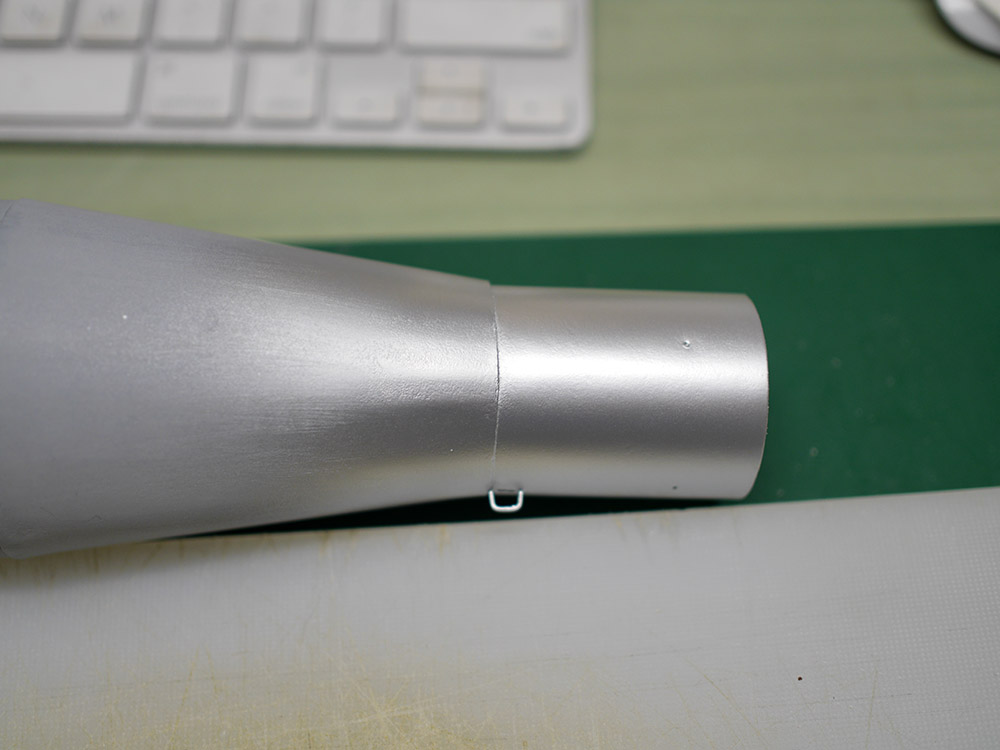


I wasn't happy with the ripples in the transition, so I cut it off, then printed a new template on
glossy photo paper to make a new one.
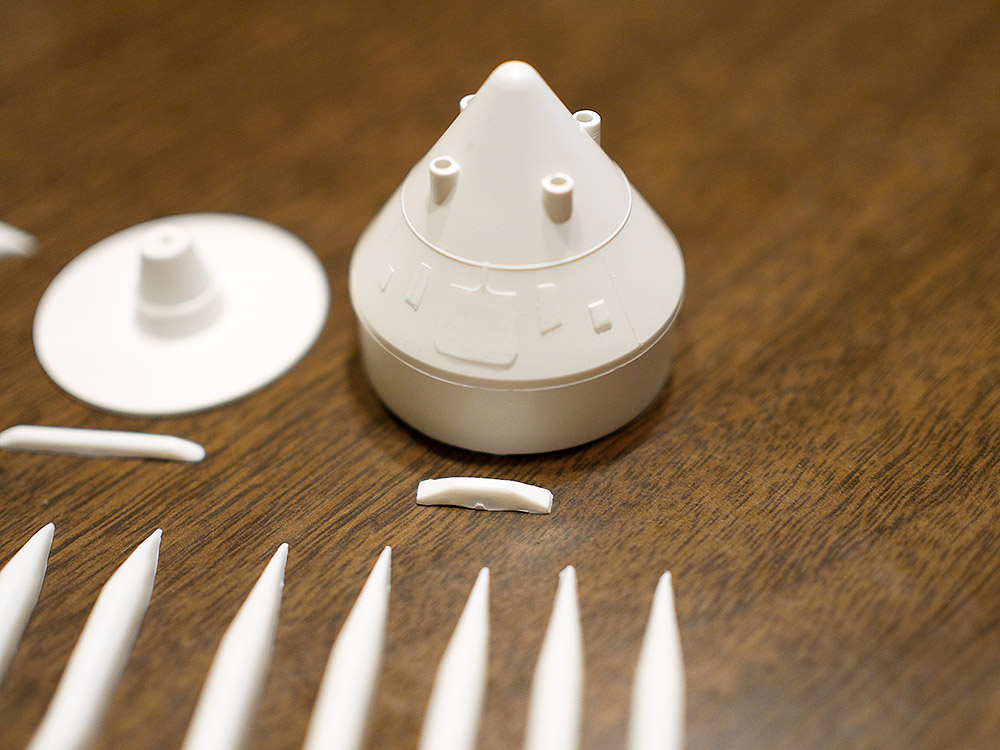
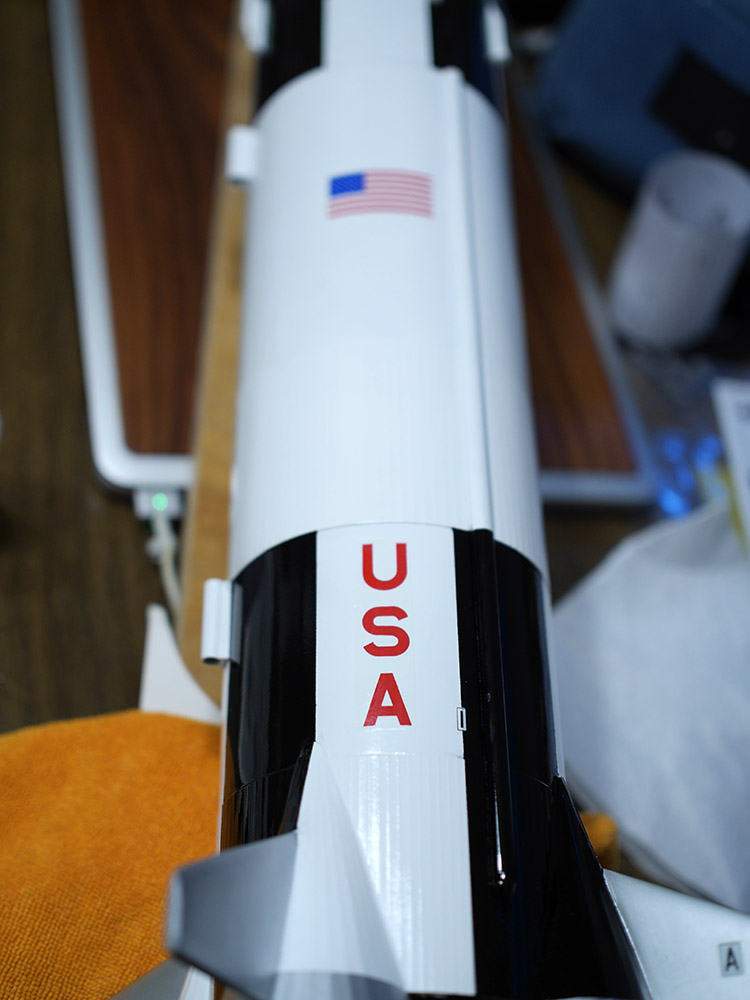
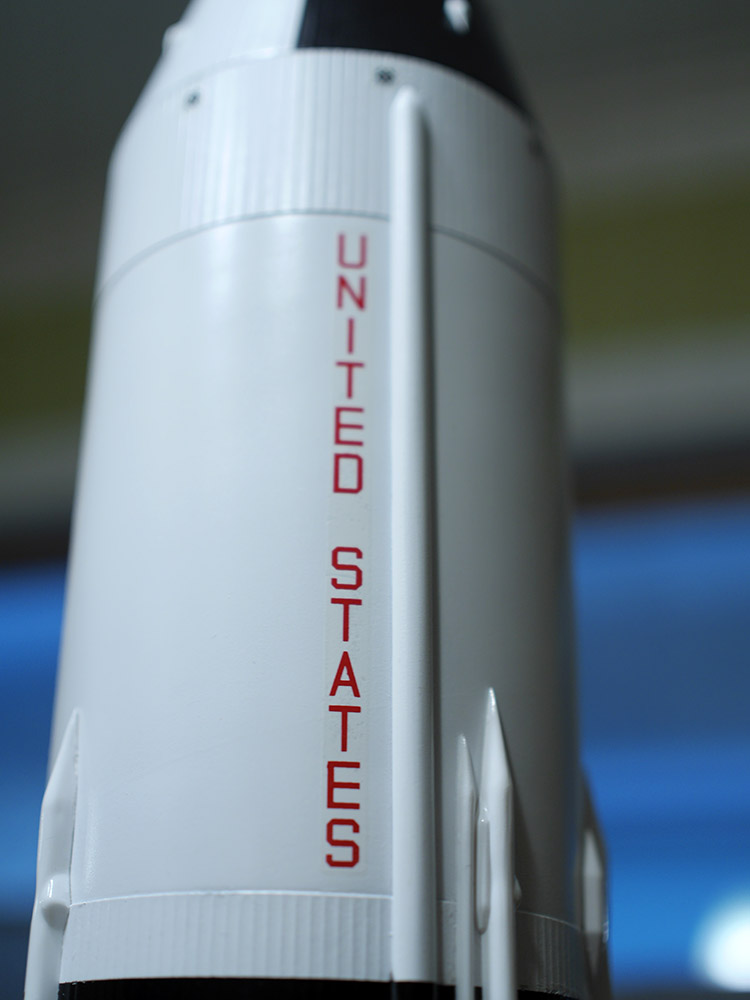
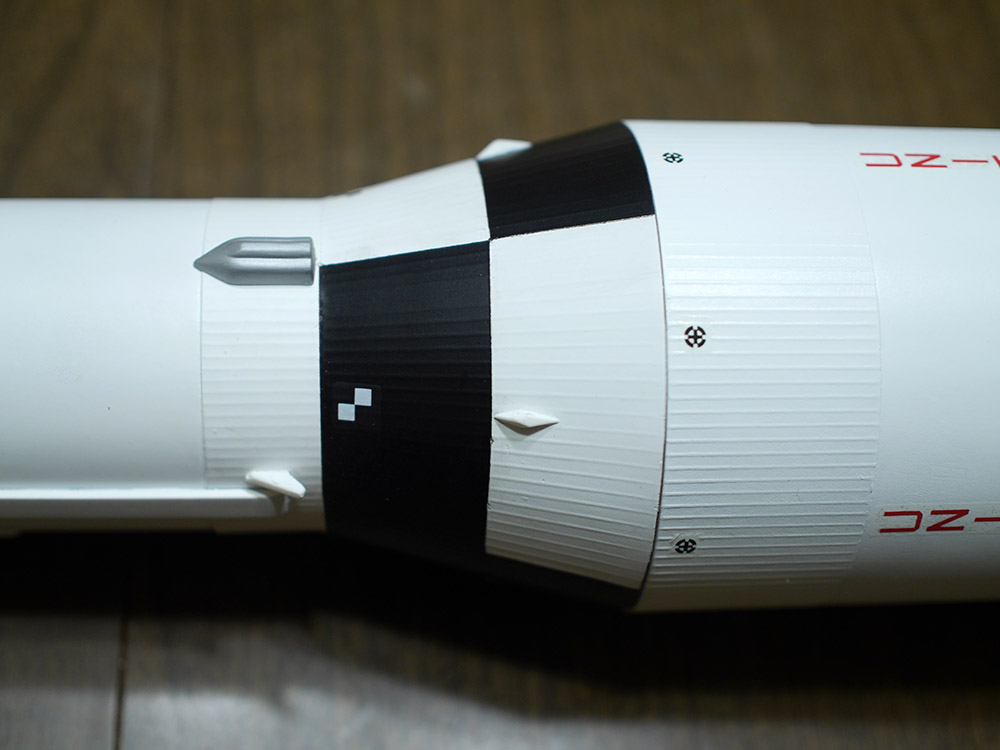
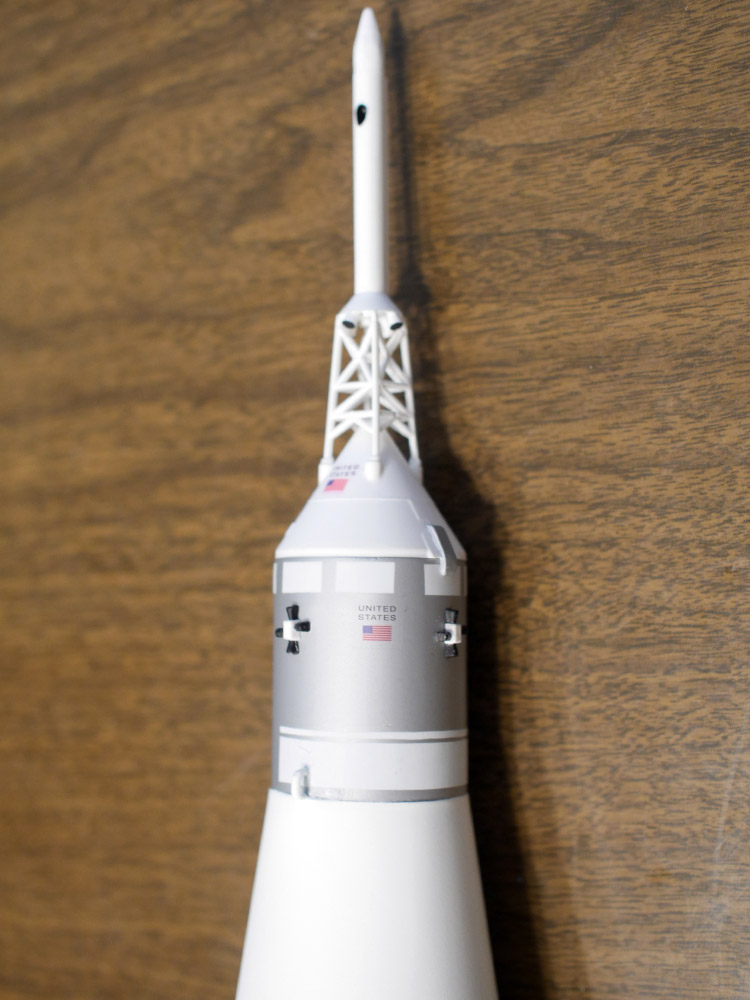
The original Saturn V had more detail on the Command Module than this kit shows. Sadly this
could've been solved with decals but they didn't include them, so I decided to do some fine
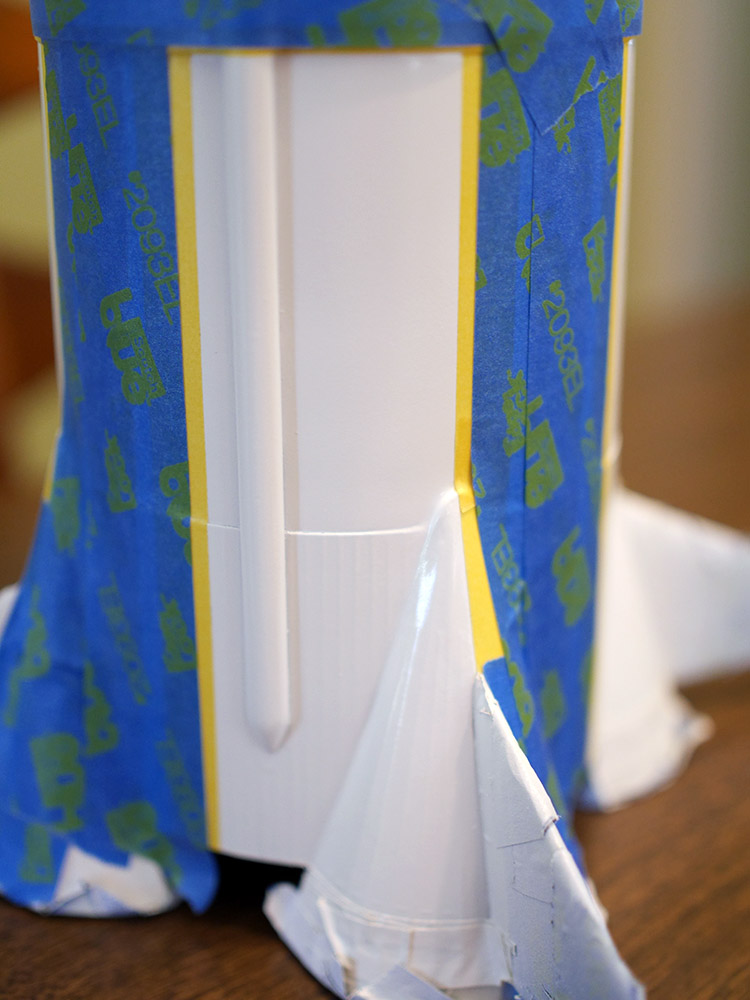
masking to add the white portions.
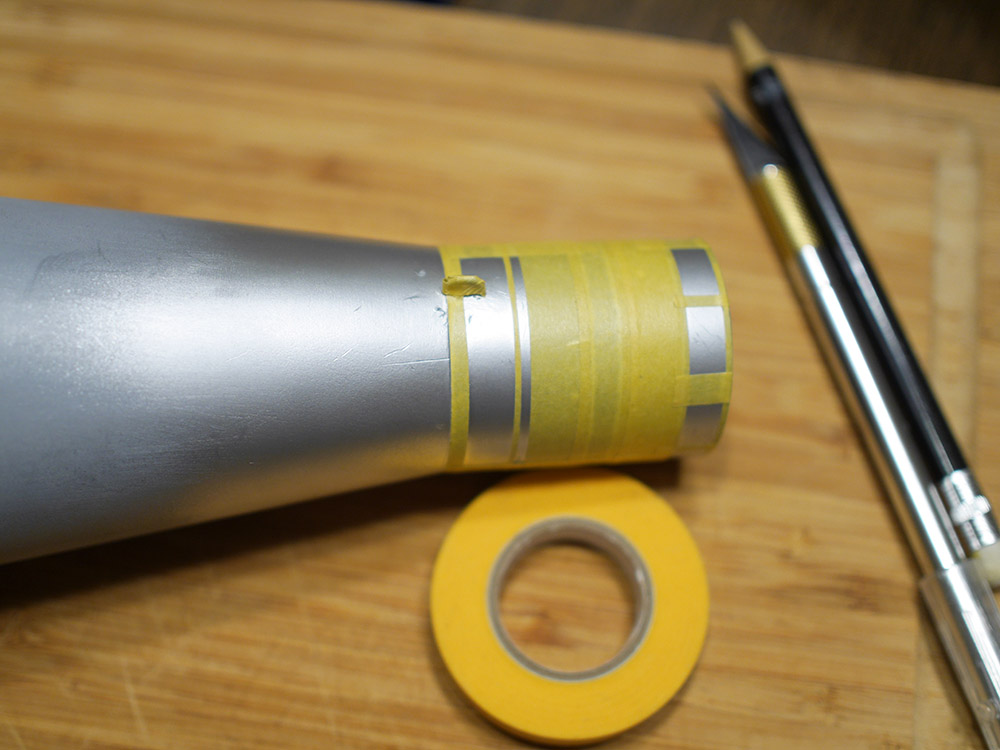


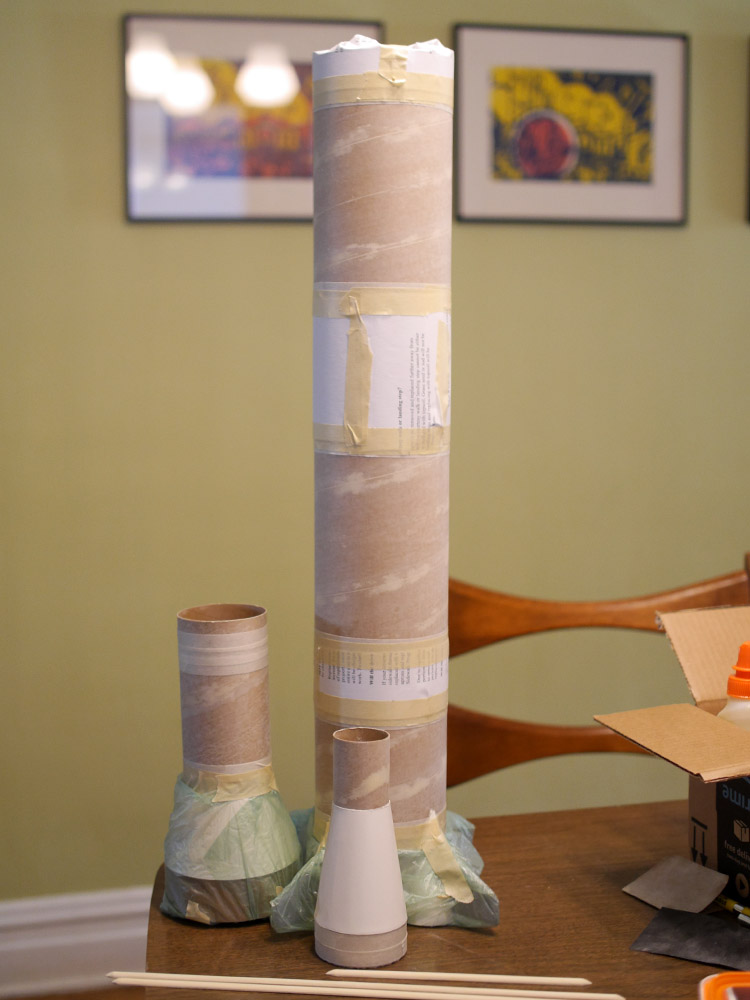
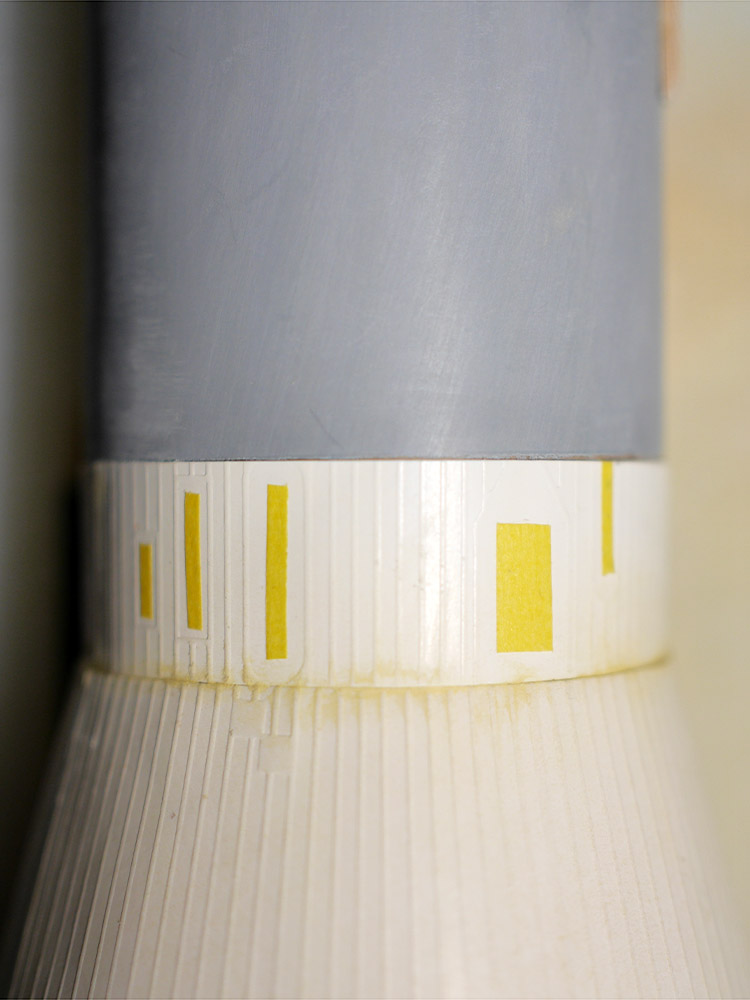
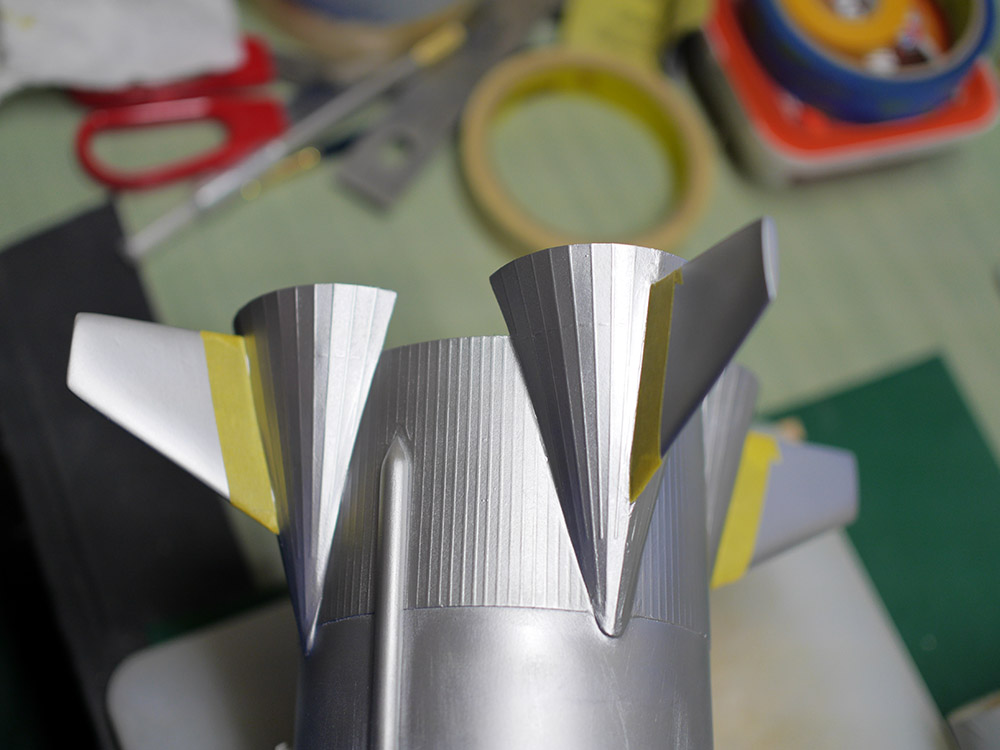
There's a lot of masking to be done. I read on another webpage that Tamiya masking tape is amazing
stuff, and I'm glad I used it. Very nice to work with, provides a clean line, and doesn't pull up the
paint underneath! Still, I ended up having to re-do a couple sections to get everything just right.
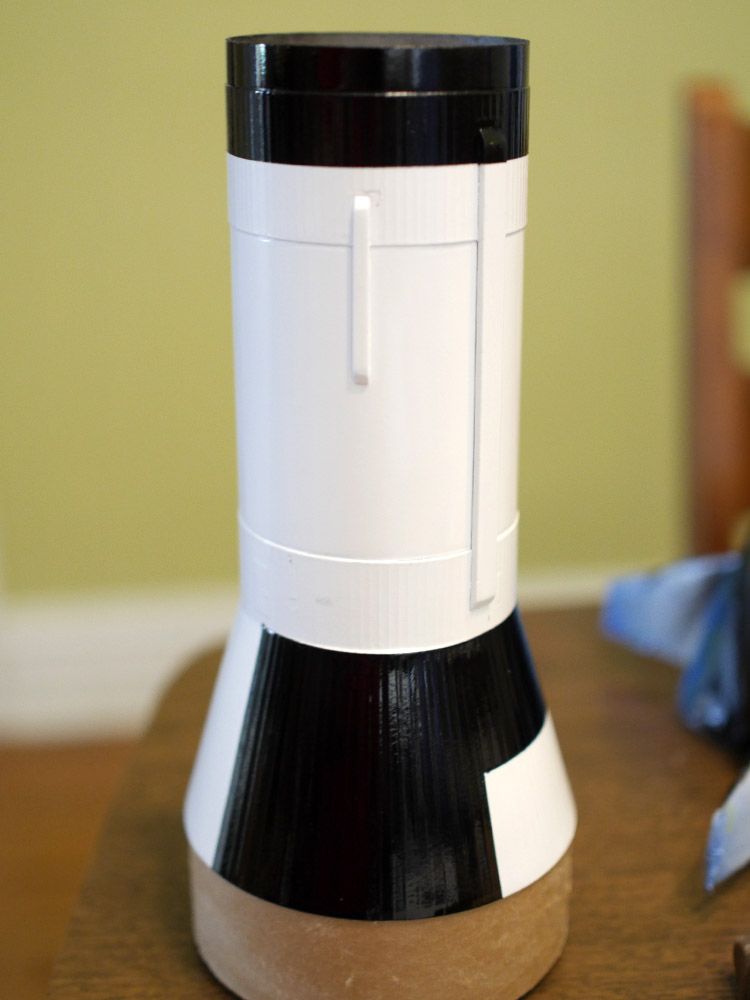
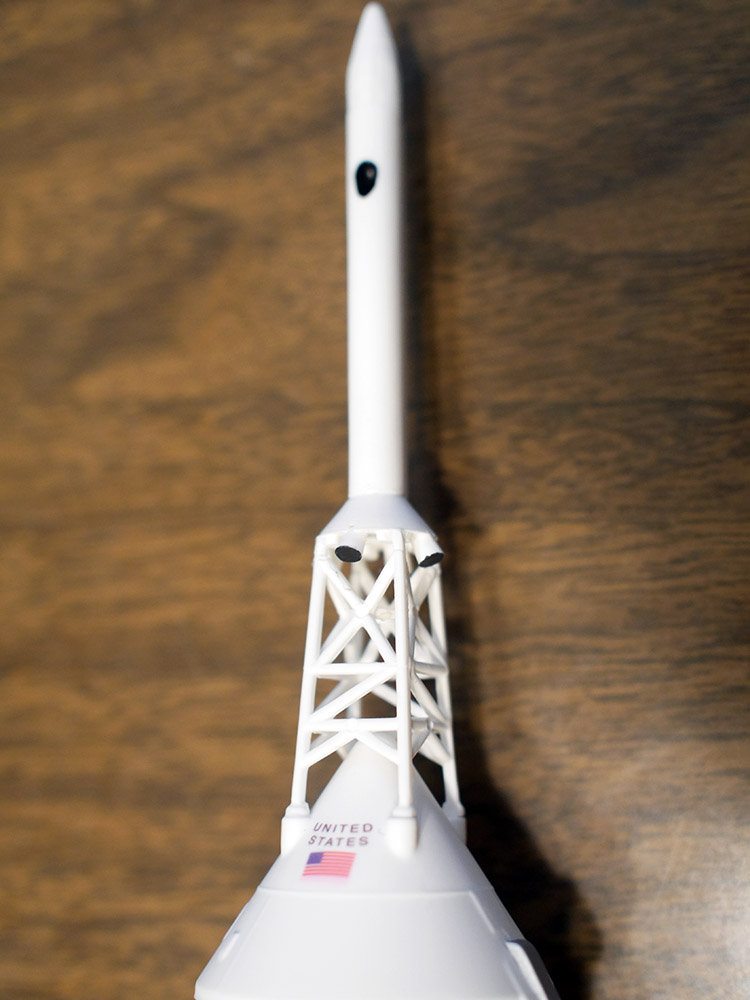
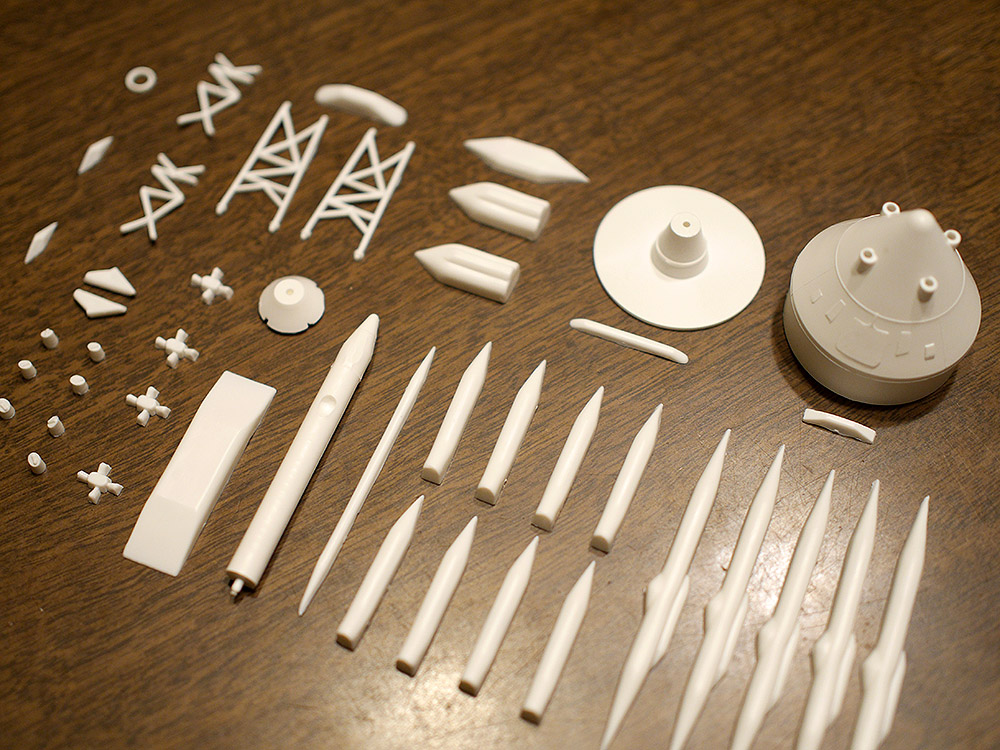
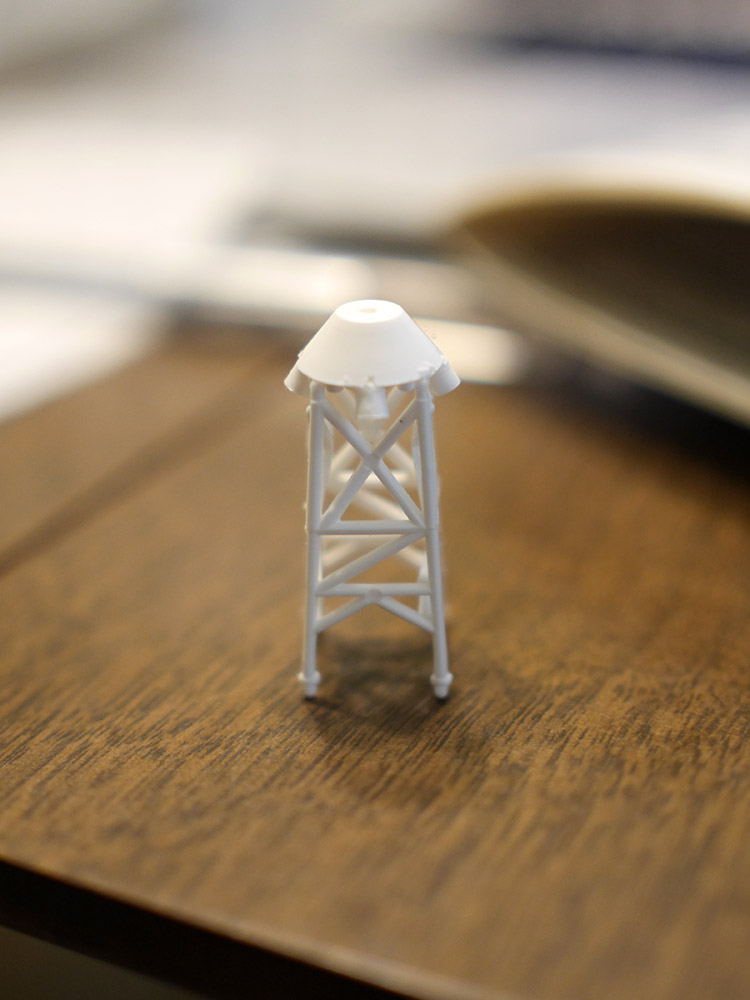
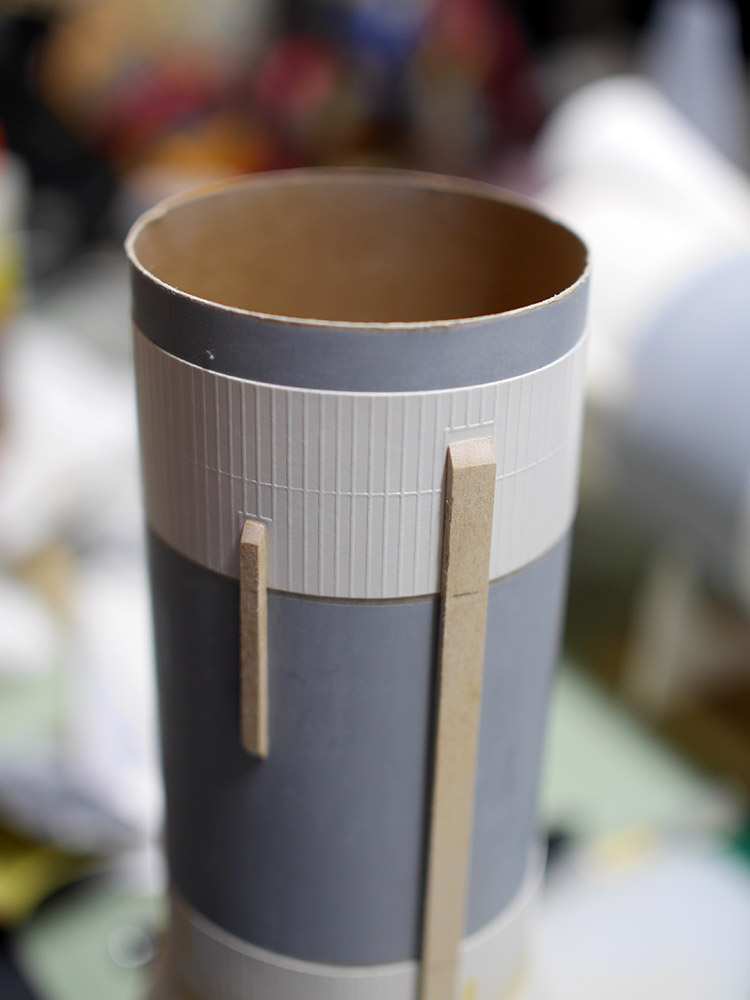
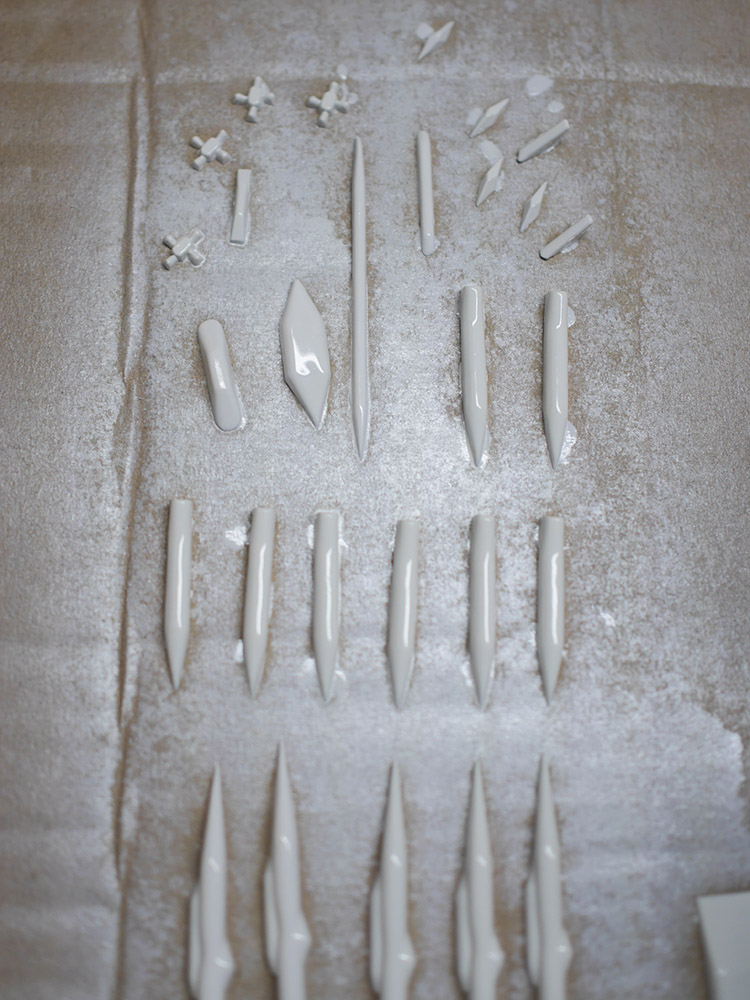
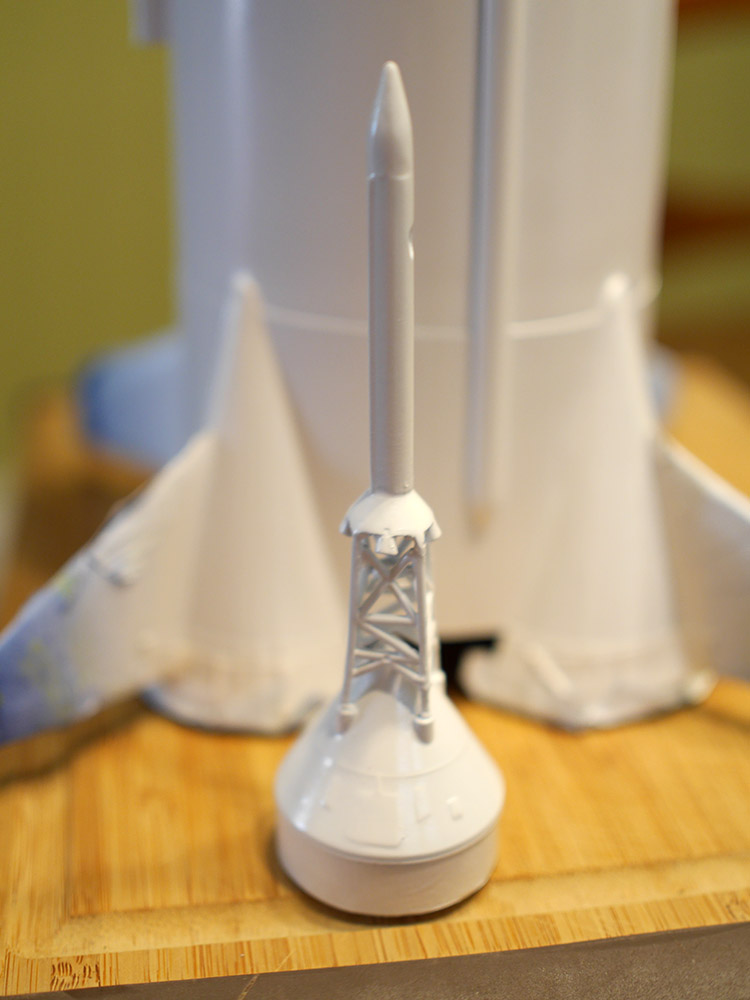
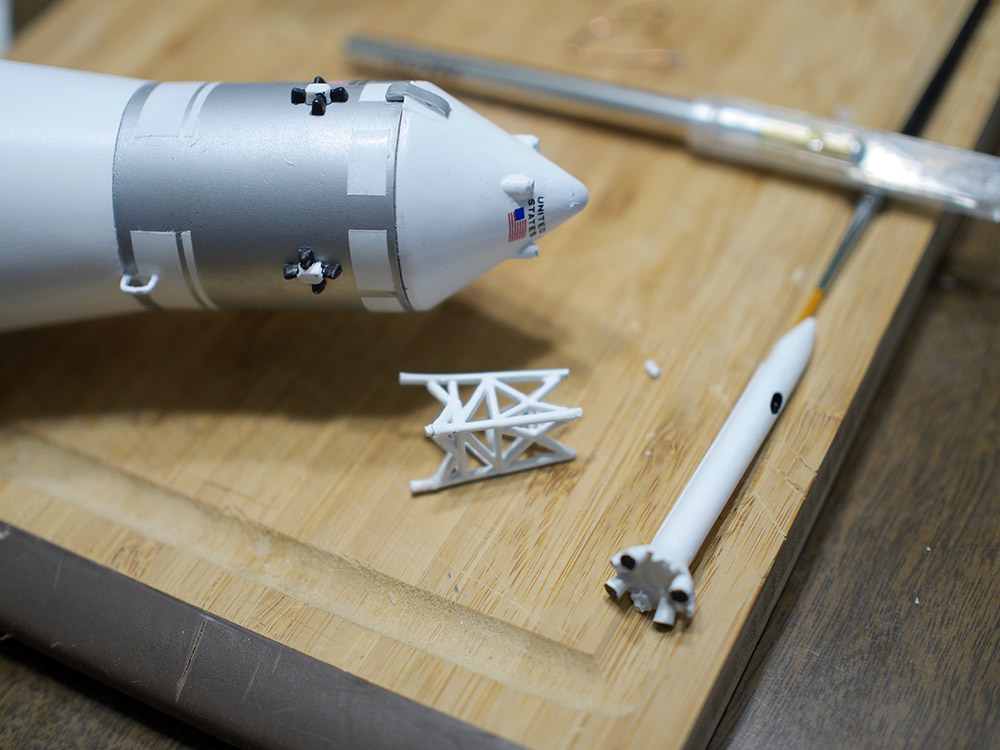
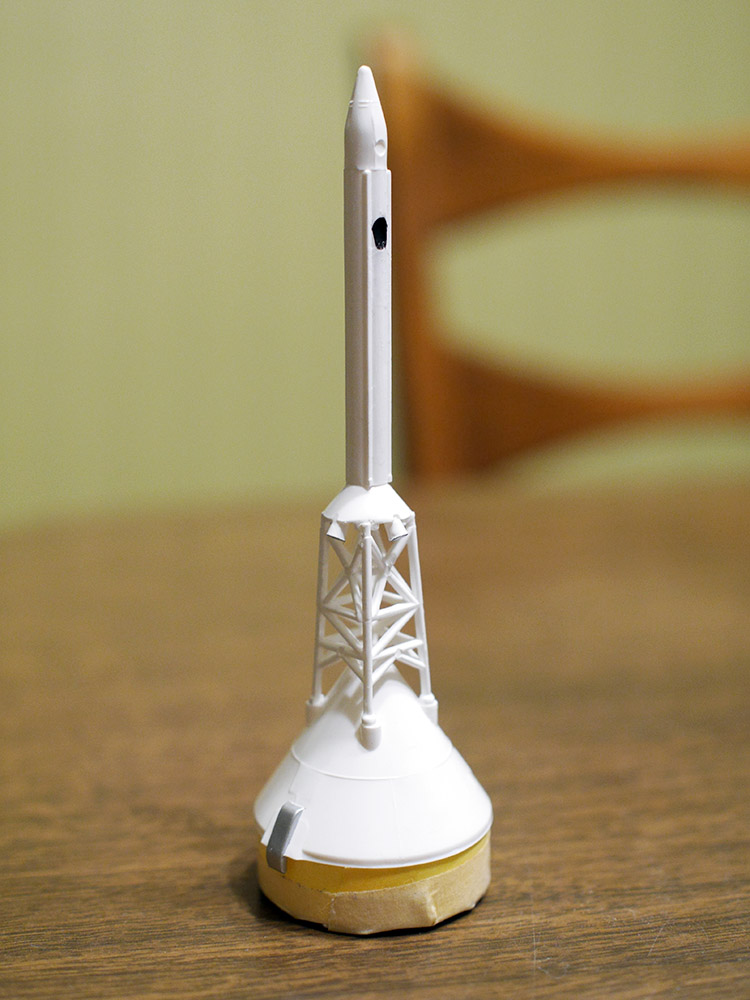
I broke the scaffolding a couple times during the build, so it gets progressively chunkier
looking as the process progresses. Estes sells the capsule and scaffold setup separately, but
they're indefinitely out of stock right now so I'll have to go with what I've got.
Gluing the small details on coated my fingertips in superglue pretty nicely.

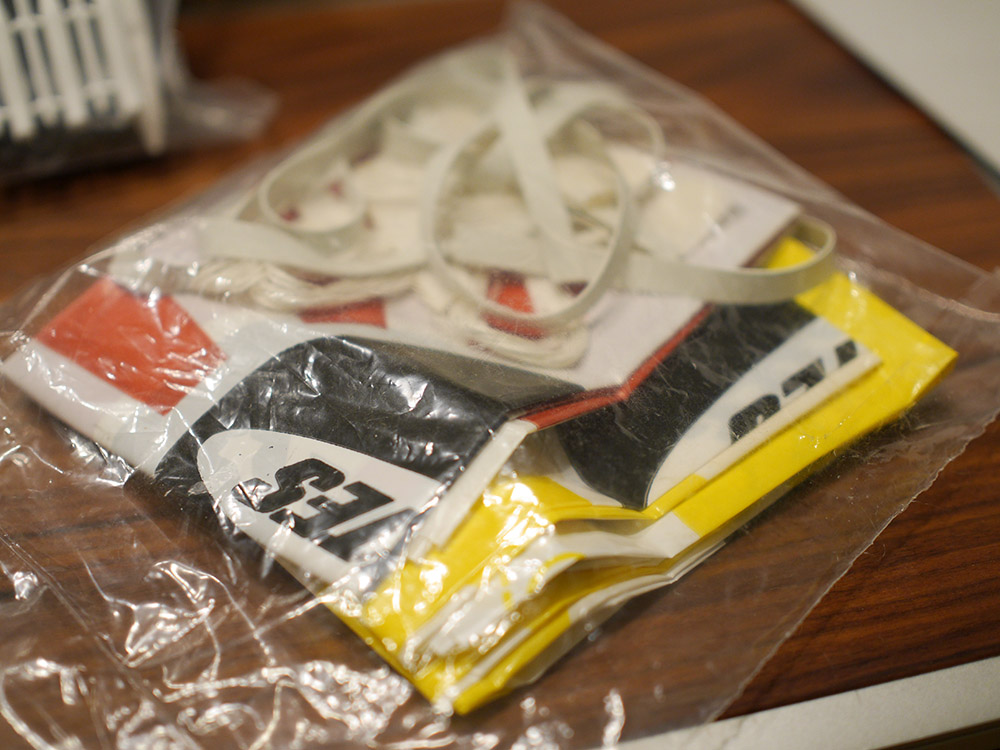
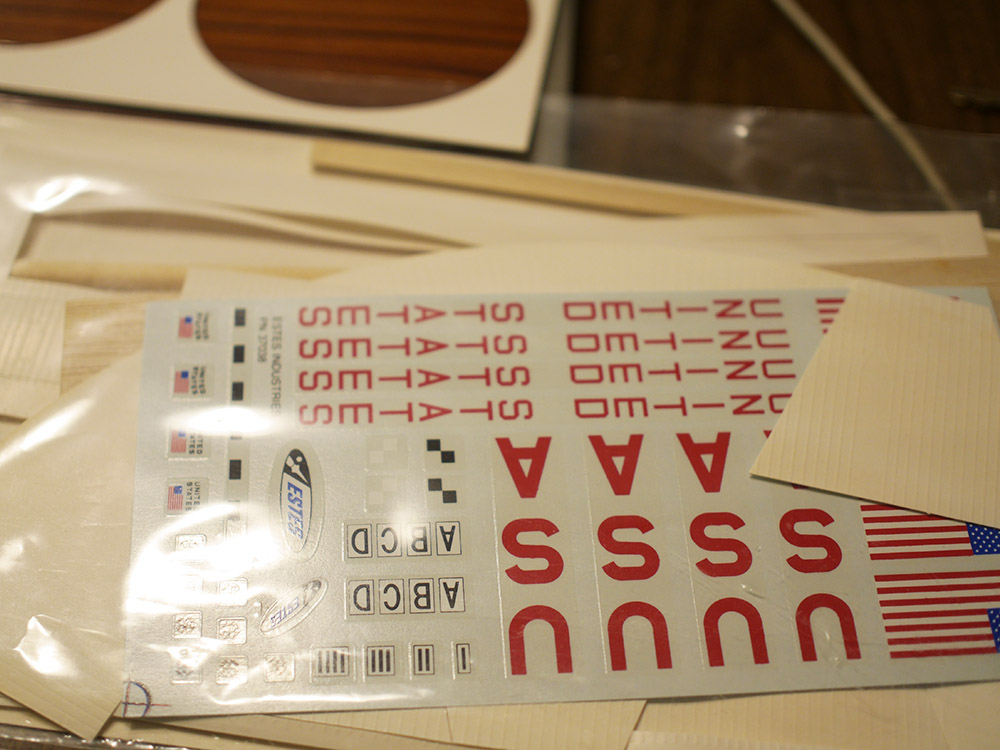
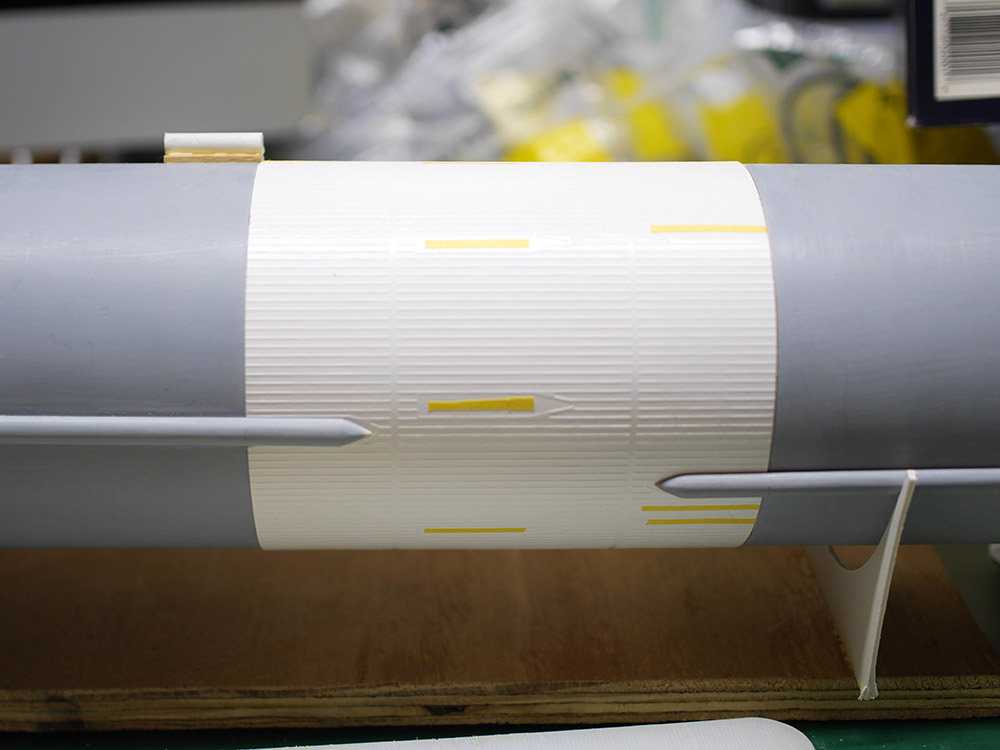
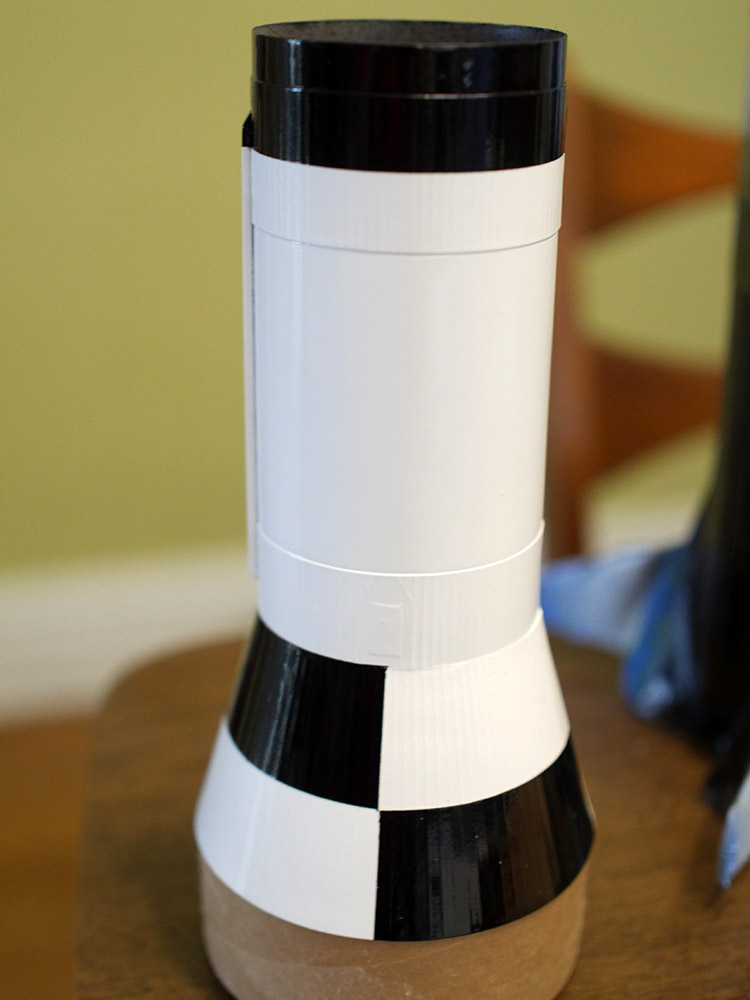
Time for decals. I know that Micro Set and Micro Sol are invaluable due to my
previous experience with model trains. The decals on this kit were excellent quality.


As I was spraying on the flat clearcoat, I dropped the top 1/3 of the rocket on the garage floor, which
resulted in several expletives. Once again I had to glue the scaffold back together, and I also had to
re-mask and spray some of the black sections which got scuffed in the accident.
The Tamiya flat clear is amazing, and provides just the perfect amount of satin finish.

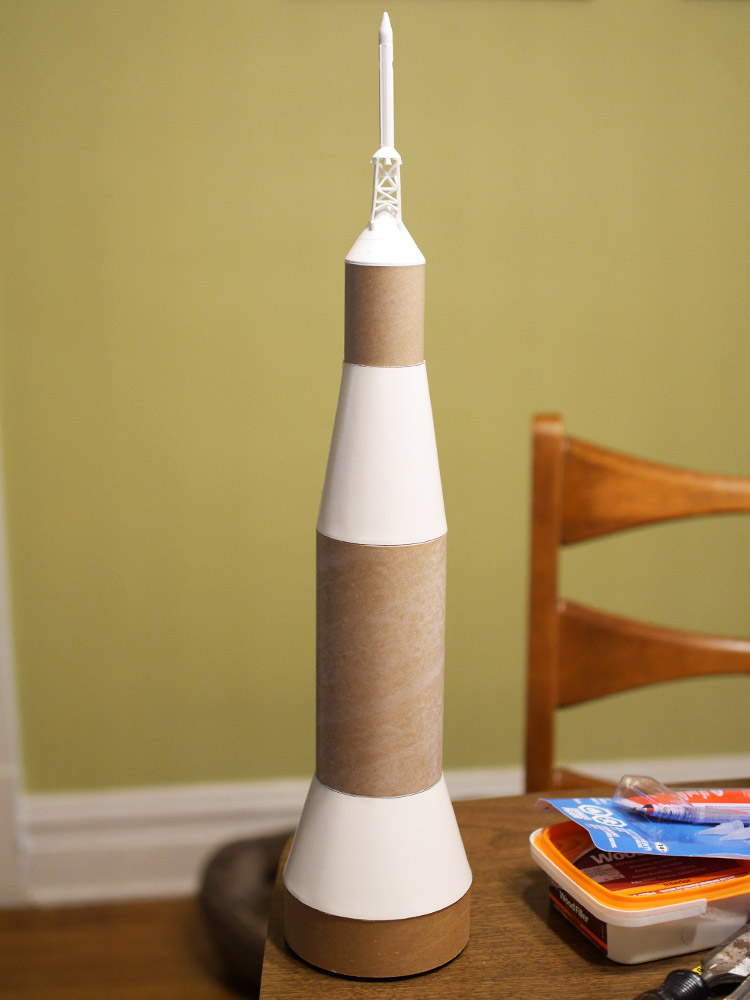
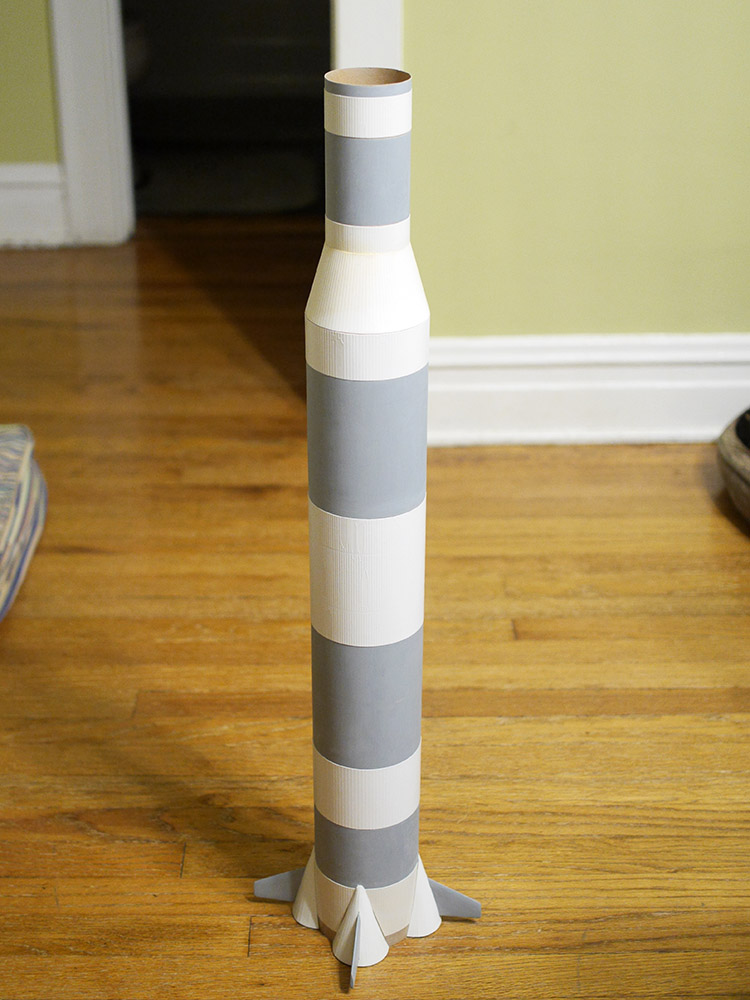
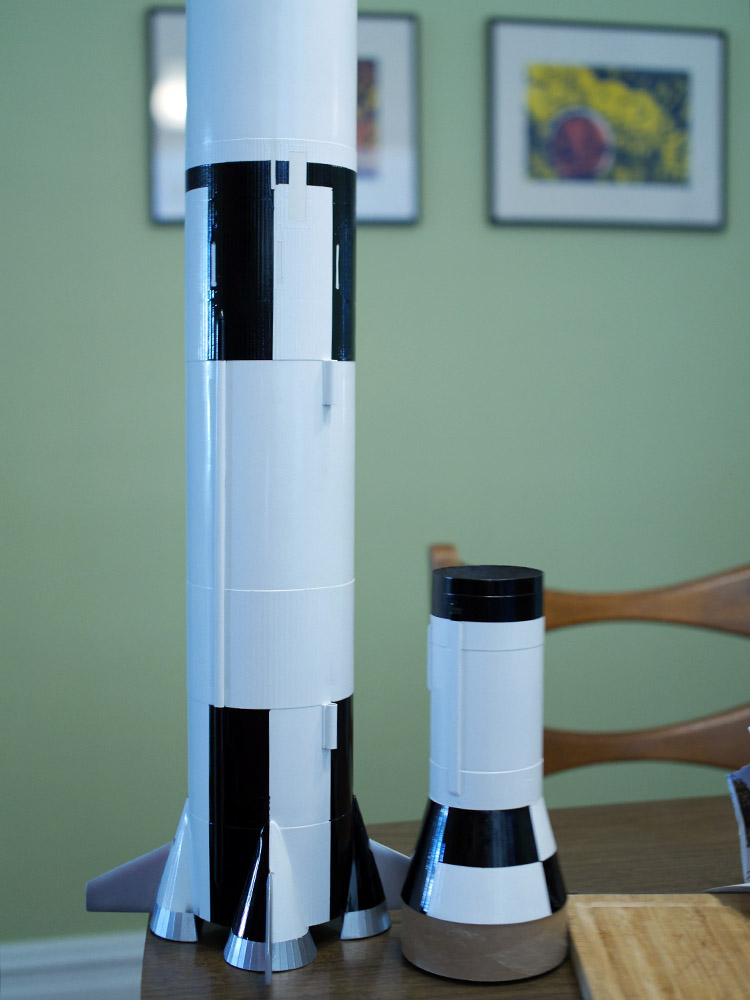
It came out great! Bea is tired from a month's work on this rocket. But Bea is always tired.
*** update ***
I bought a 1/100th scale Estes Little John II kit off eBay, and it uses the same capsule and
escape tower as the Saturn V, but the instructions tell you to sand all the detail off of the
main pieces. I decided to use the brand new, nice capsule and tower on my Saturn, then to rework
the old one that I'm not happy with for use on the Little John.

Since I had used CA glue to attach the capsule (as instructed), it was quite hard to remove.
I gently rocked it back and forth with my thumbs for about half hour until I had gotten it loosened,
which gave me a couple blisters but worked. Unfortunately it also bent the tube a bit, so there
was some repair work to do.

I coated the inside of the bent portion with CA glue to reinforce it,
then used wood filler to smooth it out externally.
The repairs came out well. Phew!
I was extra careful assembling the new capsule and tower.
This time instead of fine-masking the white portions of the command module, I cut rectangular
sections out of white water transfer decal paper and applied them. The result looks better than
the paint, and took less time too.
The completed tower assembly after spraying with Tamiya Flat