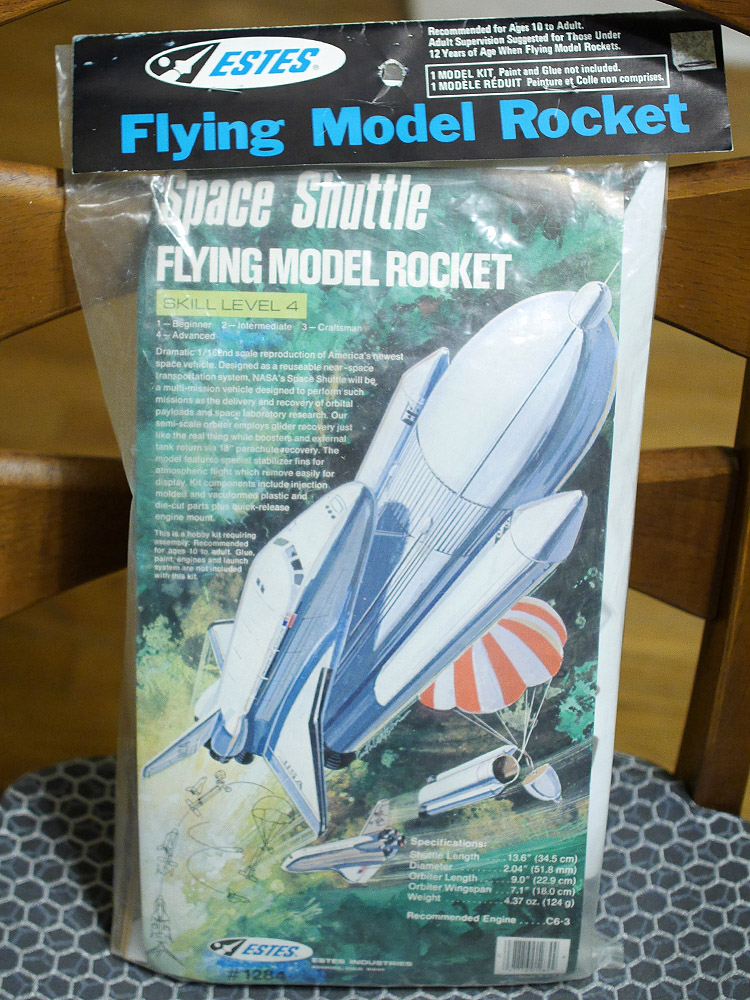
Estes Space Shuttle #1284 build
This seems to be the coolest space shuttle kit Estes has made, so I picked one up on eBay. It's
not only the most realistic and complete, when you launch it the solid rocket boosters and
fuel tank return via parachute, while the orbiter detaches and glides to the ground just like
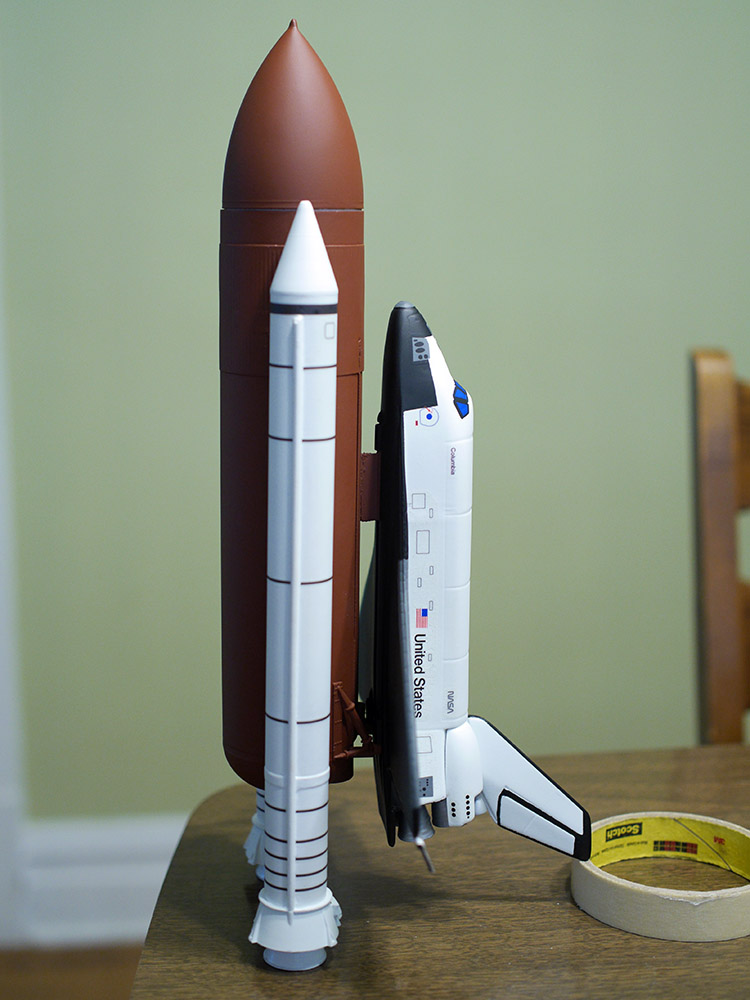
a real space shuttle! My only complaint is that it's a little on the small side compared to my
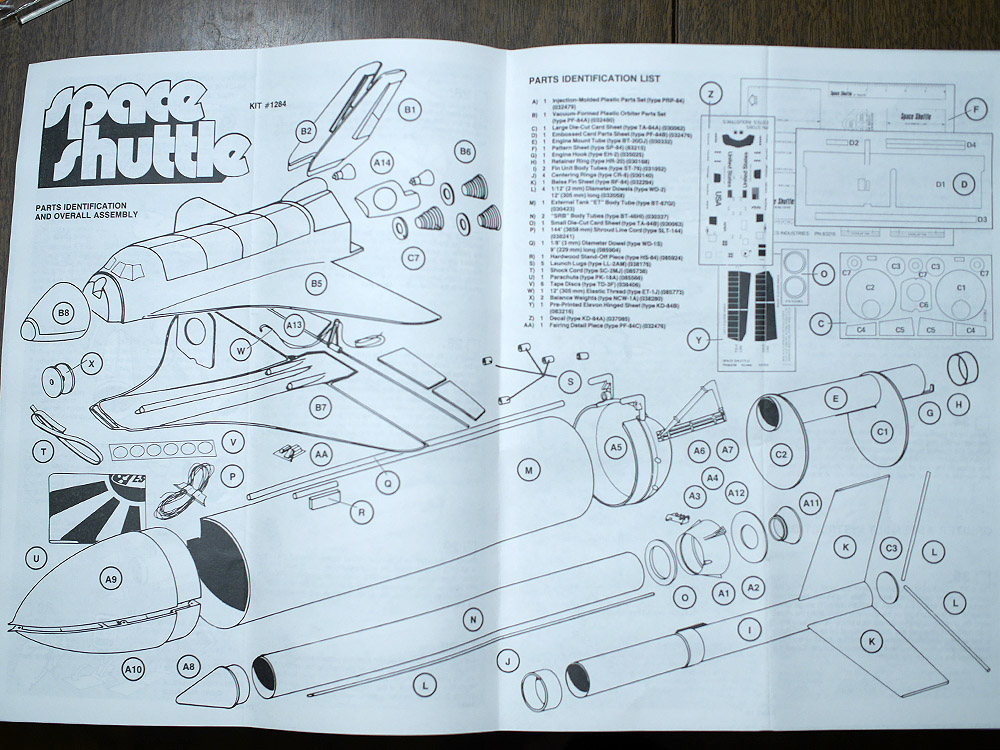
other scale rockets. It was a pretty fun build with some unique assembly steps.

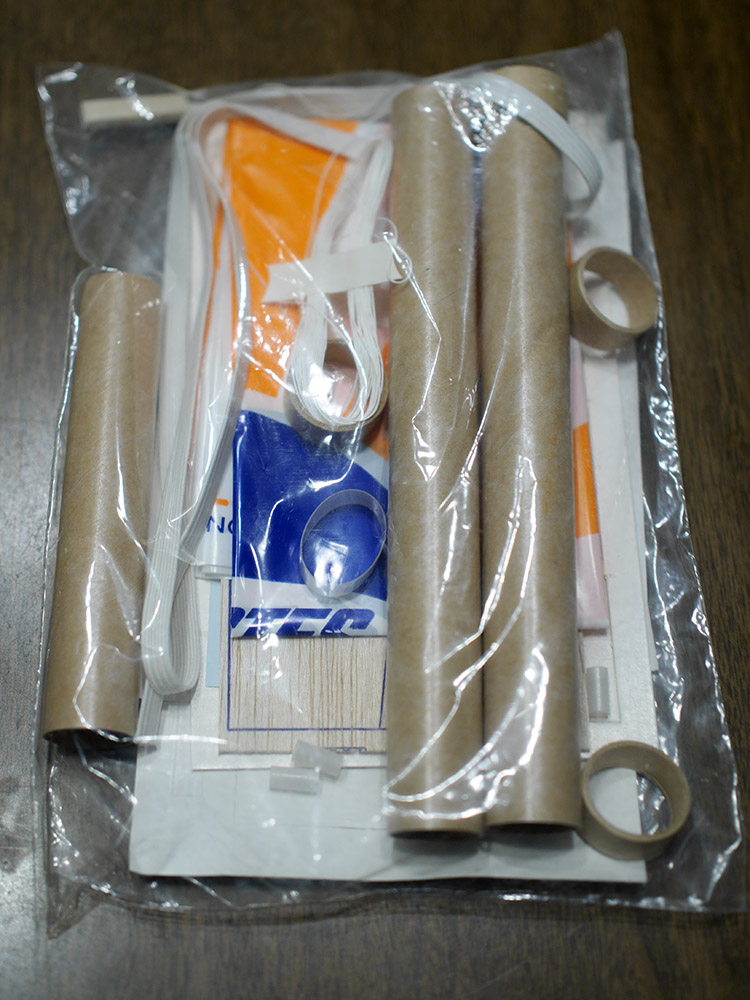
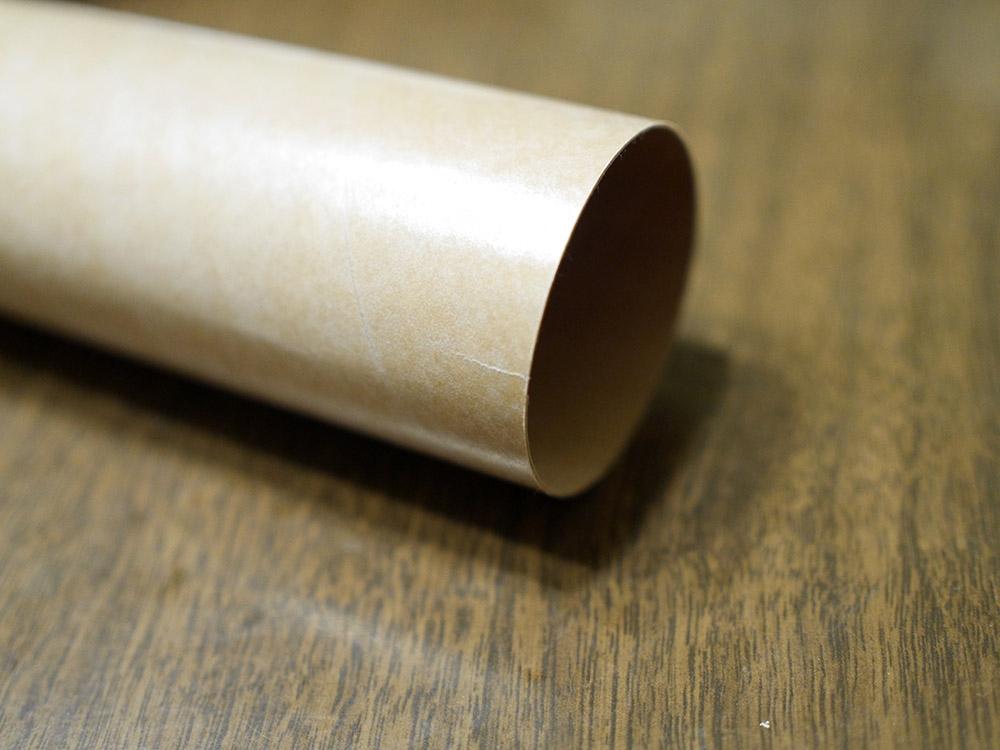
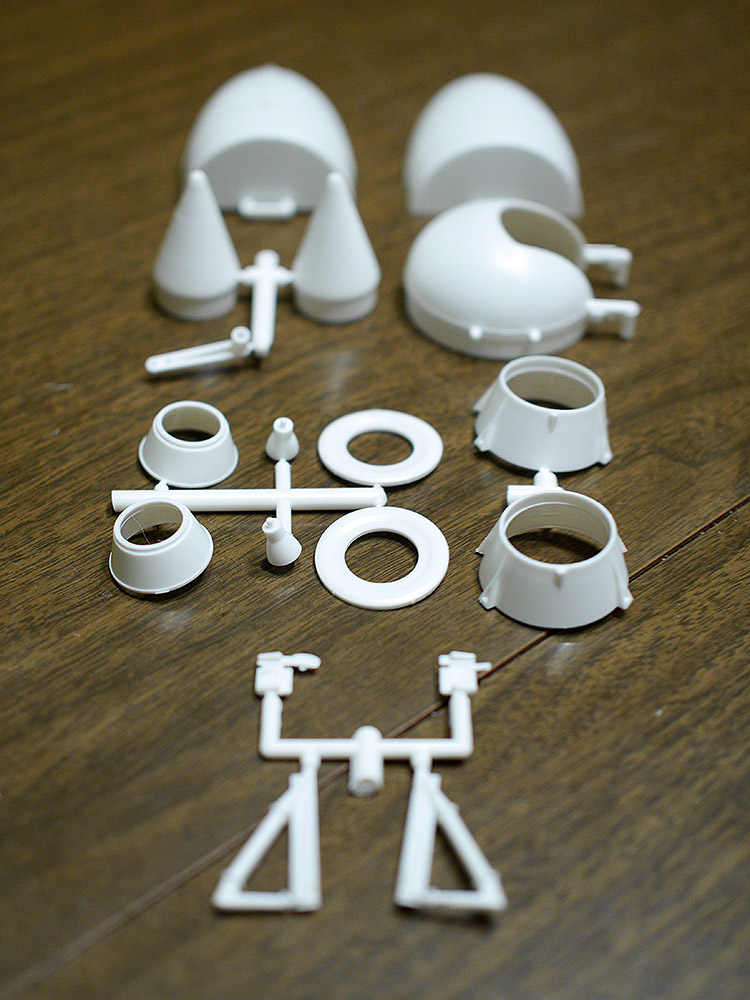
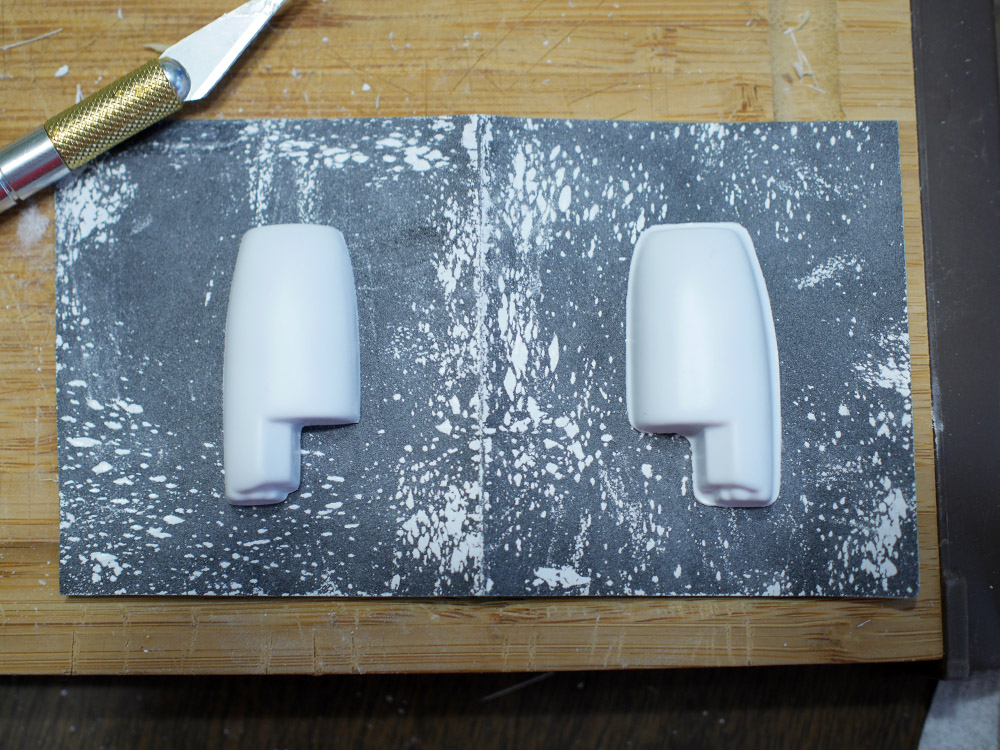
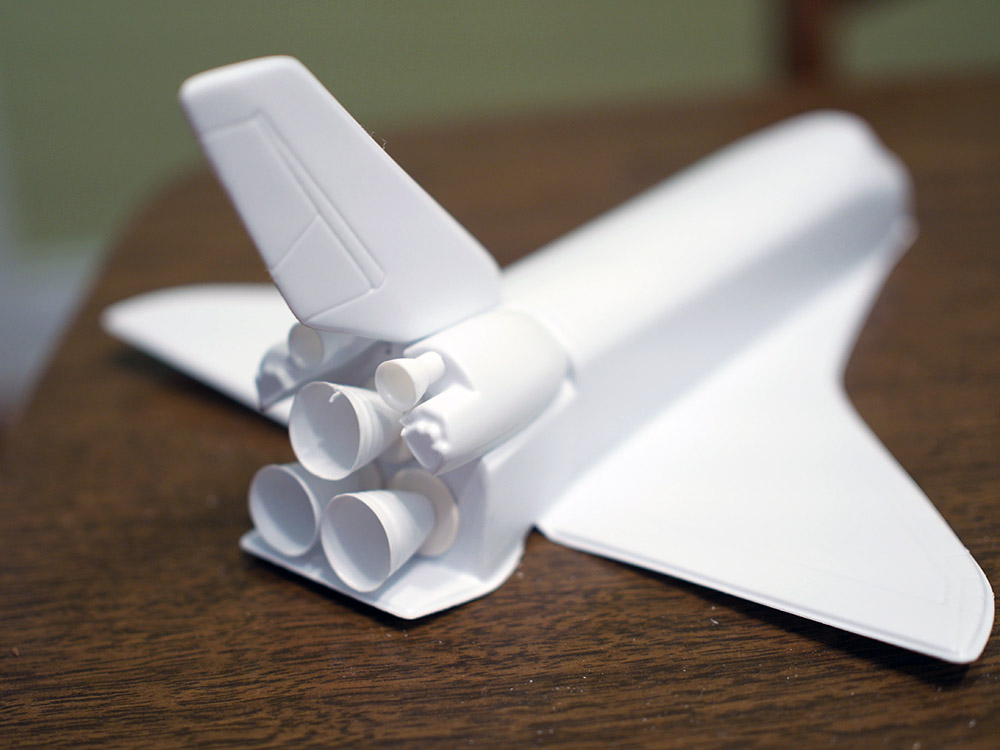
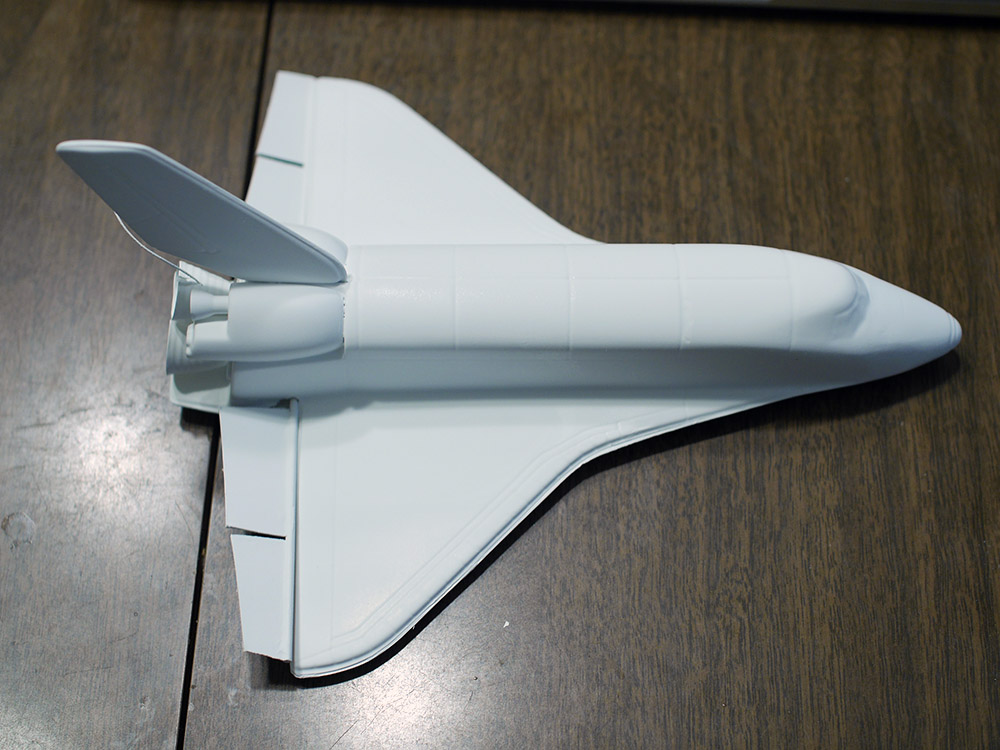
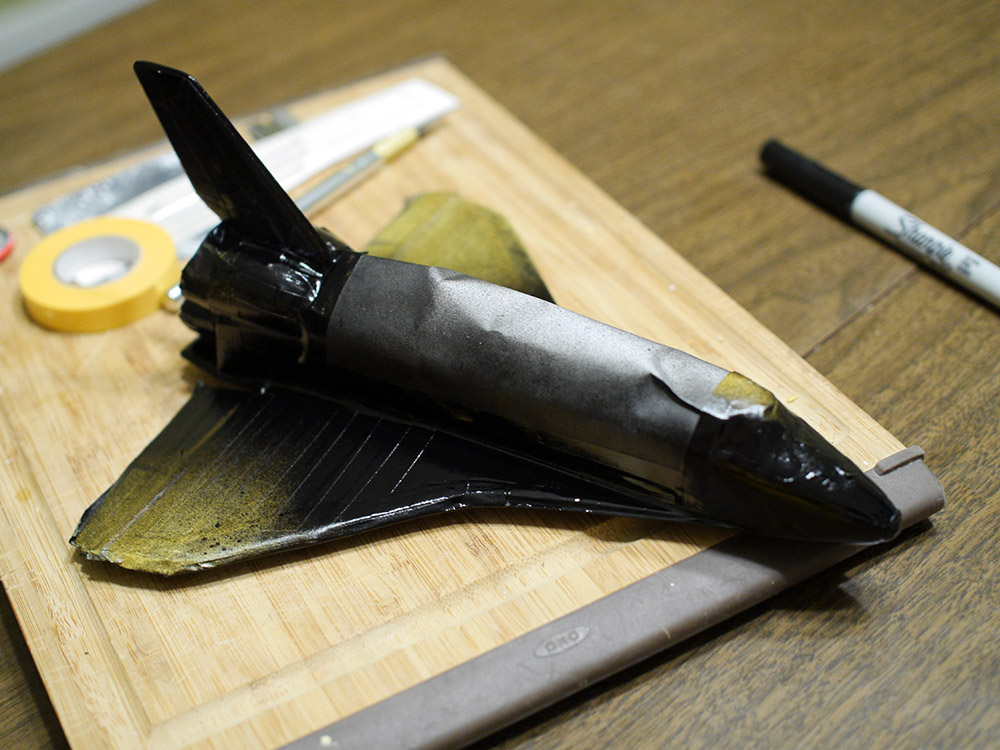
The orbiter is made from a very thin, lightweight injection molded plastic.
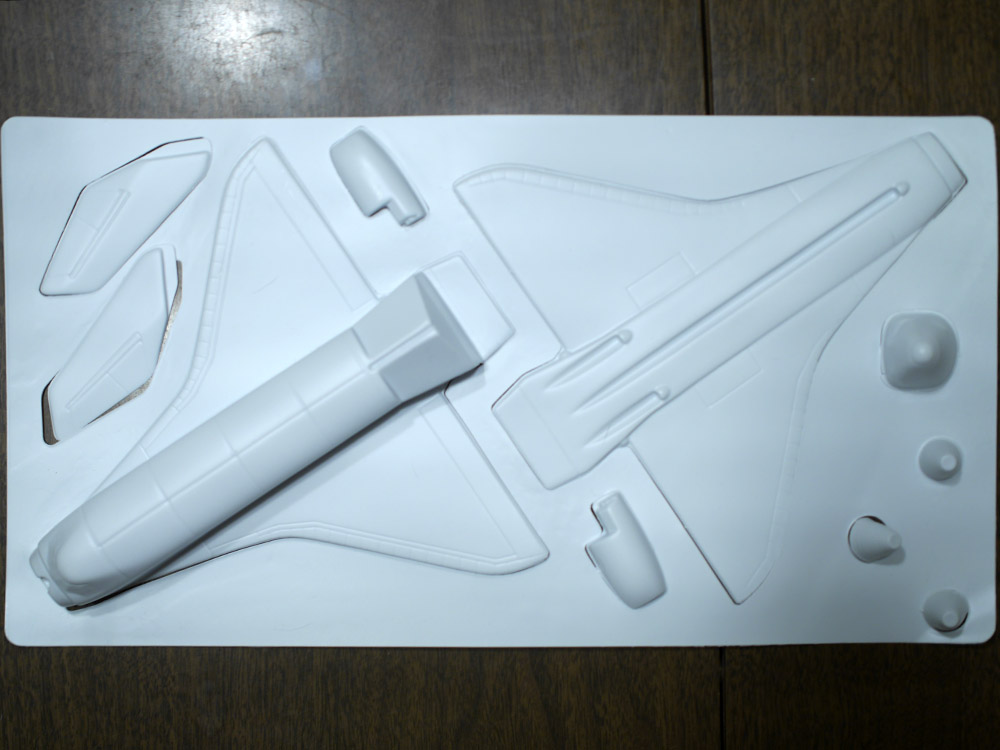
My kit was crushed a bit in shipping. I'll have to do some work to smooth out some of the components.

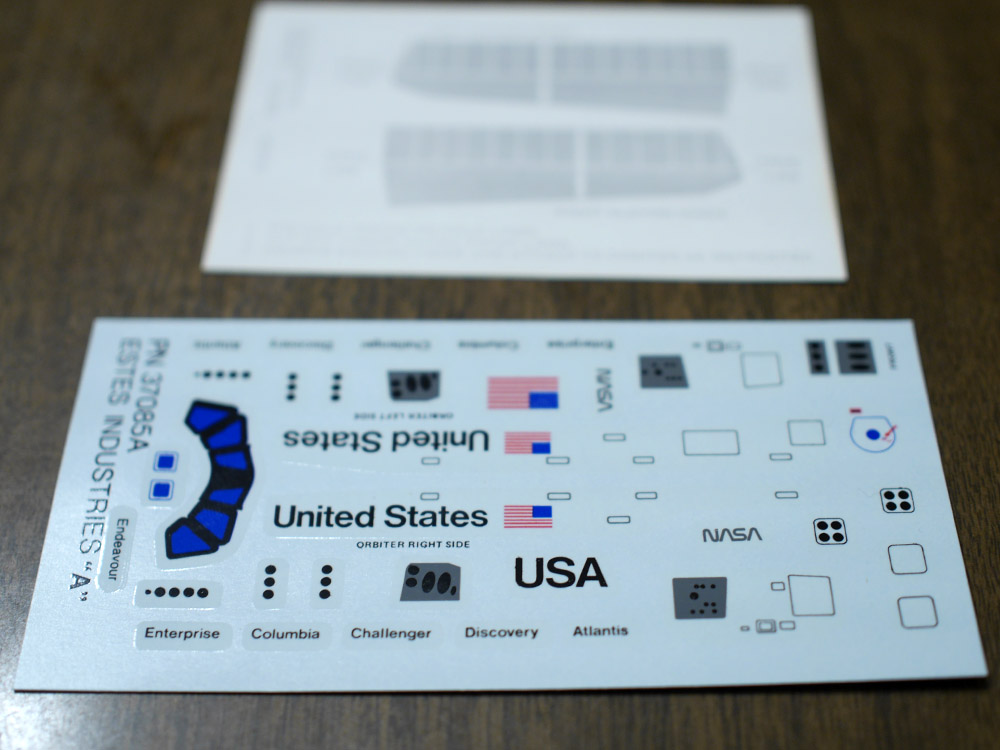
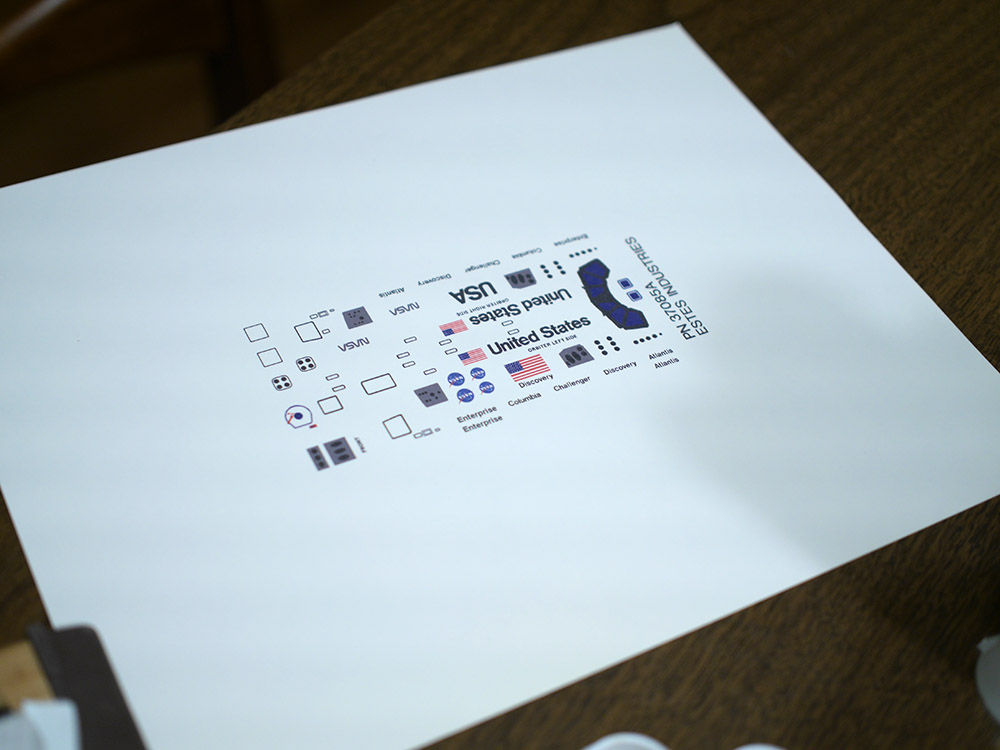
Lots of good detail decals, and they let you select which shuttle you want to build which is a nice touch.
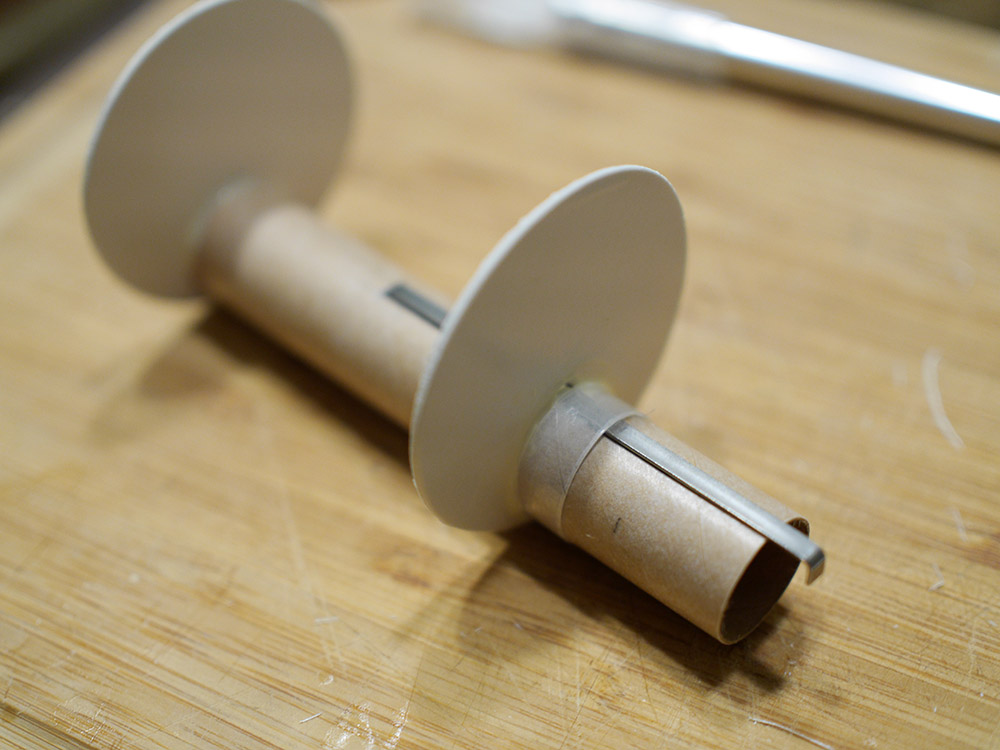
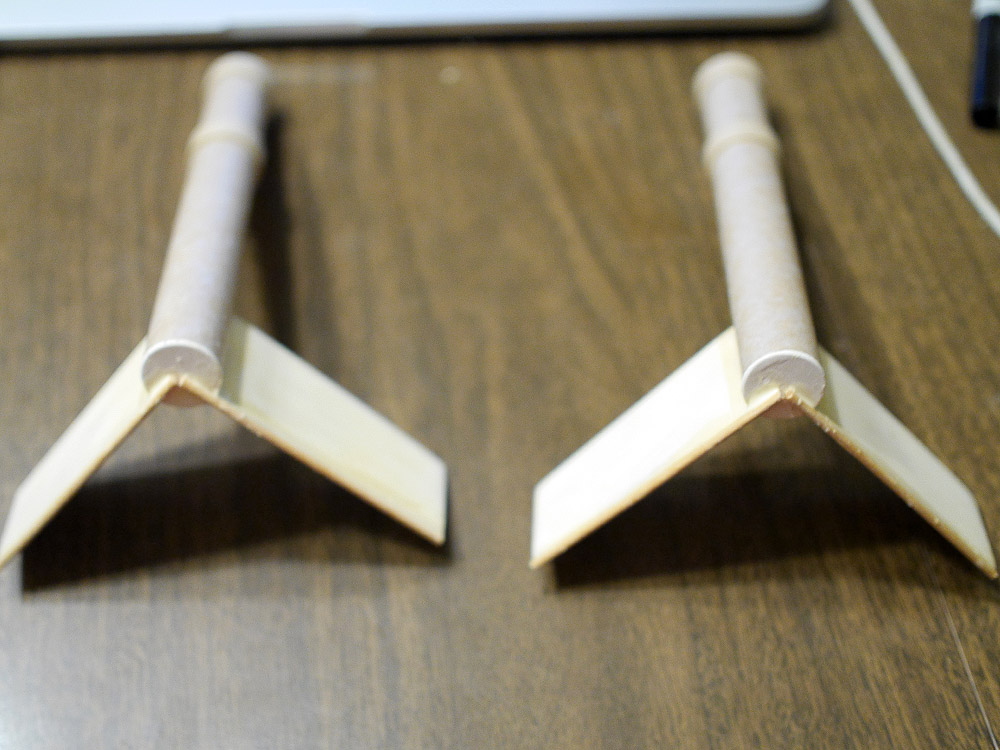
The model requires two large fin units to fly straight. These are inserted into the SRBs at launch time.
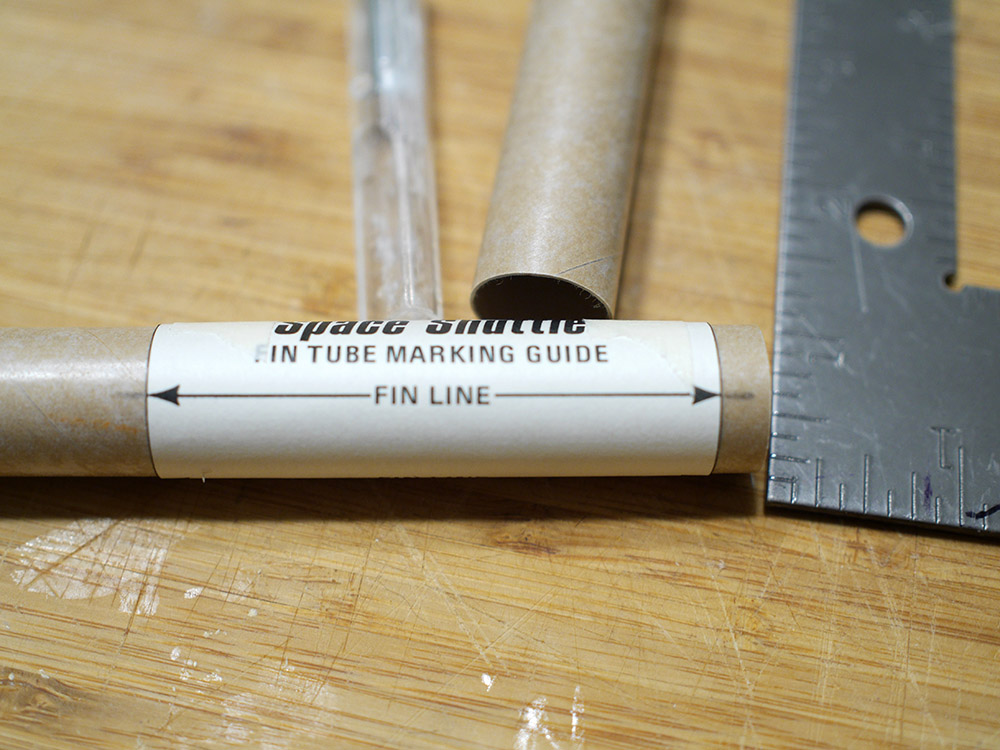


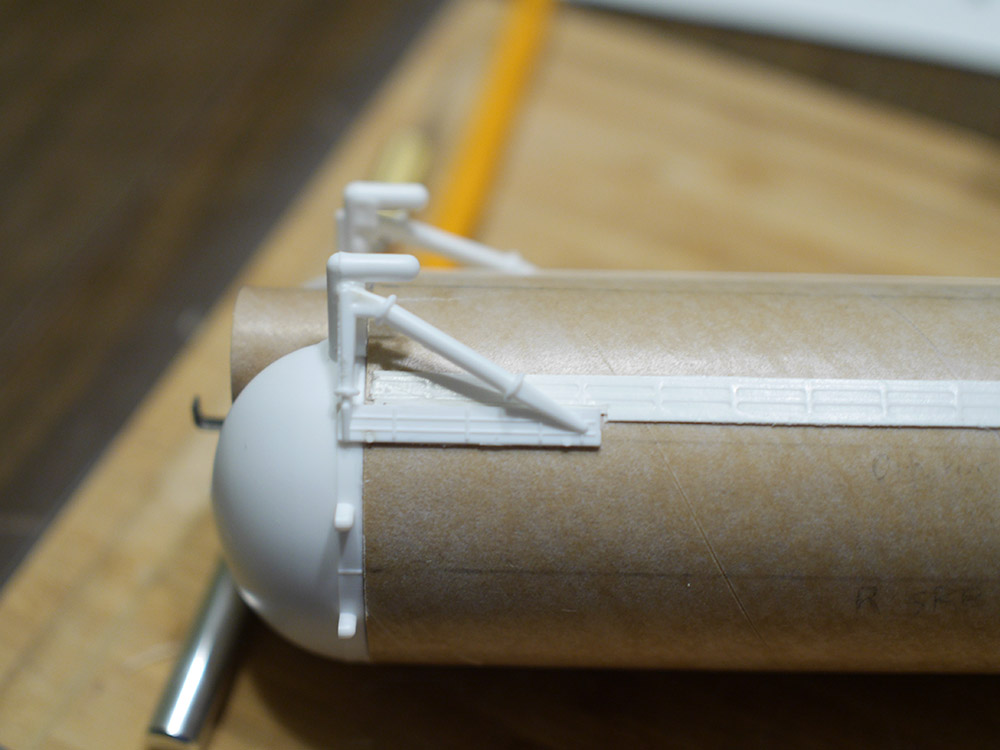
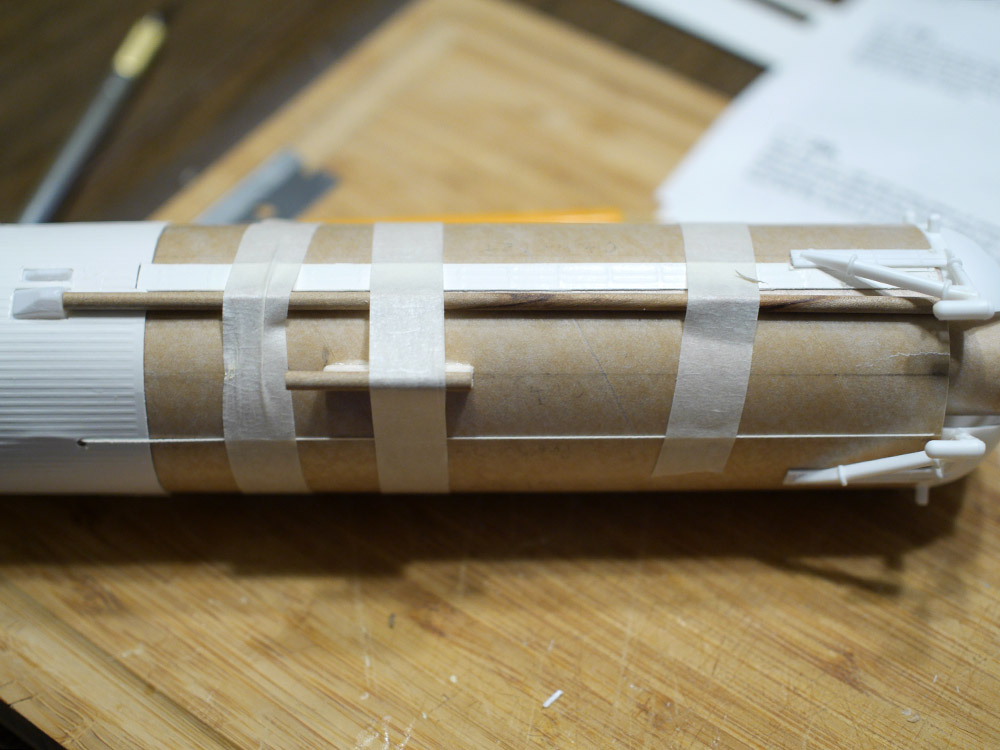
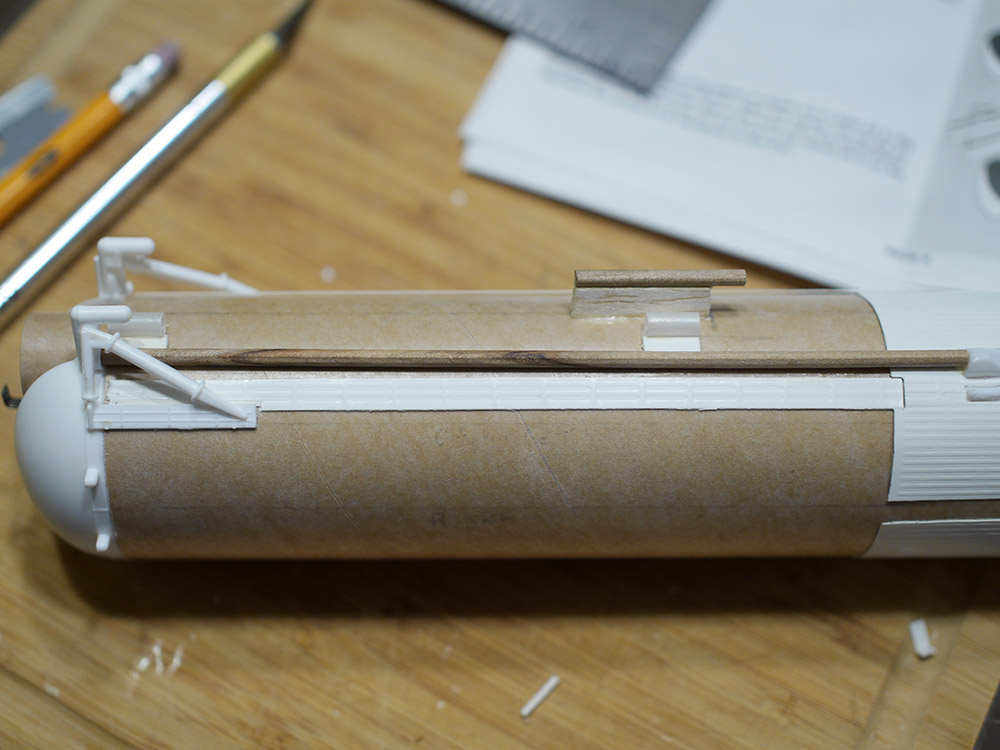
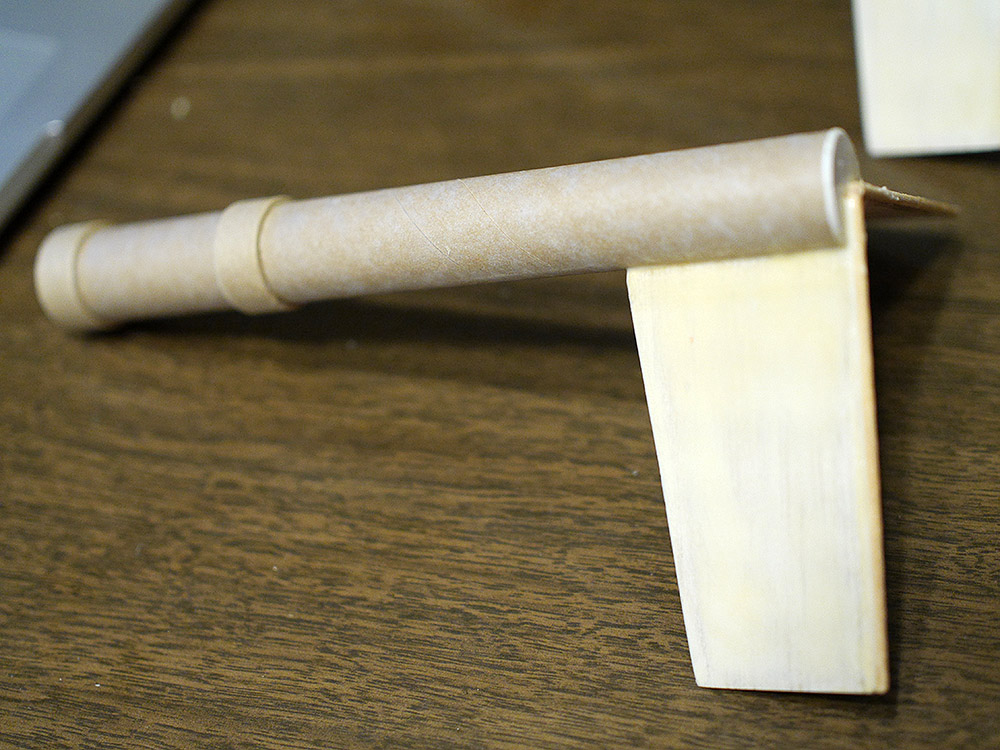
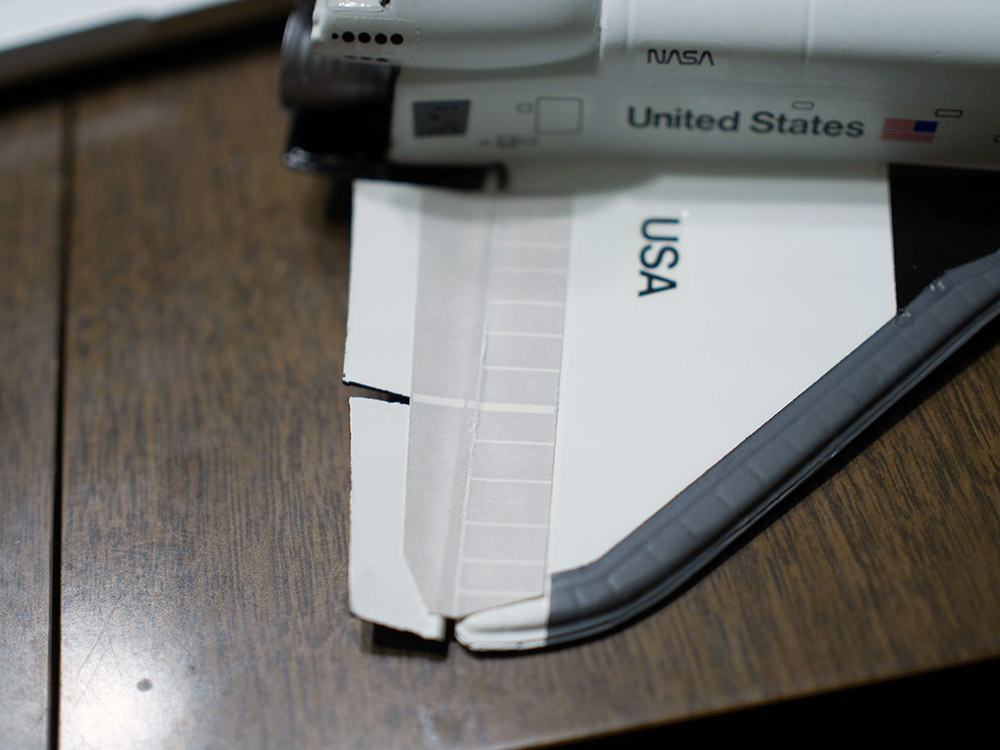
I followed the directions to a tee but the lines didn't all match up exactly. I had to trim
a mm or so out of the embossed paper piece to fit the truss.
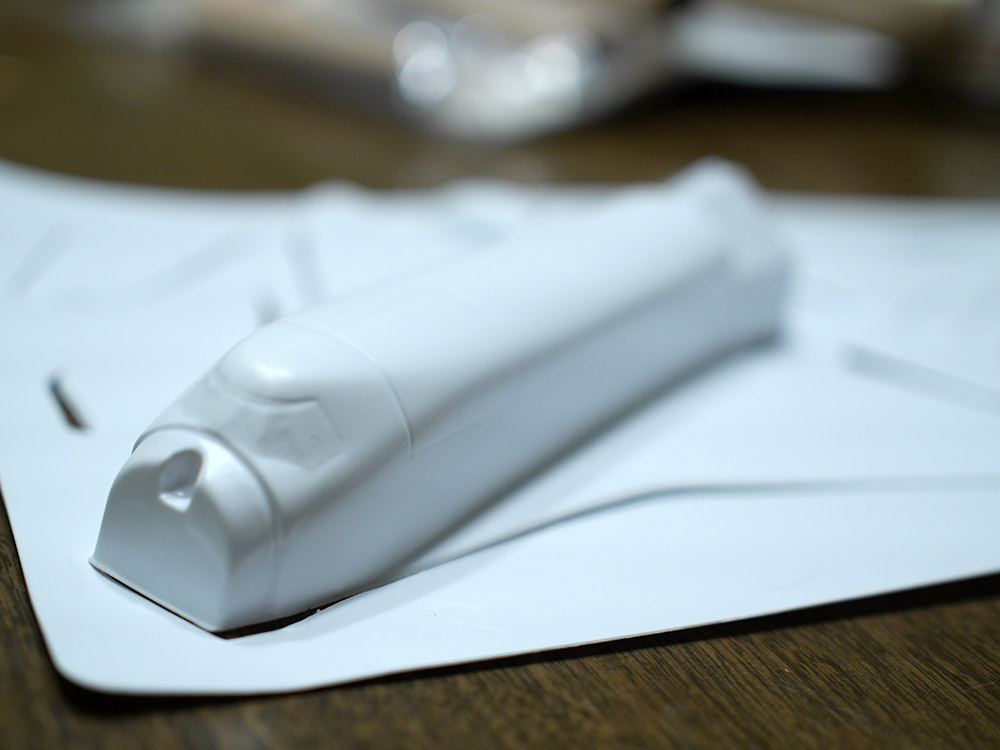
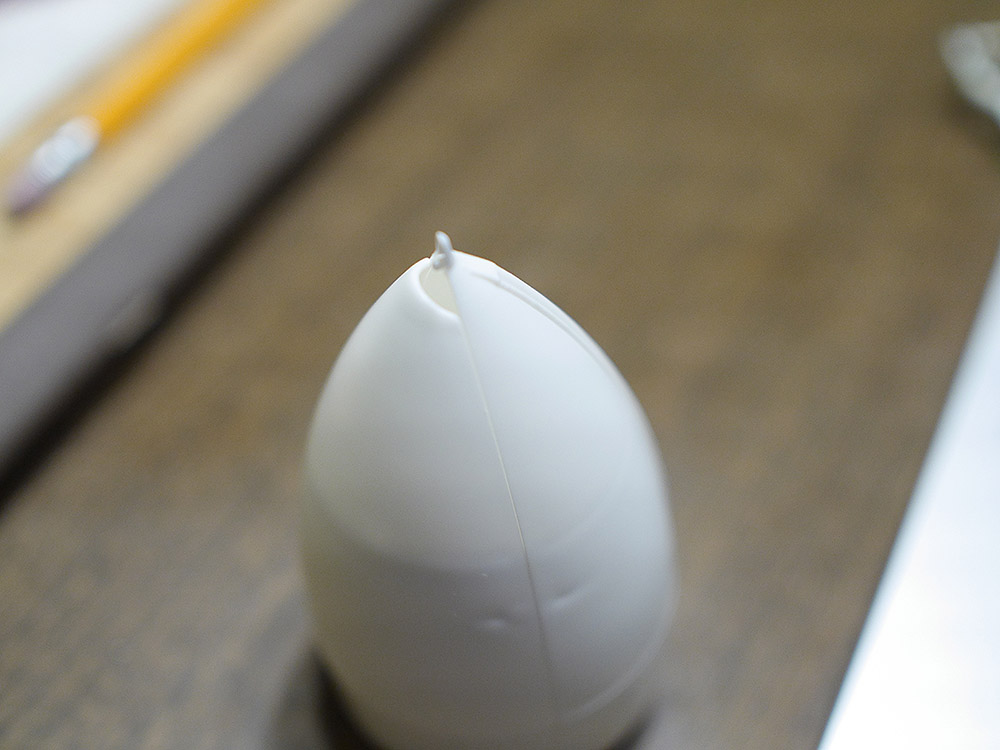
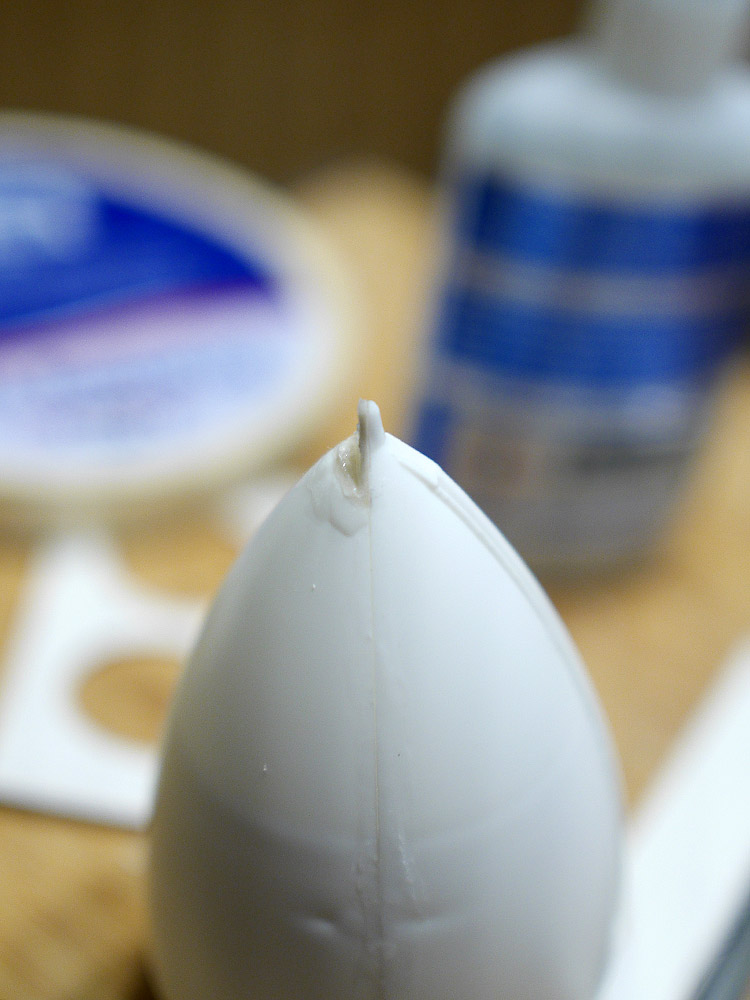
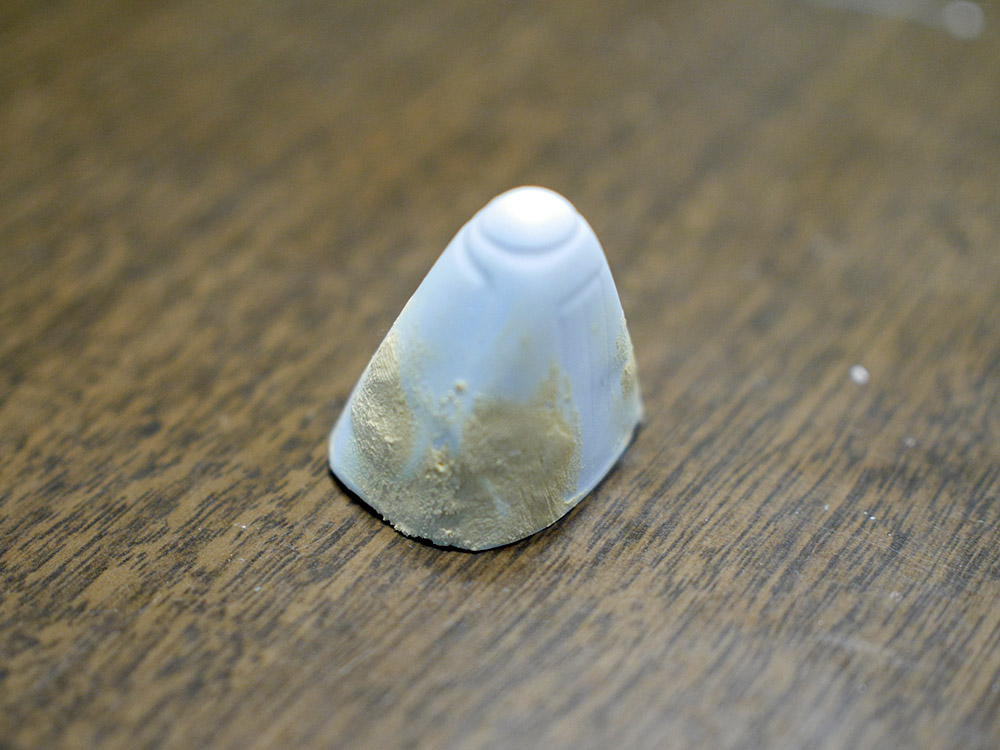
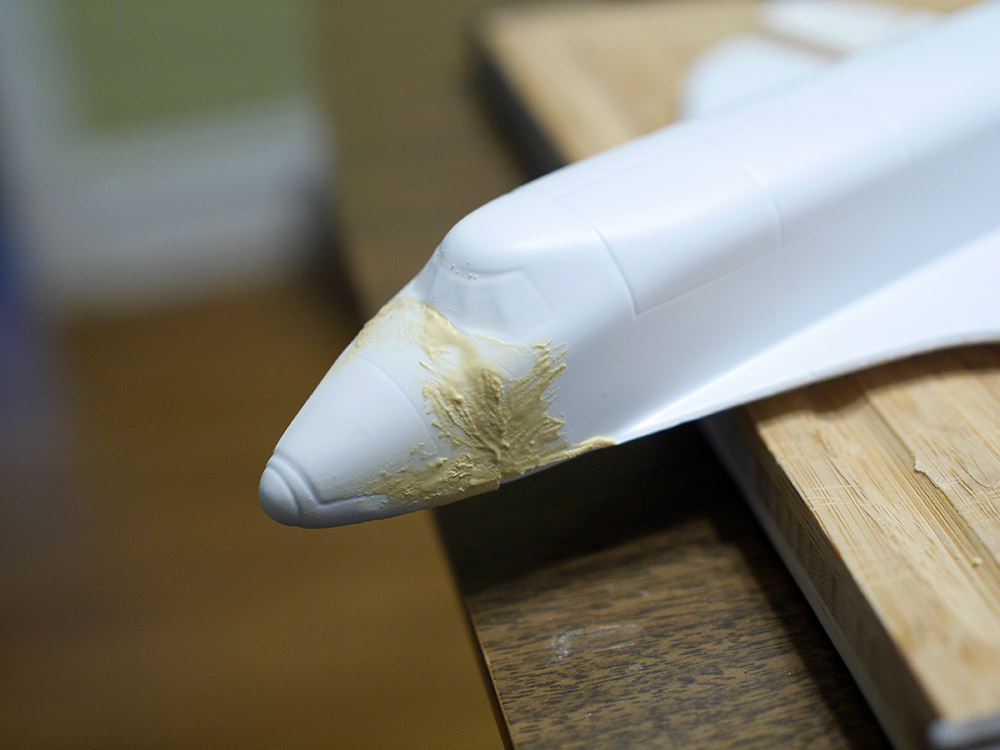
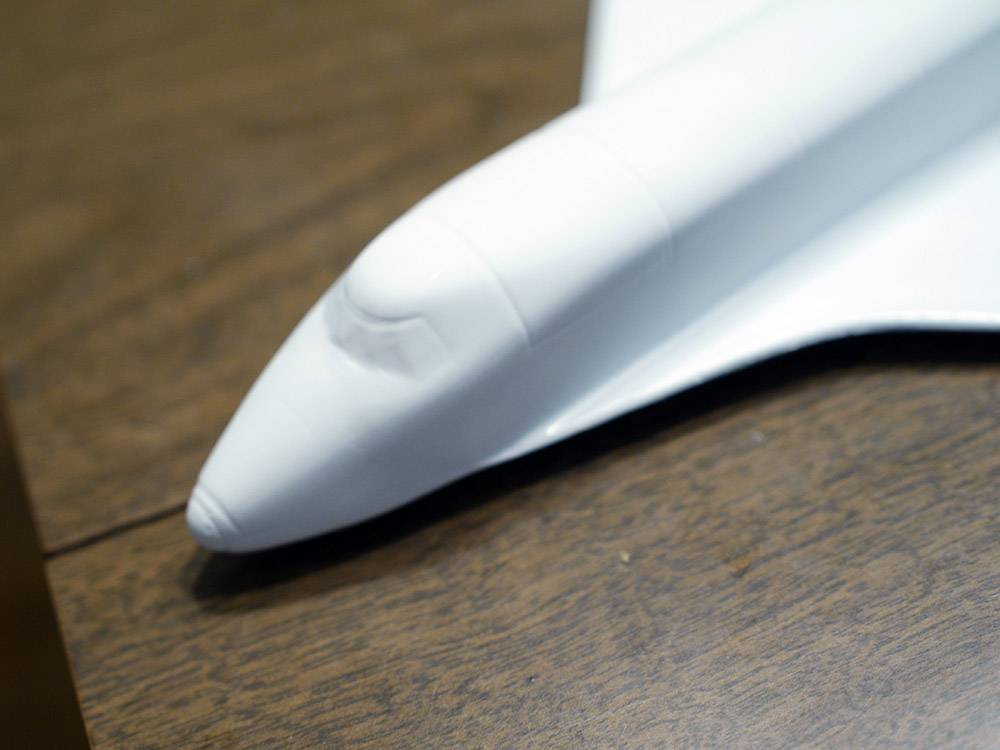
It looks like one side of the nose cone plastic didn't completely fill the mold or something.
I don't see this issue on other build pics online, so I'm going to try to fill it and smooth it out.
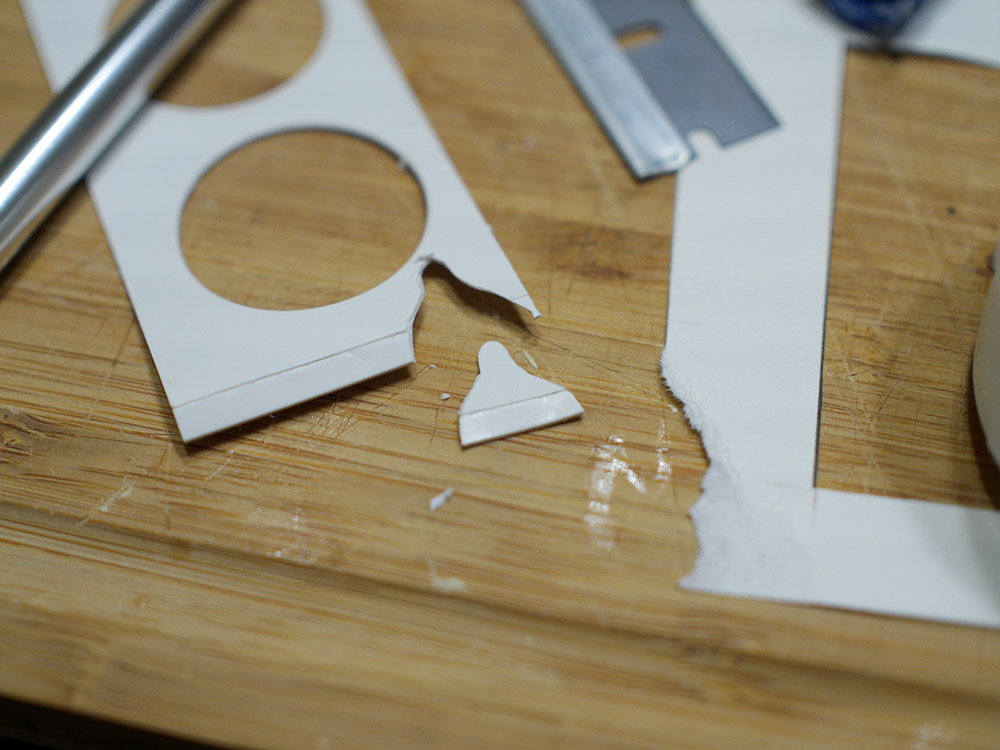
I scored a scrap piece of thick paper and cut it out in the general profile of the missing piece.
I then glued it into place and doused it in CA glue to solidify it.
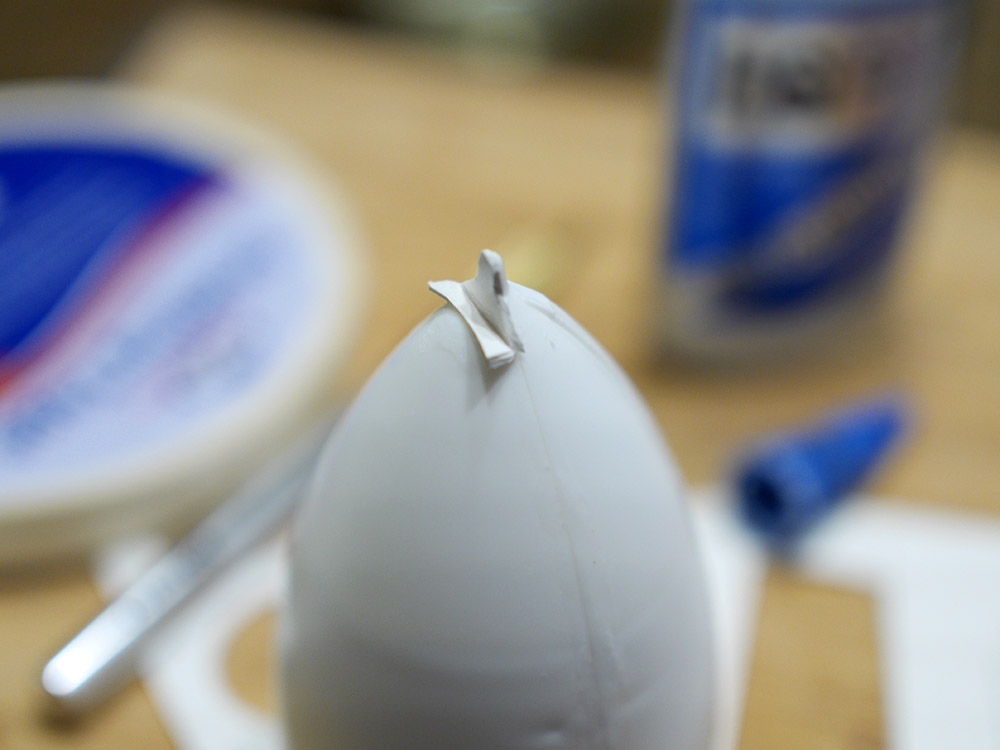
Then I trimmed the edges. Now the hole is plugged and I can build on it with filler.
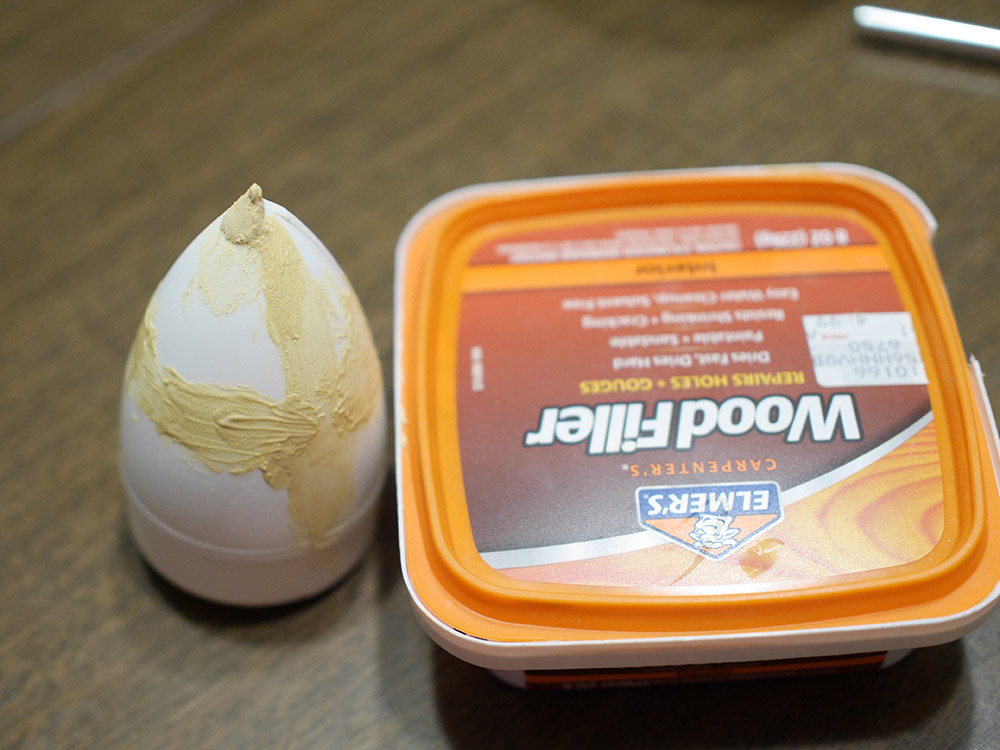
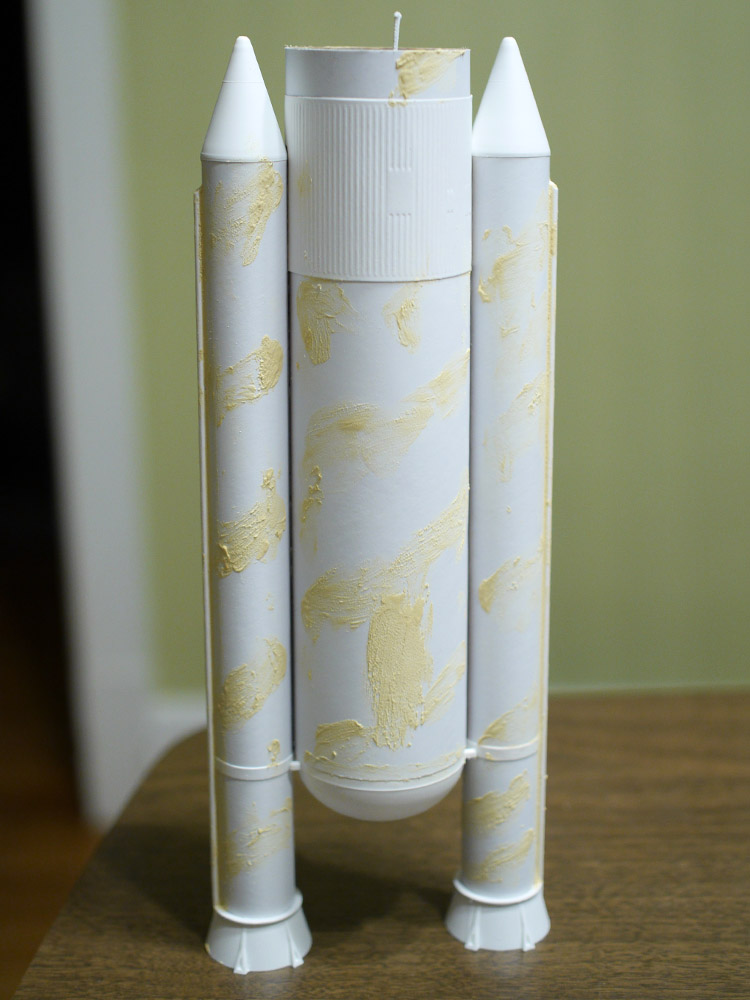
My first iteration of filler. I've also filled some other sections that had dips as well as the seam area.
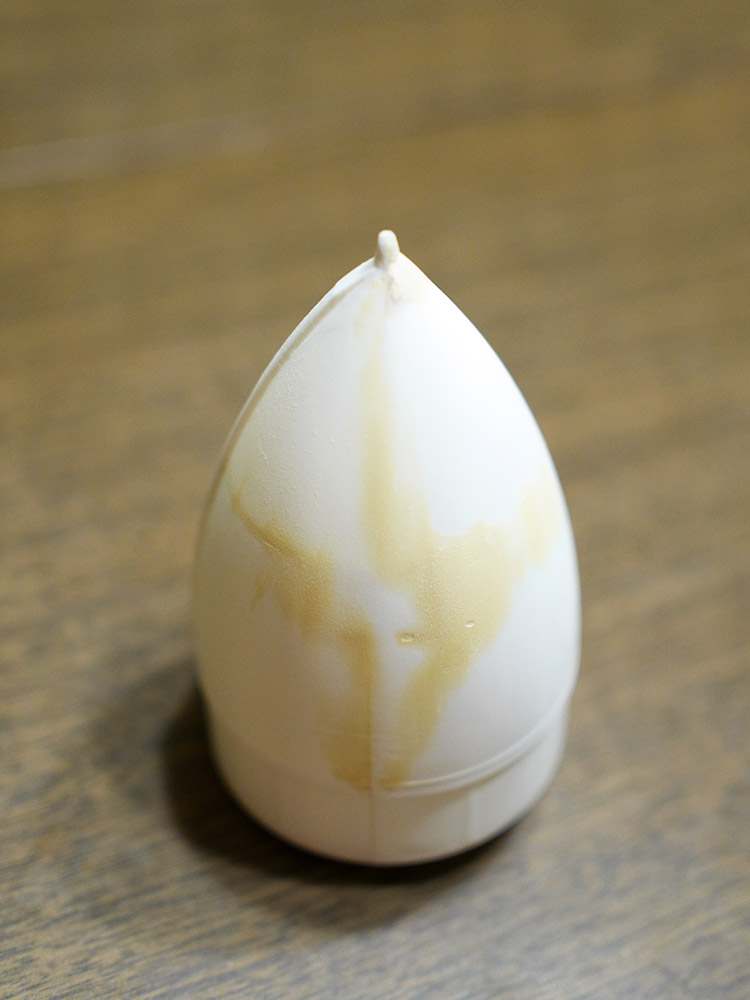
After the first sanding. Not bad!
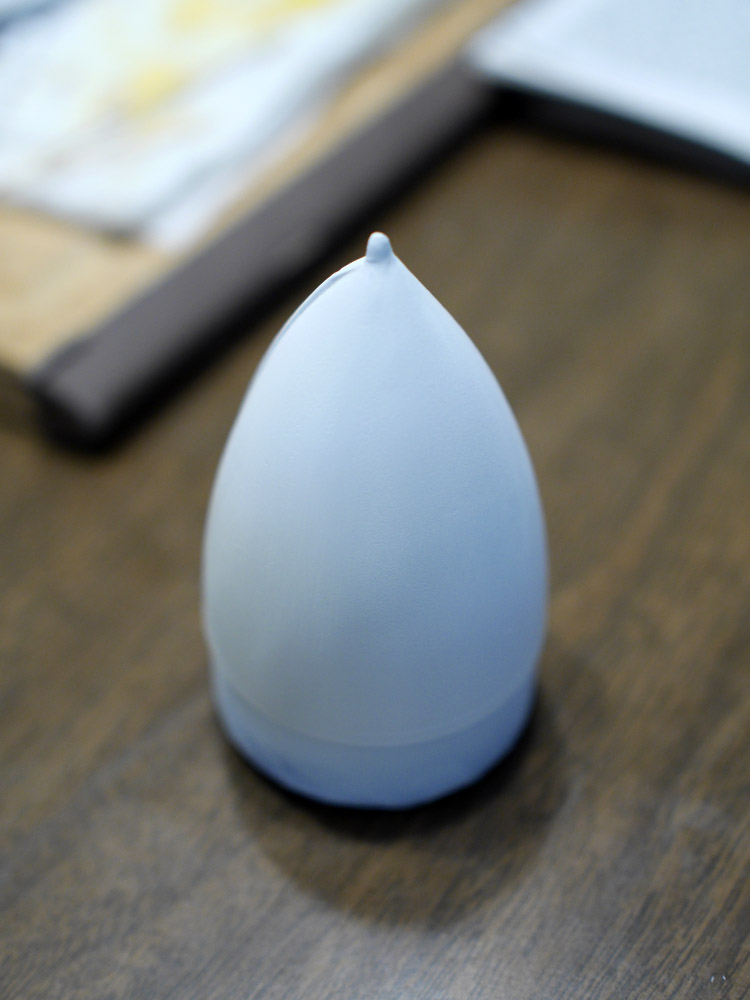
Another round of filler and sanding, then a couple rounds of primer and sanding later. I'm happy with how it came out.
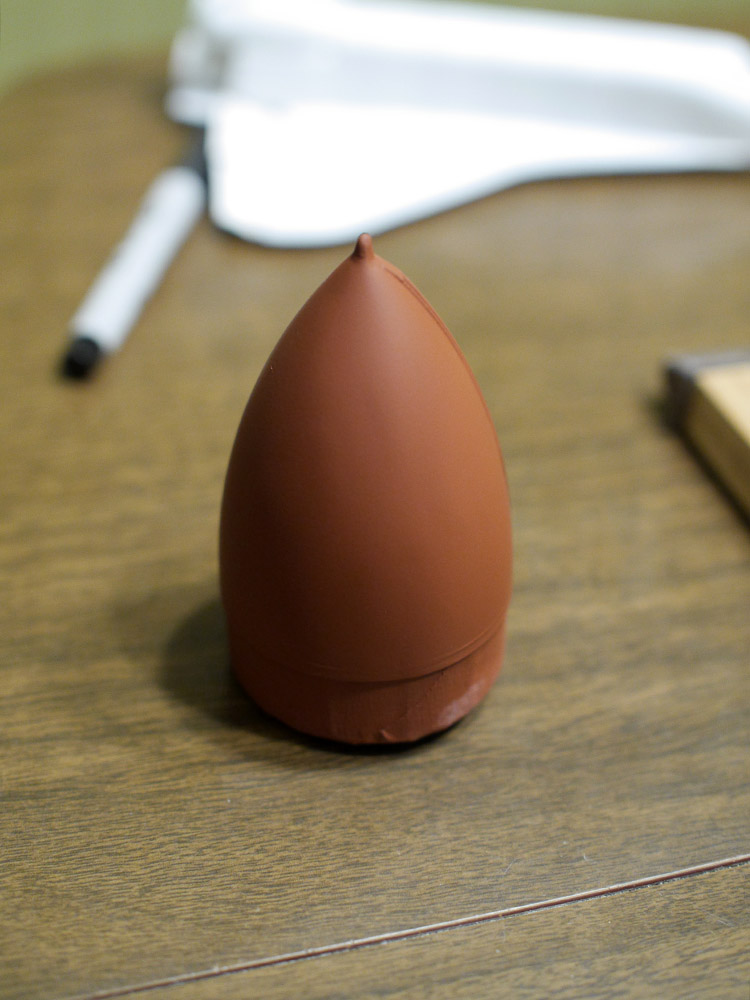
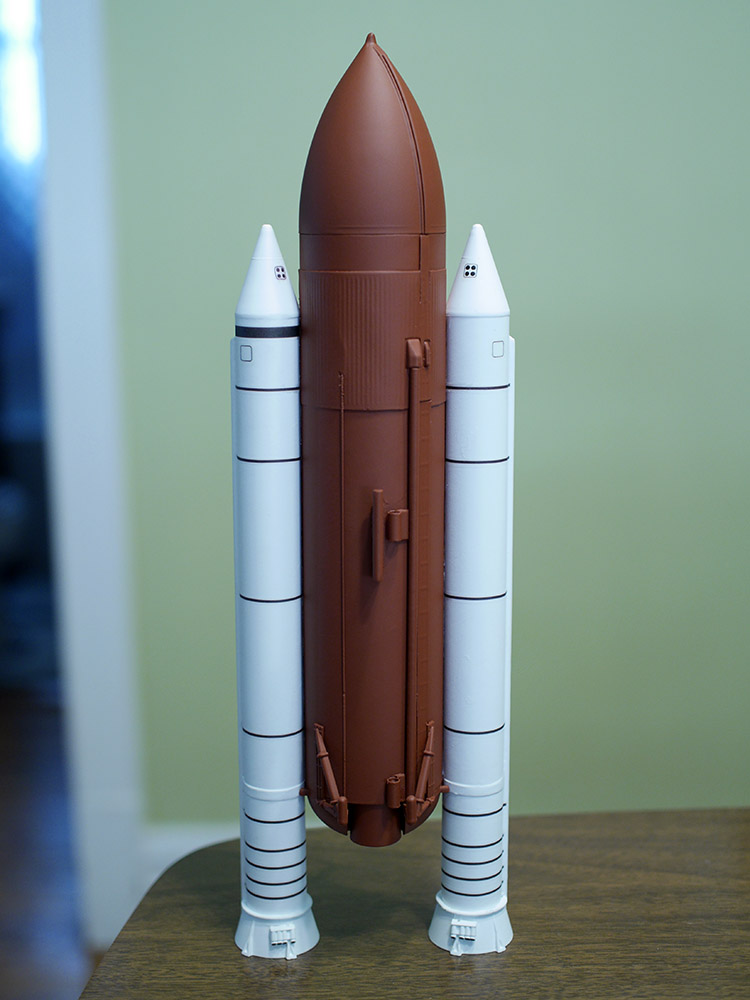
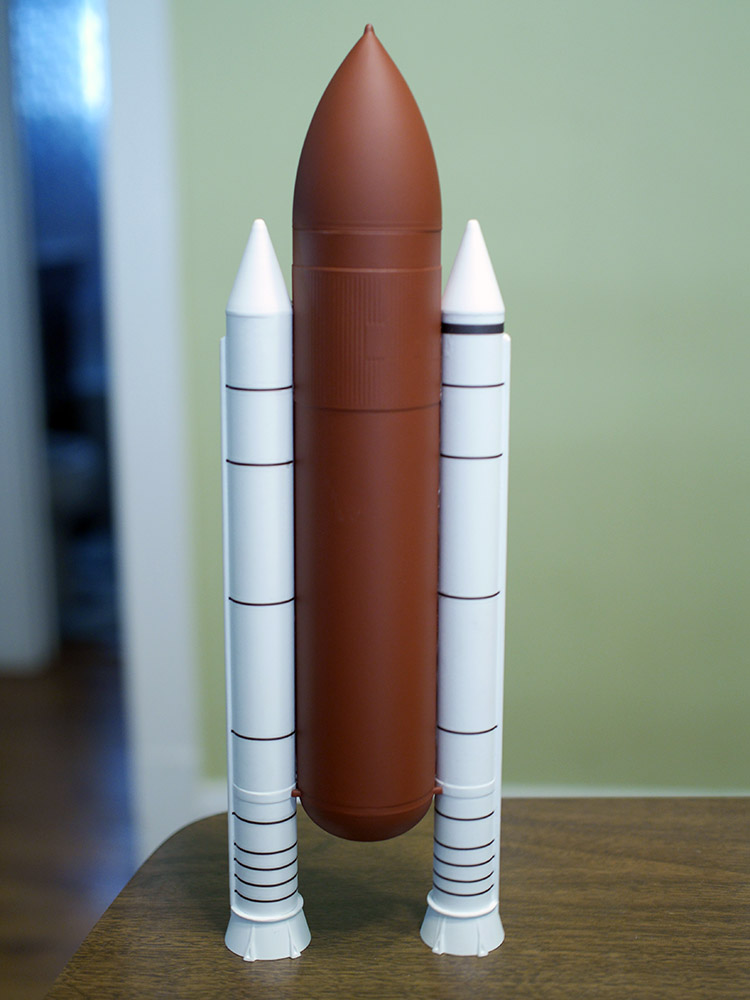
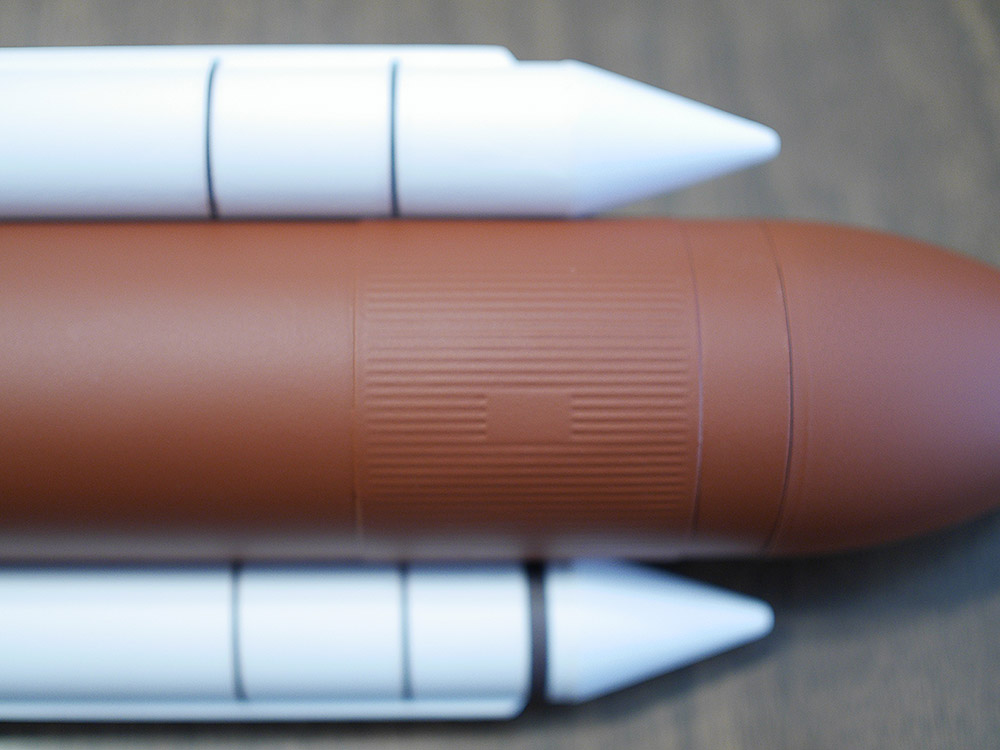
The final result, in its new rust-brown paint
I'm doing some things out of order. I'm finally getting to assembling the fin units.
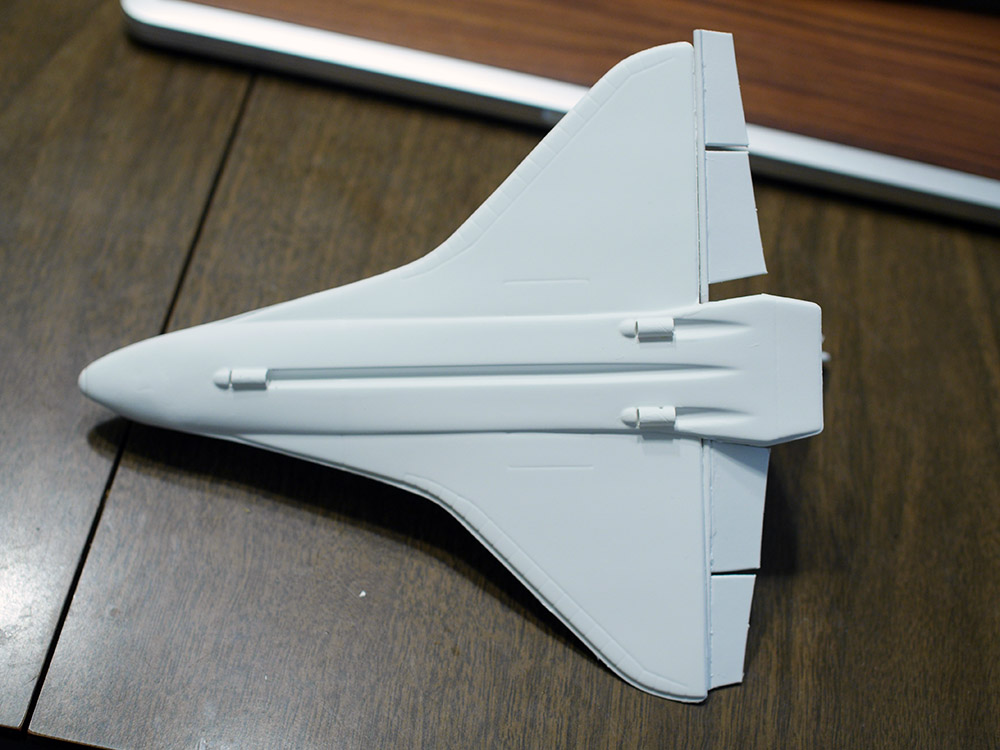
And now, on to the orbitor.

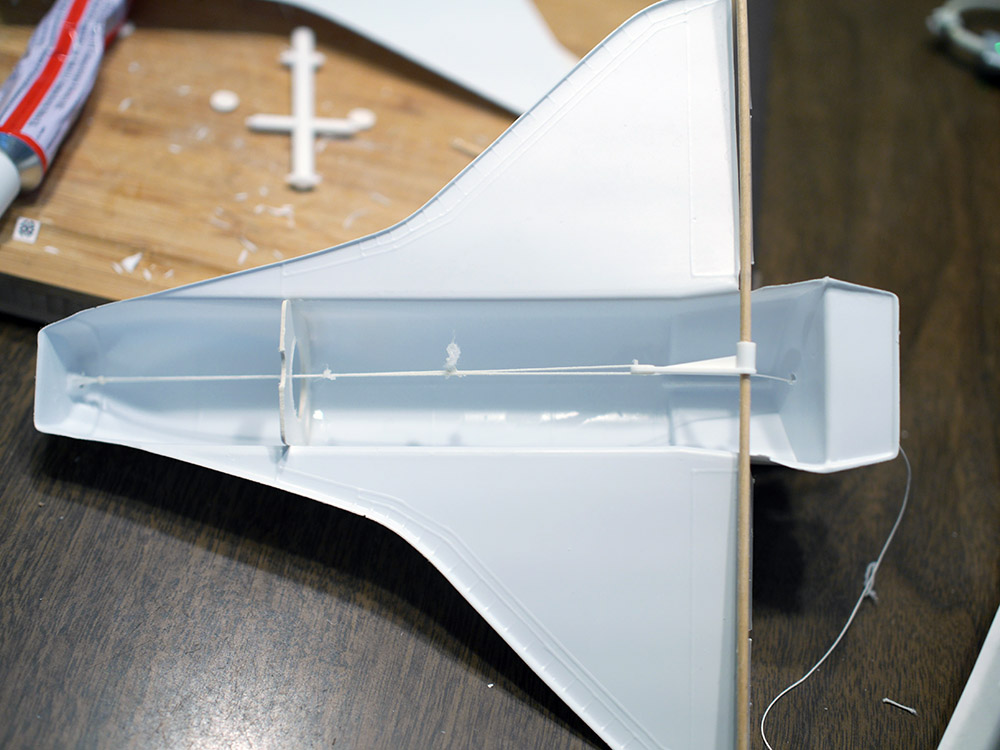
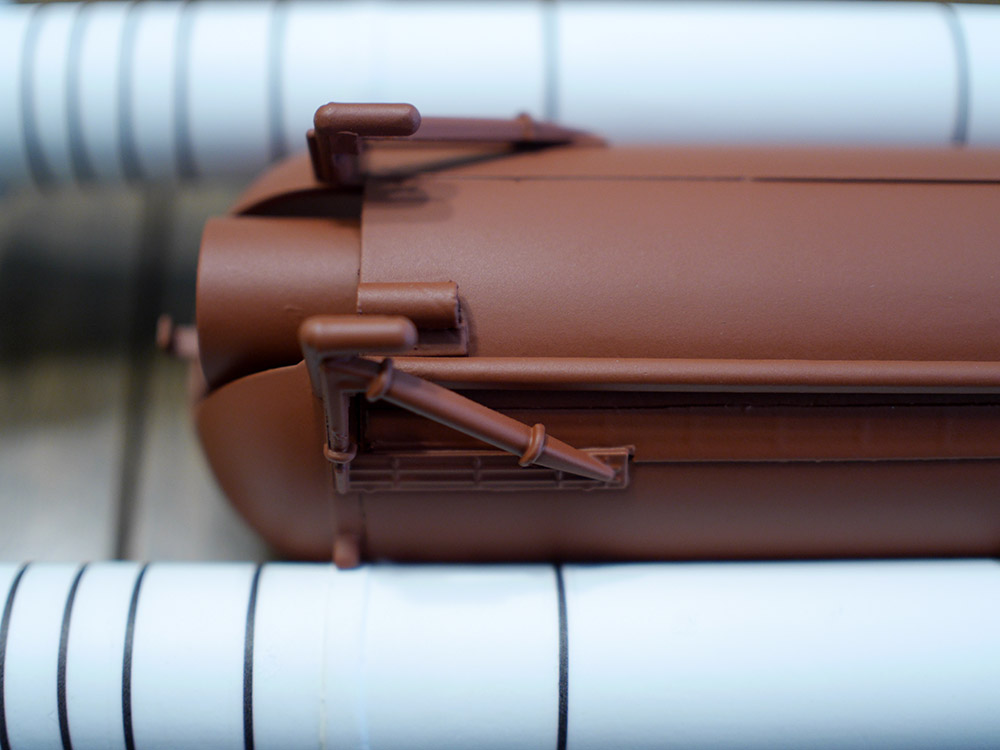
The flaps at the back of the wings have a clever pulley system which involves an elastic
cord to allow adjustment after the thing is built.
First round of trying to smooth out the crushed nose cone:
I had to glue it on, as it was flexing too much for the filler to adhere.
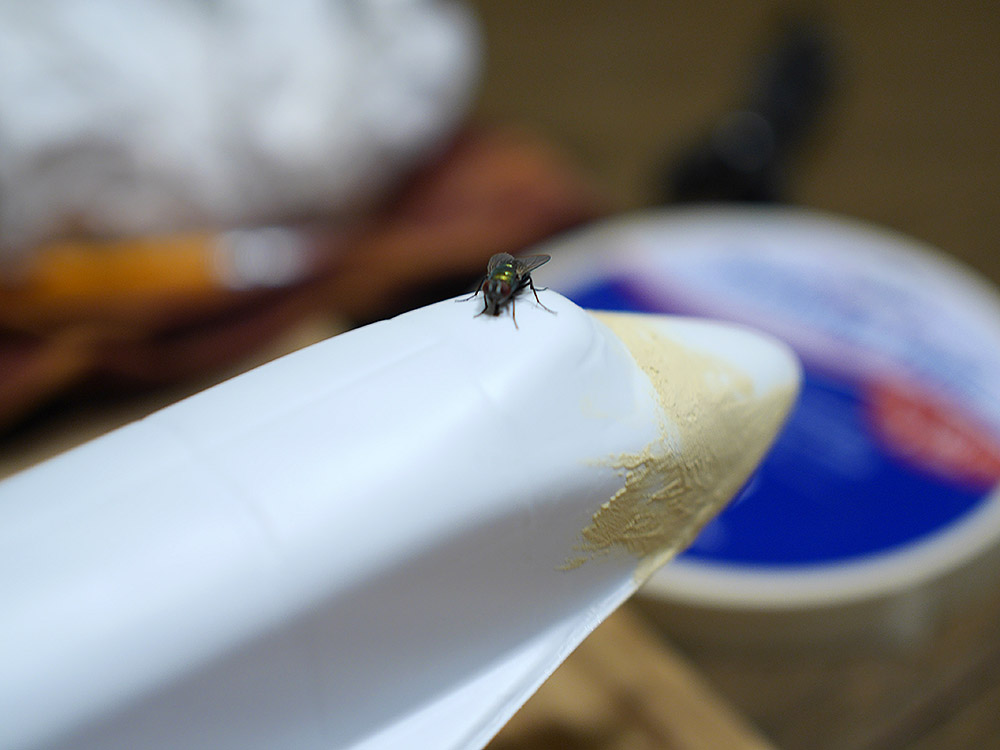
An alien life form checked out the orbitor
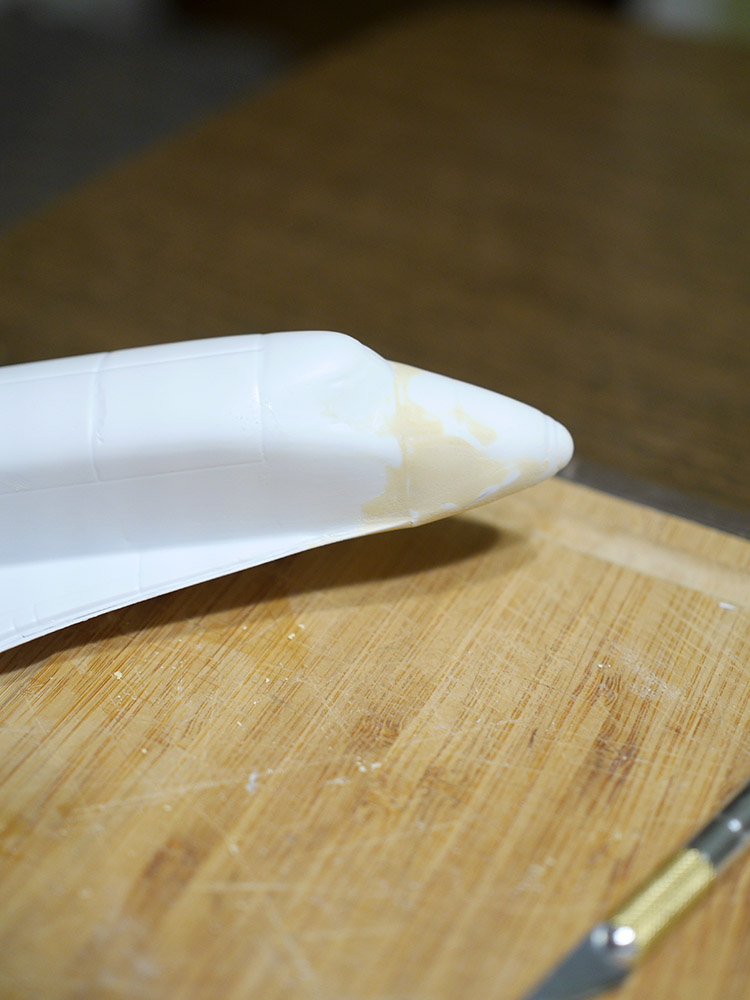
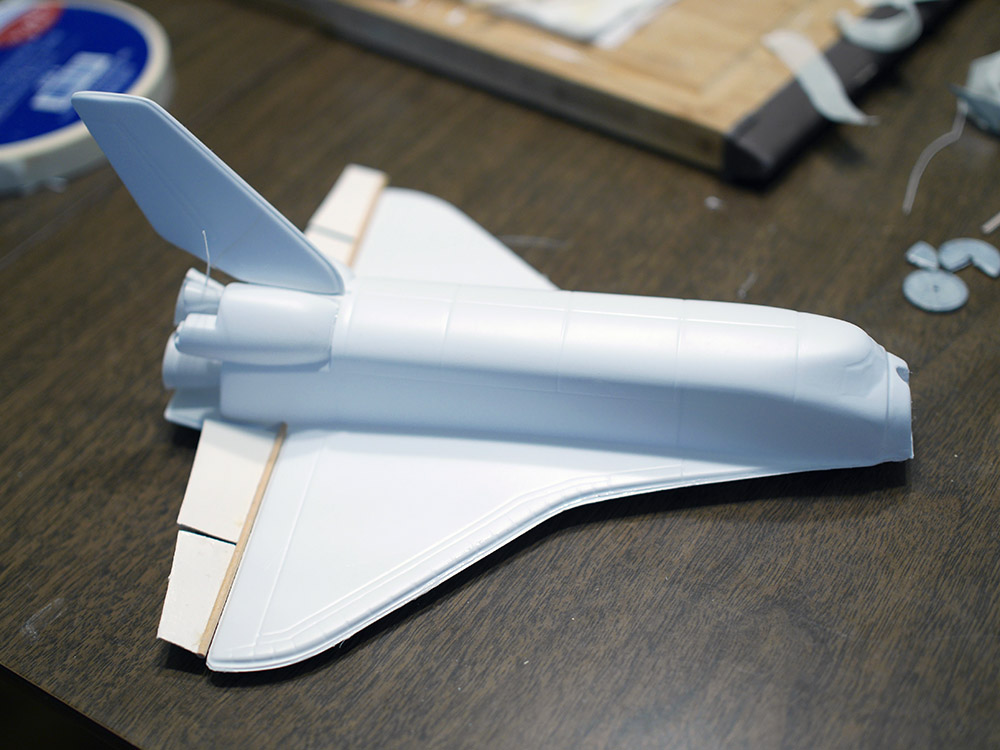
Still needs a bit of smoothing, but looking much better.

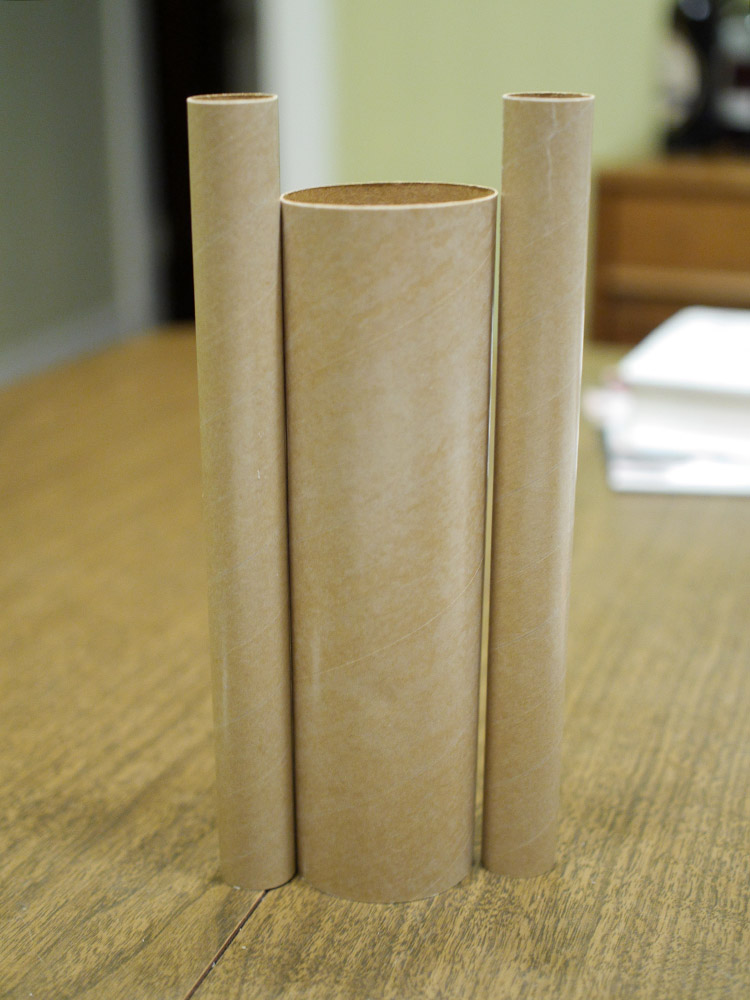
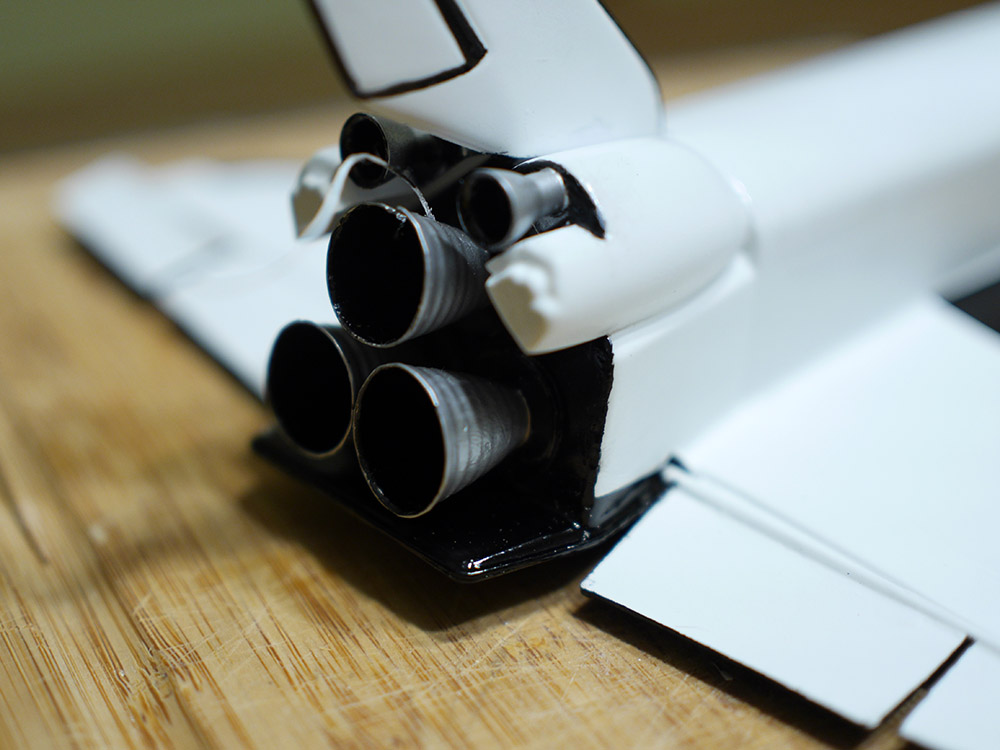
I'm wishing I'd left the tubes separate until ready to paint, or even after painting.
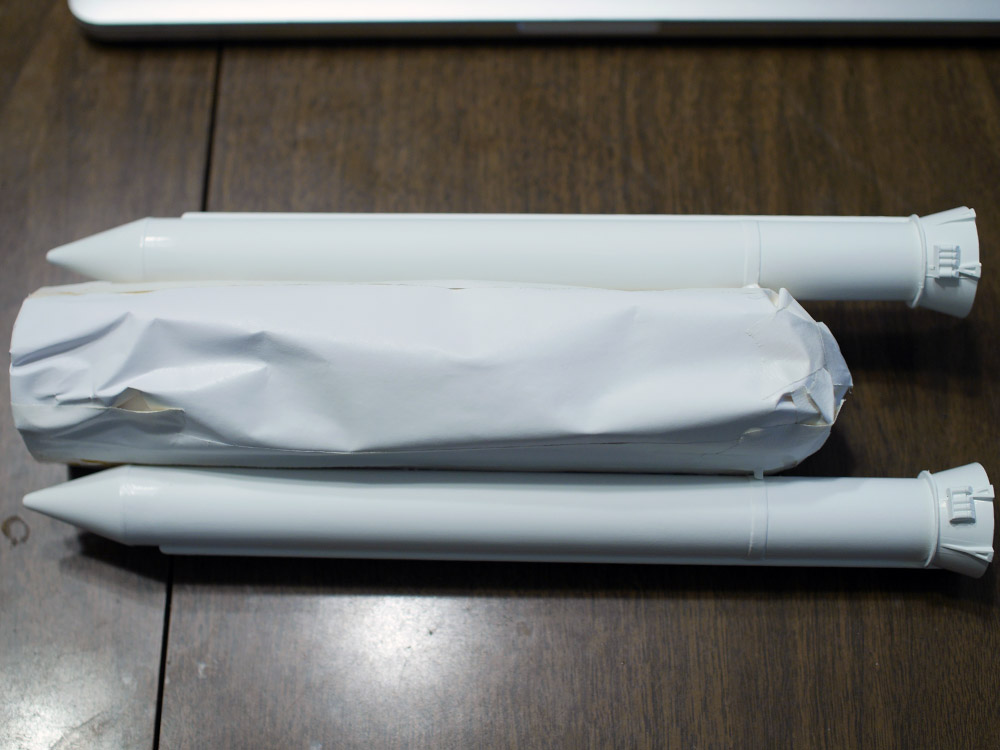
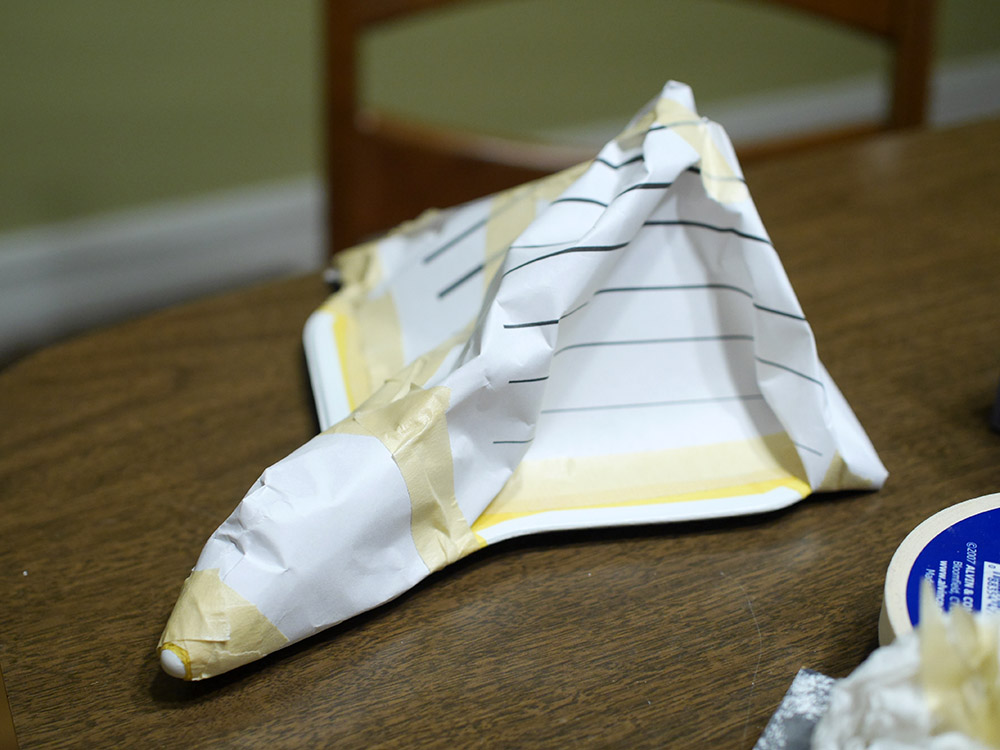
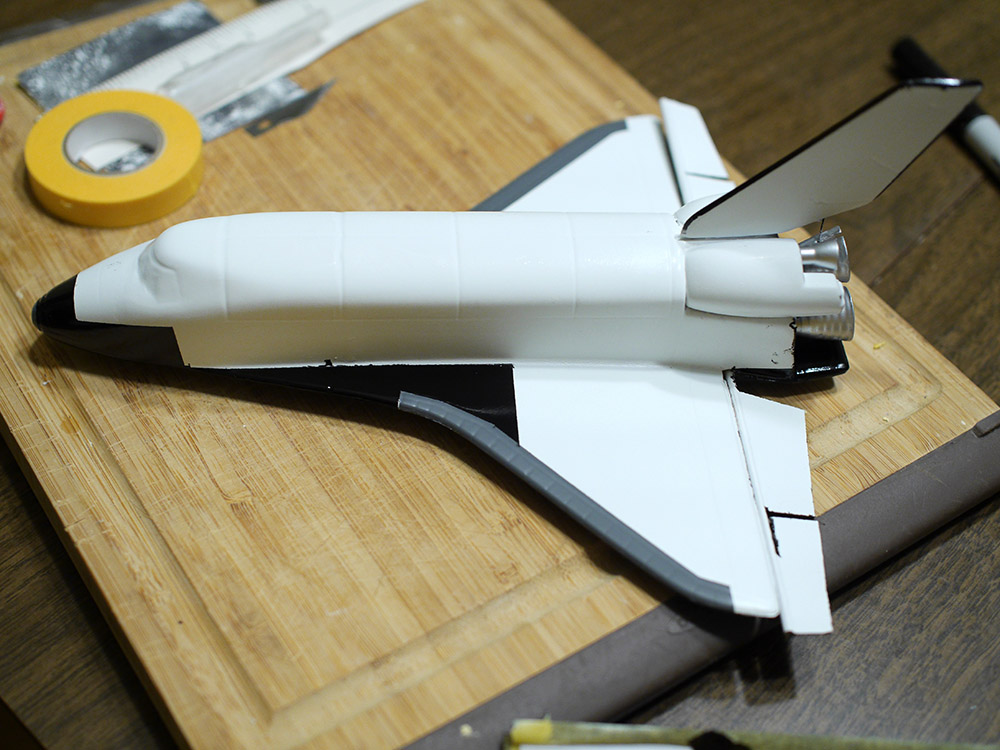
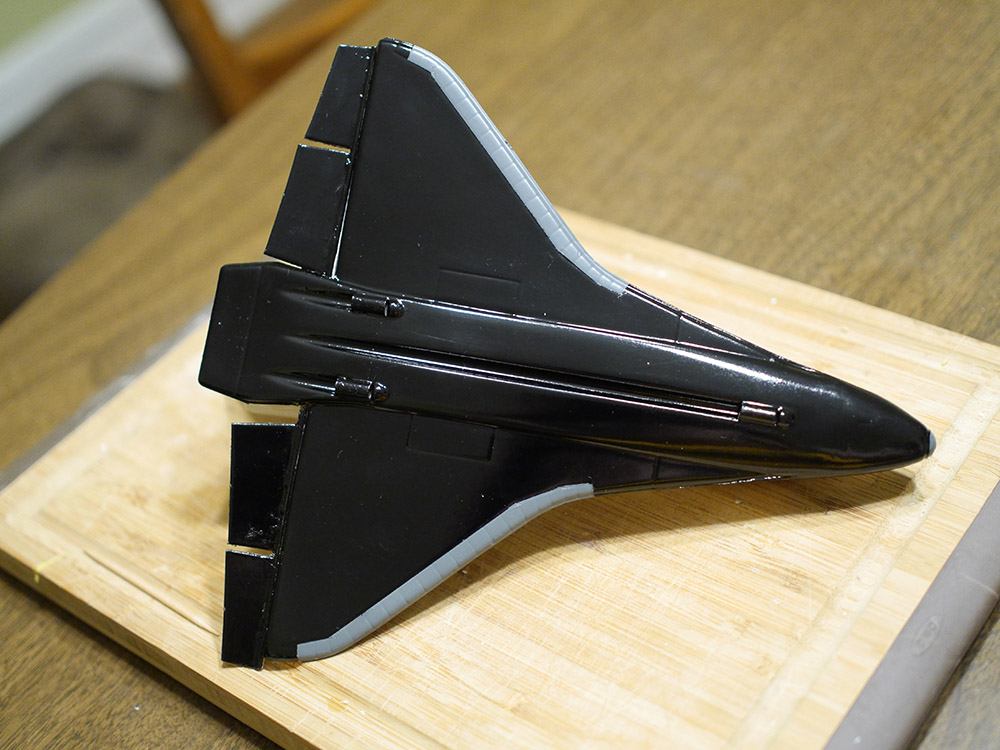
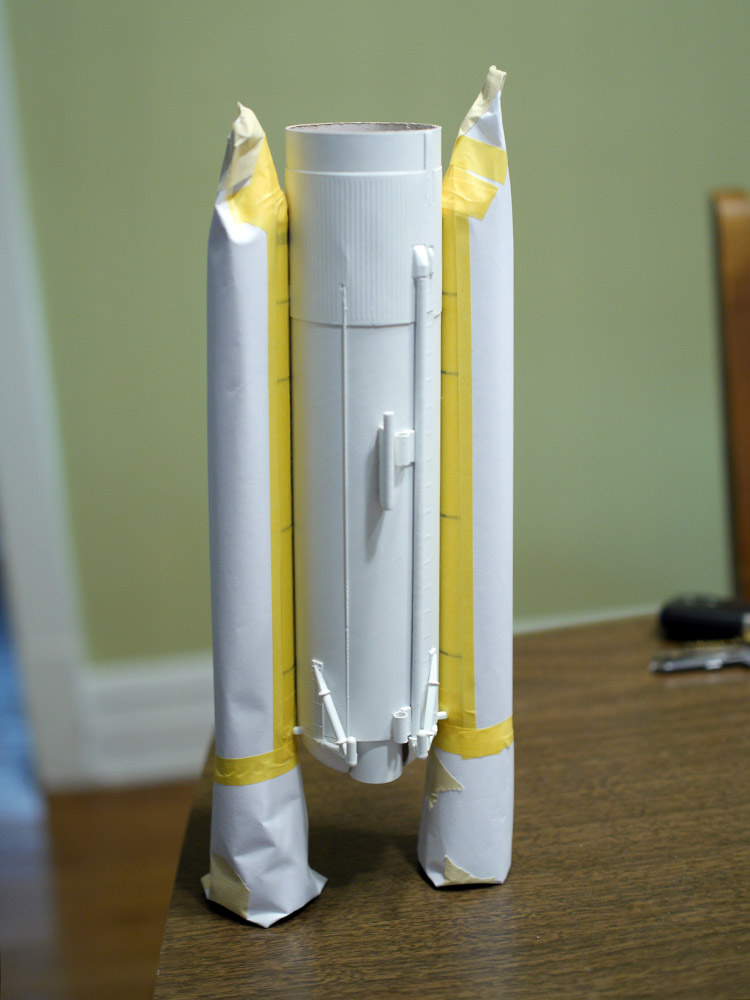
All primed and masking off for white paint
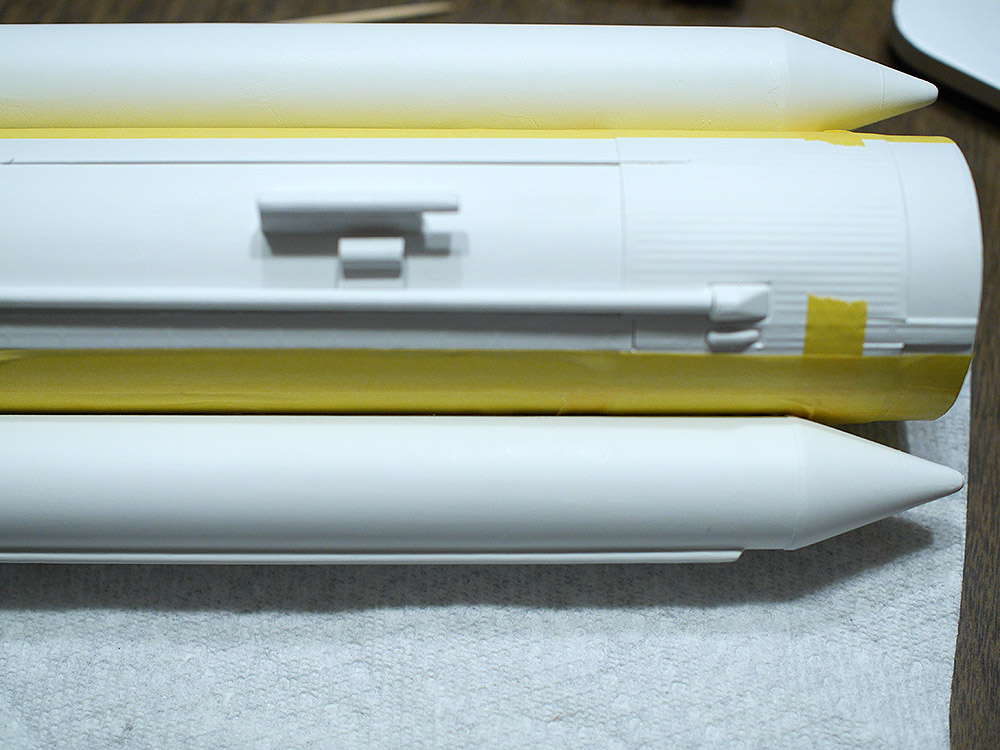
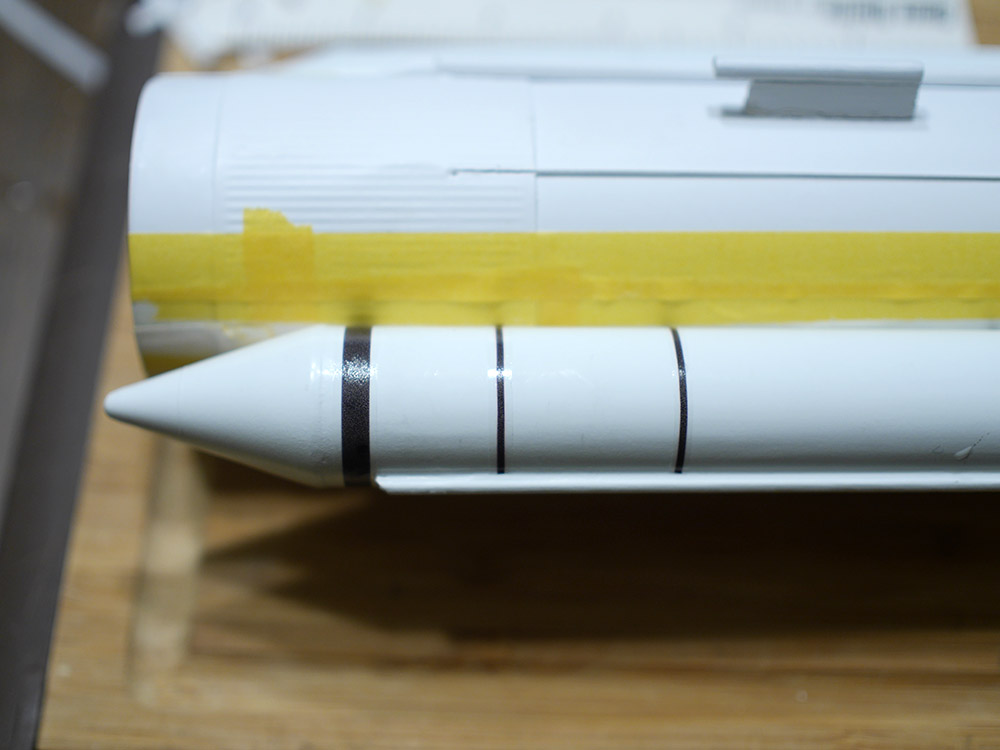
white paint complete, now for some more masking. The original shuttle's boosters had some
black rings painted along the length, and I'm going to try to replicate that.
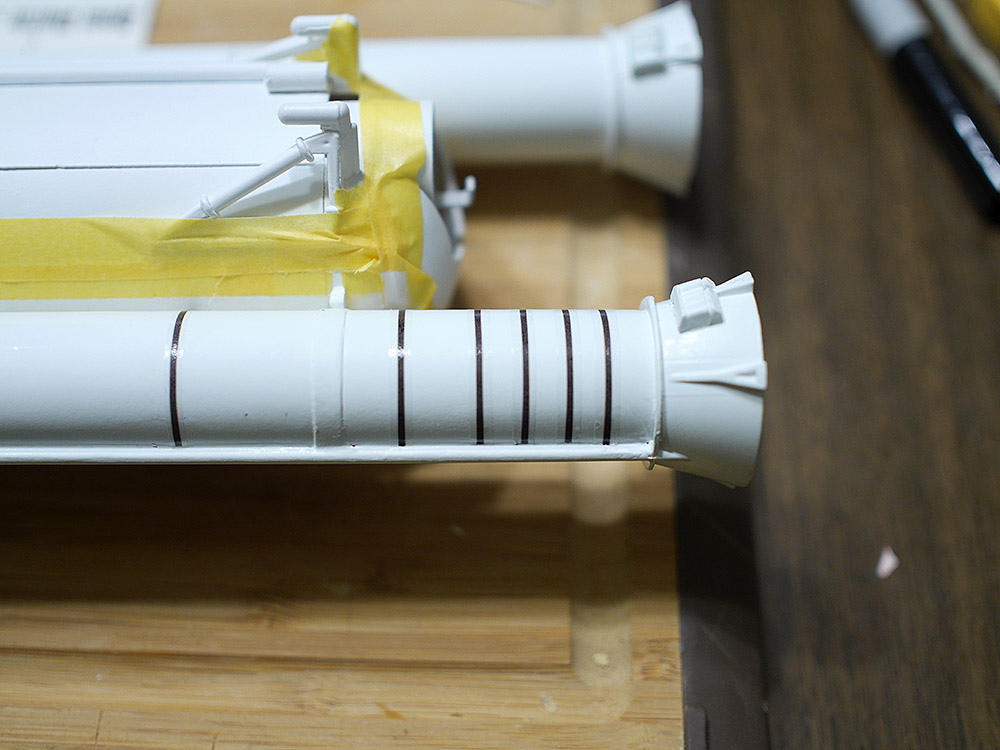
I was initially going to mask all the rings, but I decided to change directions and try
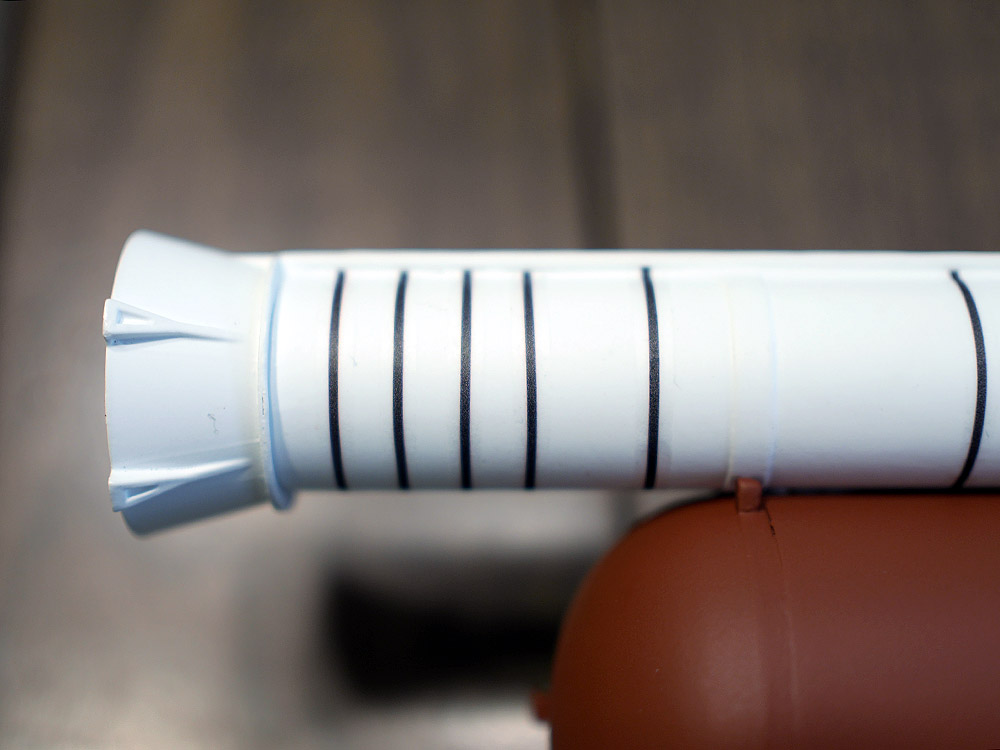
to print out stripes on decal paper for the SRB lines.

I'd say the decal stripes were a success!
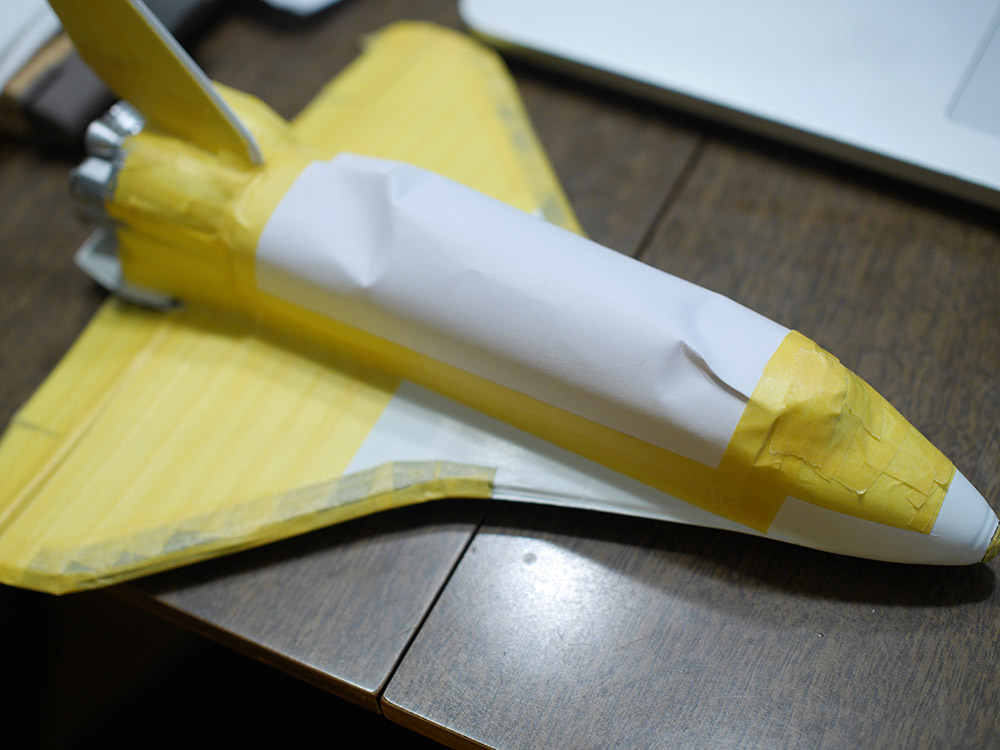
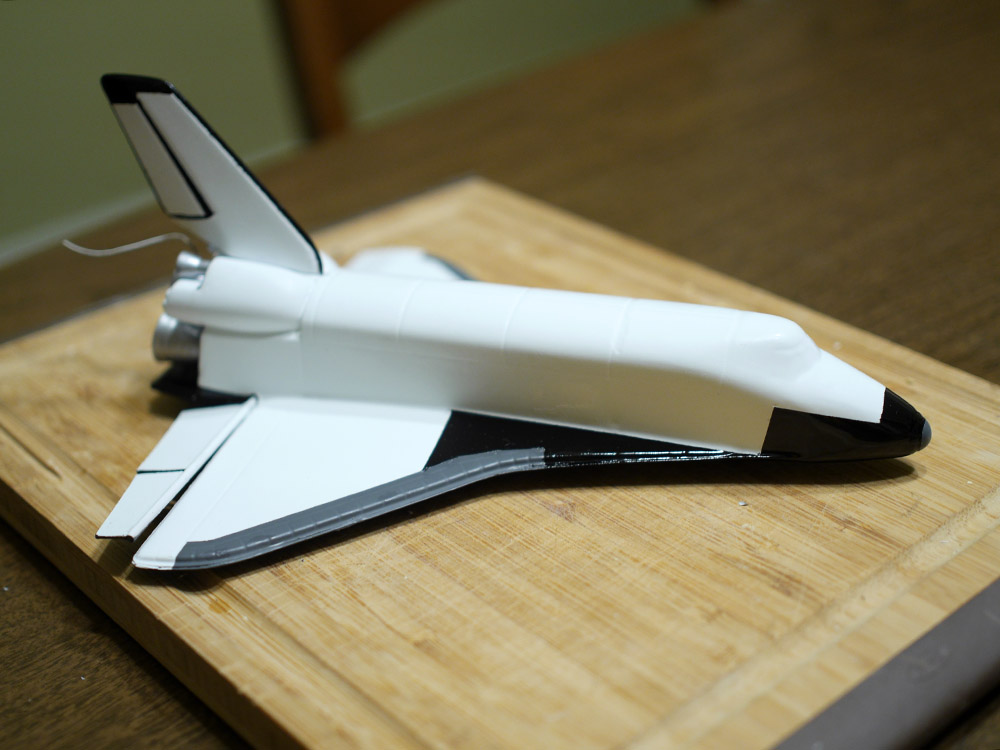
The orbitor is painted white too. Lots of masking to be done here with 4 colors..
All ready to spray the grey.
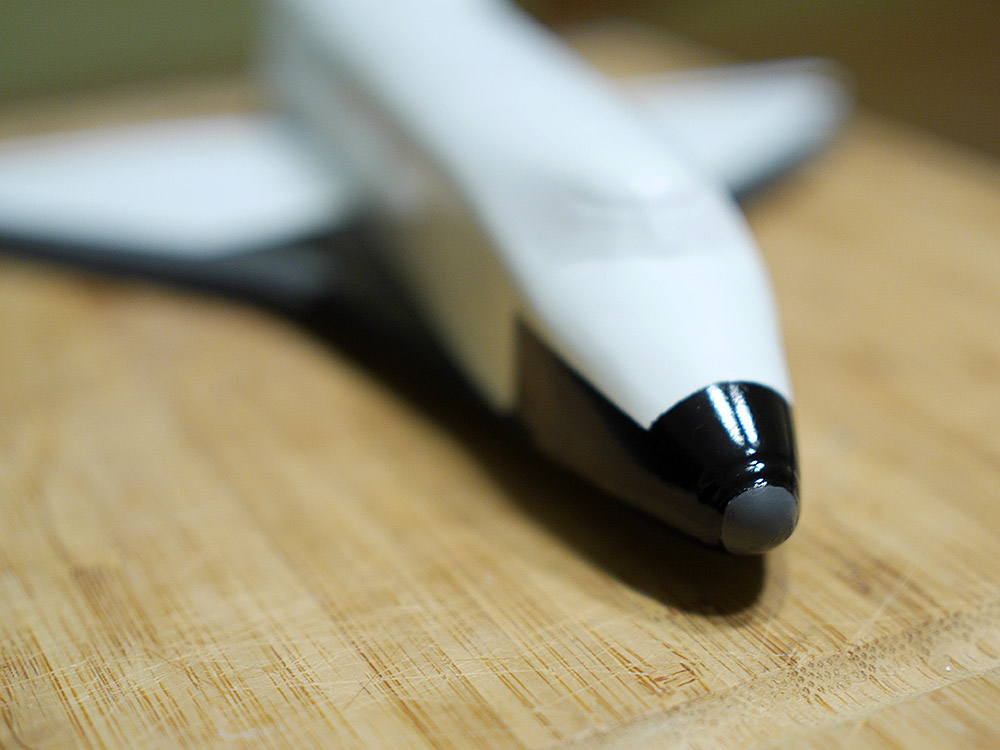
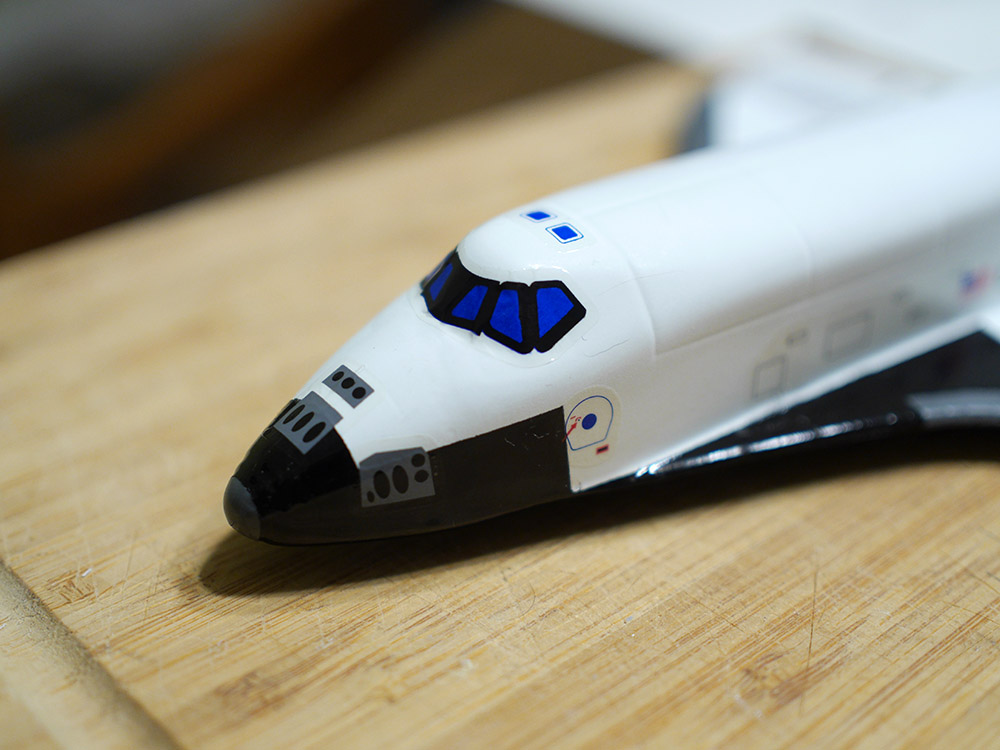
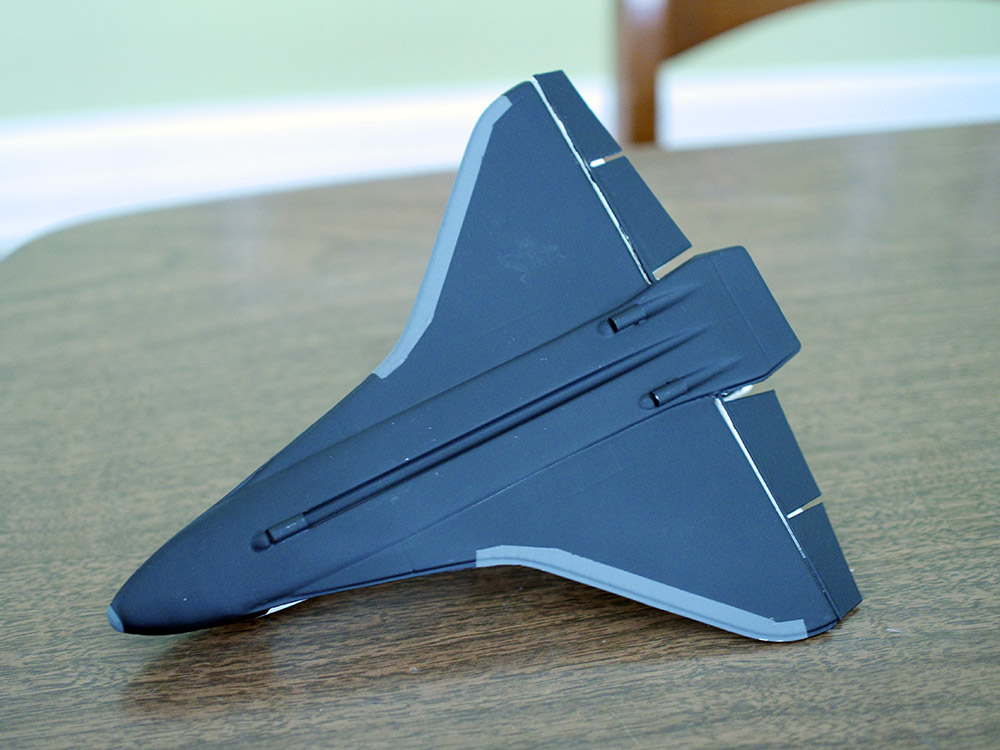
The nose cone and wing tips get a light to medium grey color.
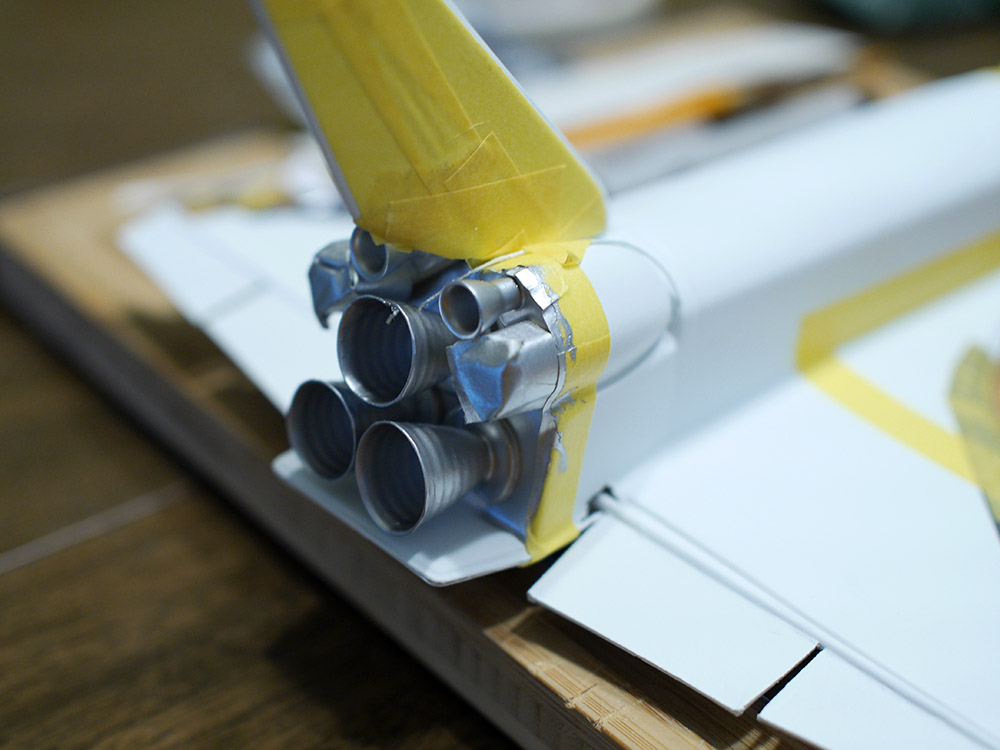
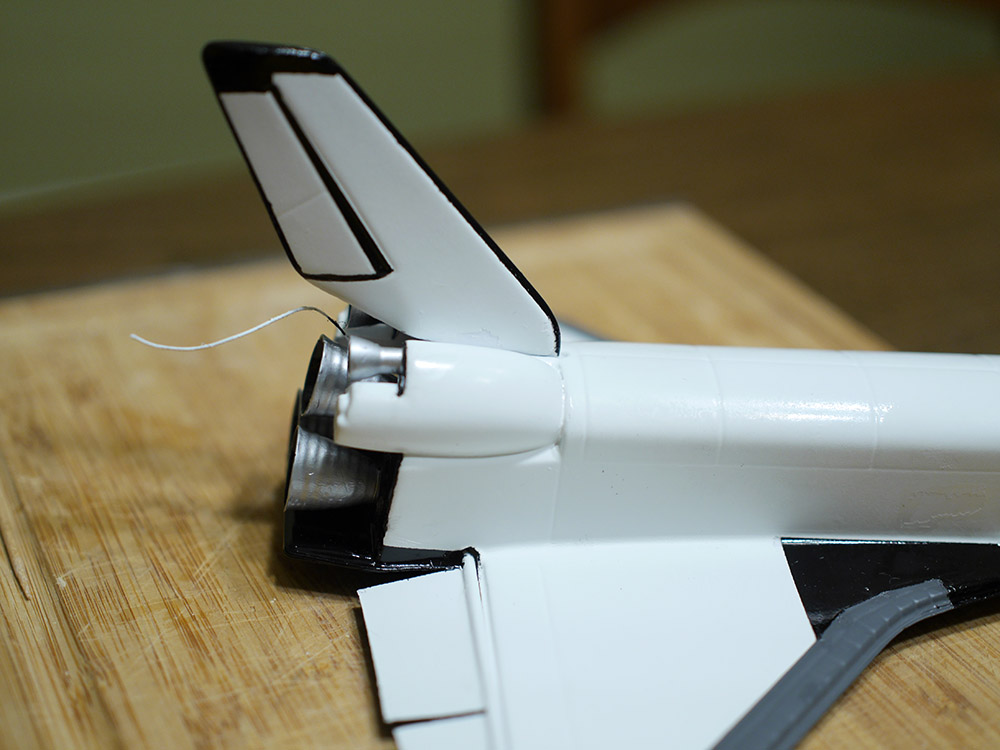
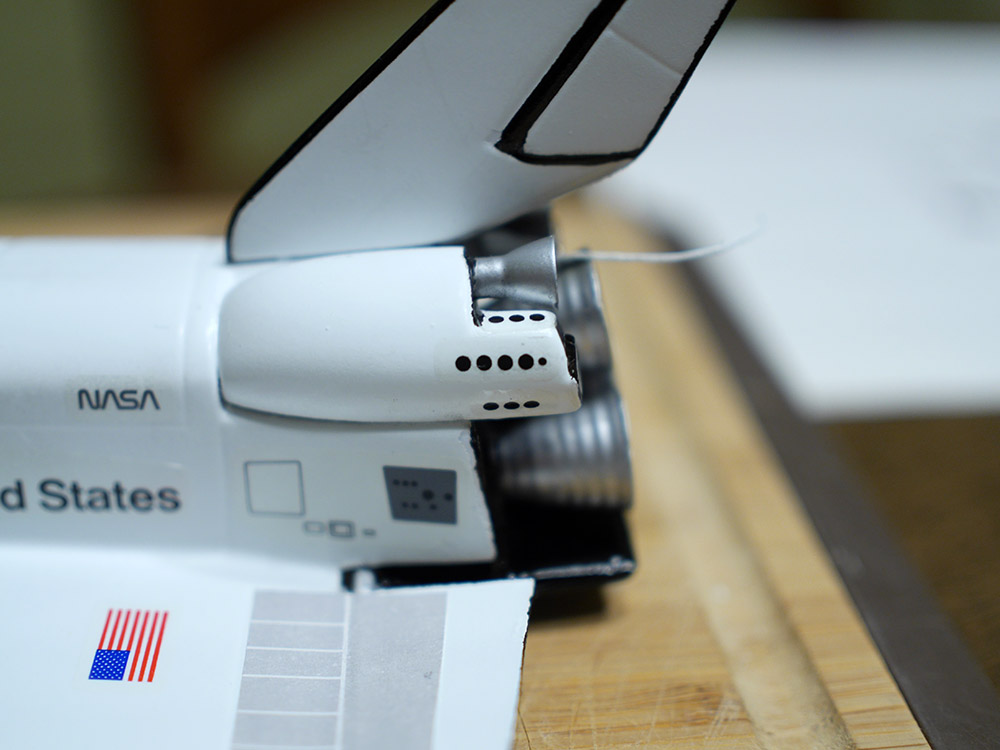
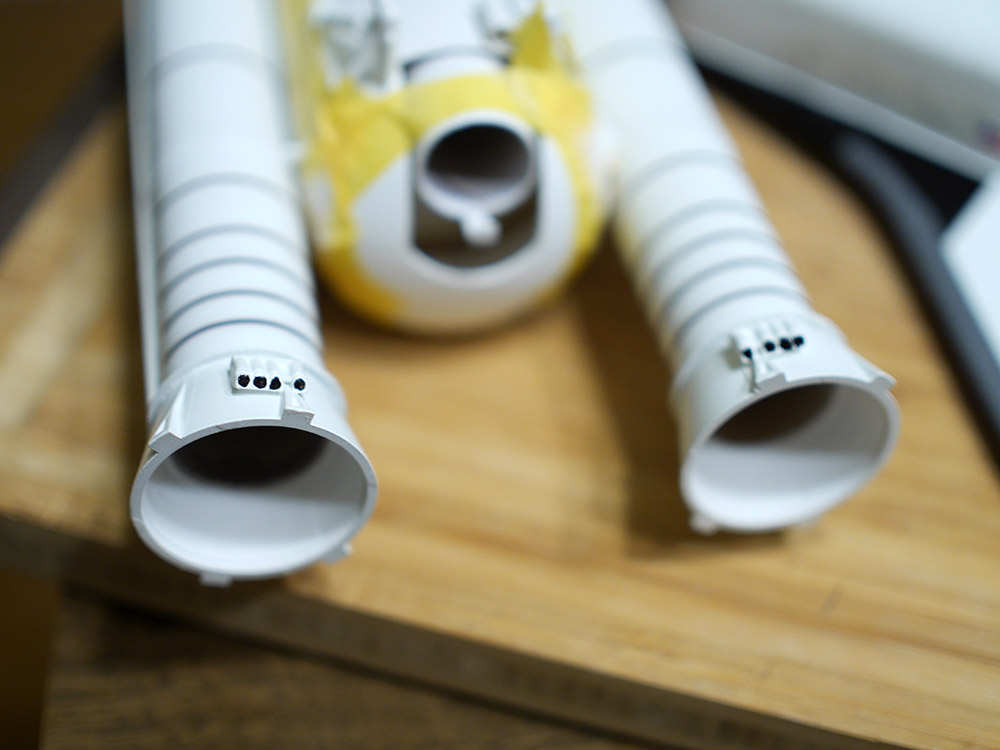
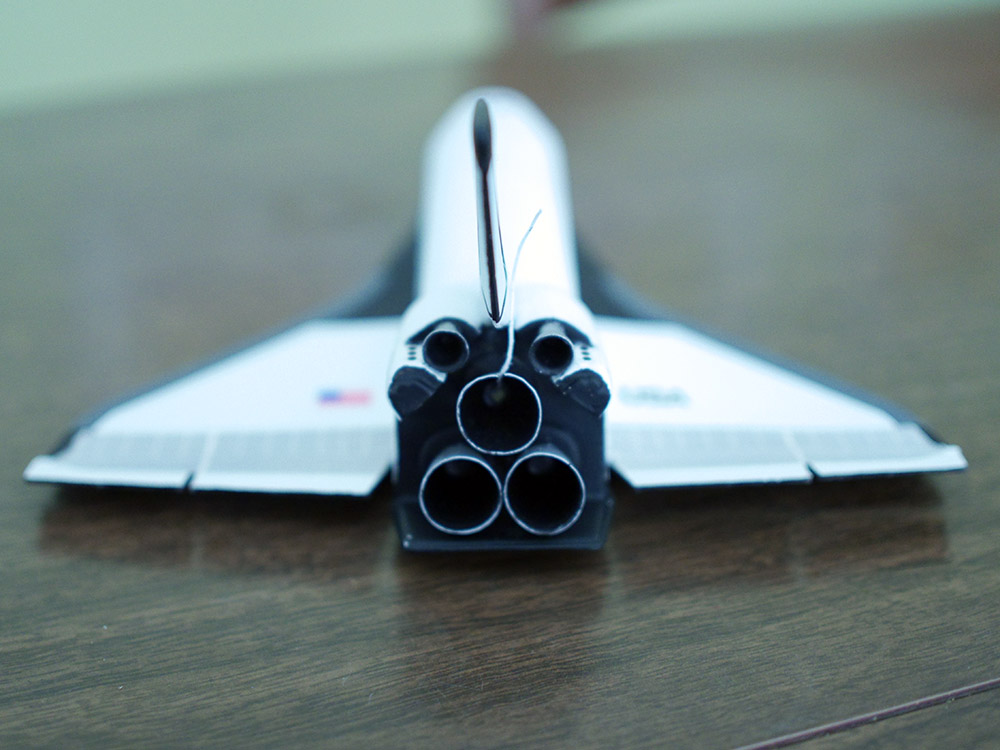
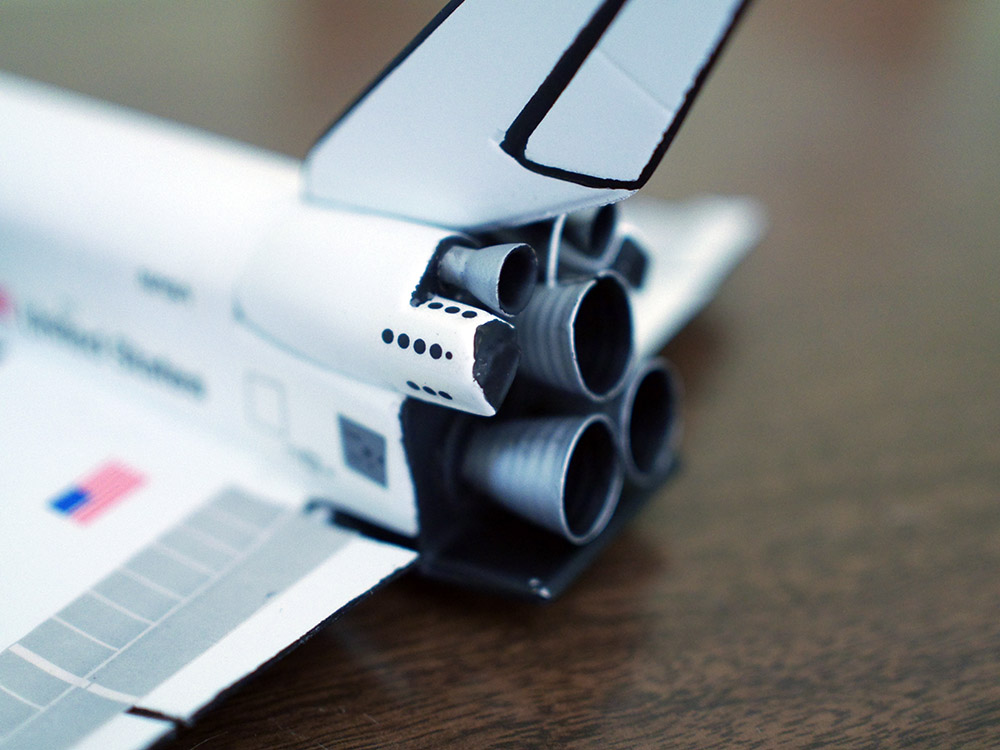
The outer side of the nozzles are sprayed silver, but the insides should be black, as well as
the area at the rear of the orbiter that they mount to. In hindsight, I really wish I would have
left the the nozzles off until the very end and painted them separately. I'll have to do a lot of brush work.

Silver sprayed on
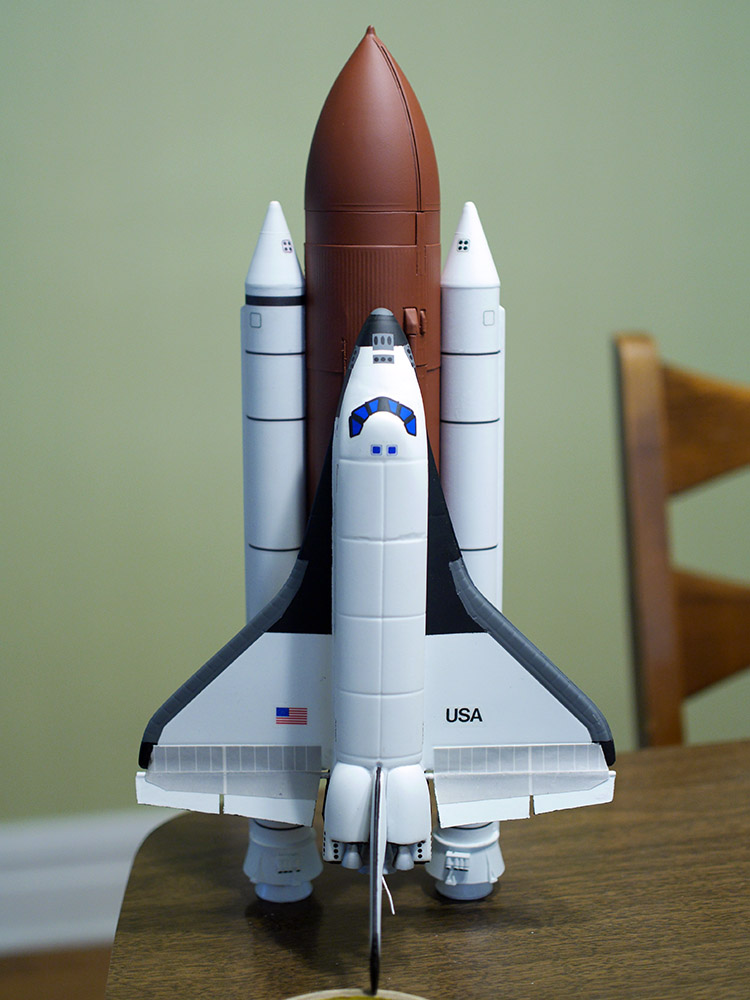
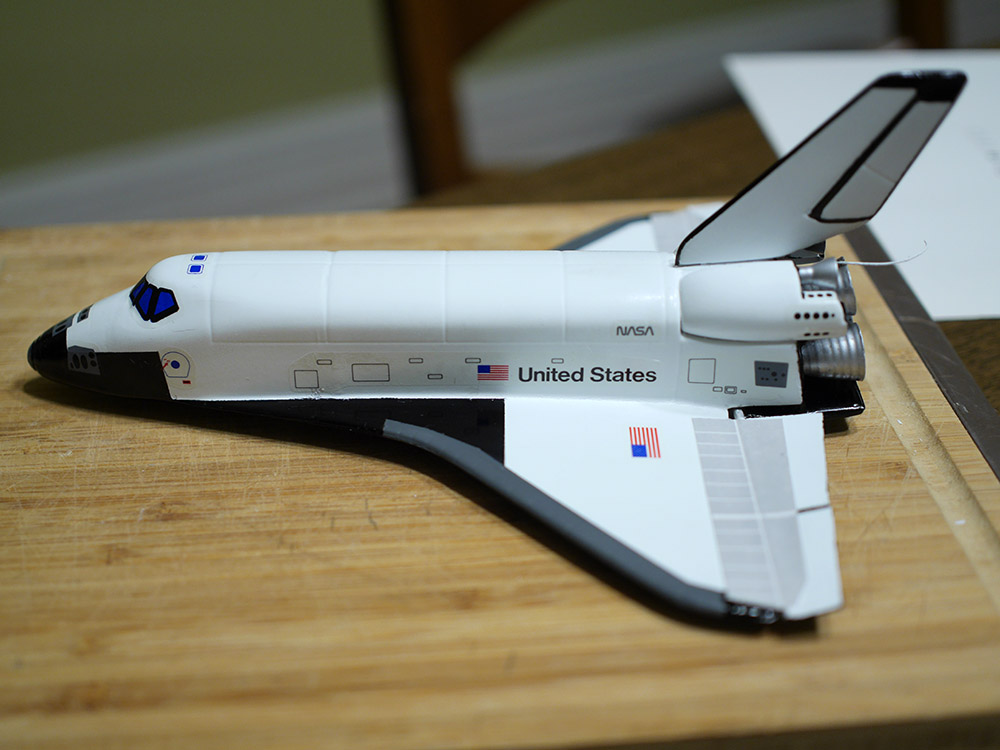
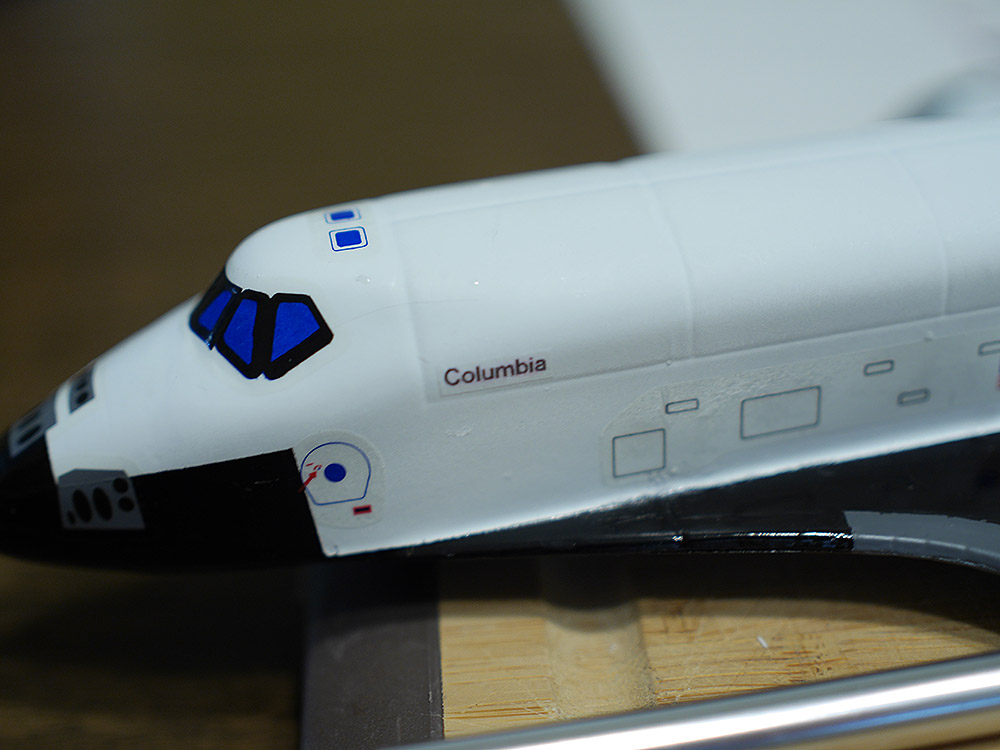
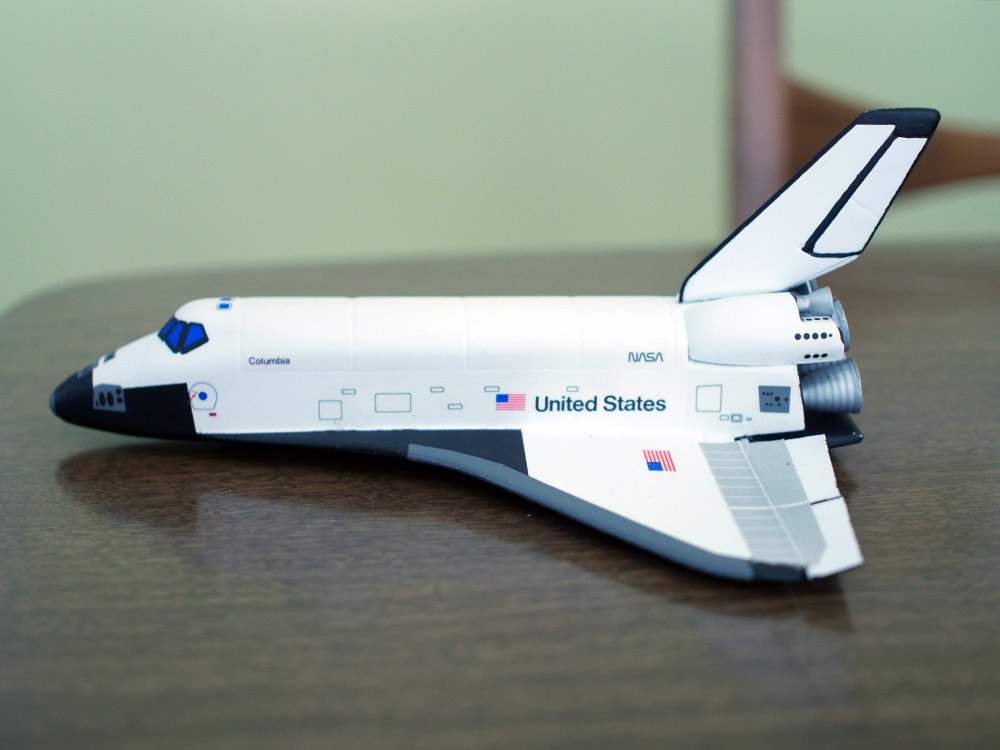
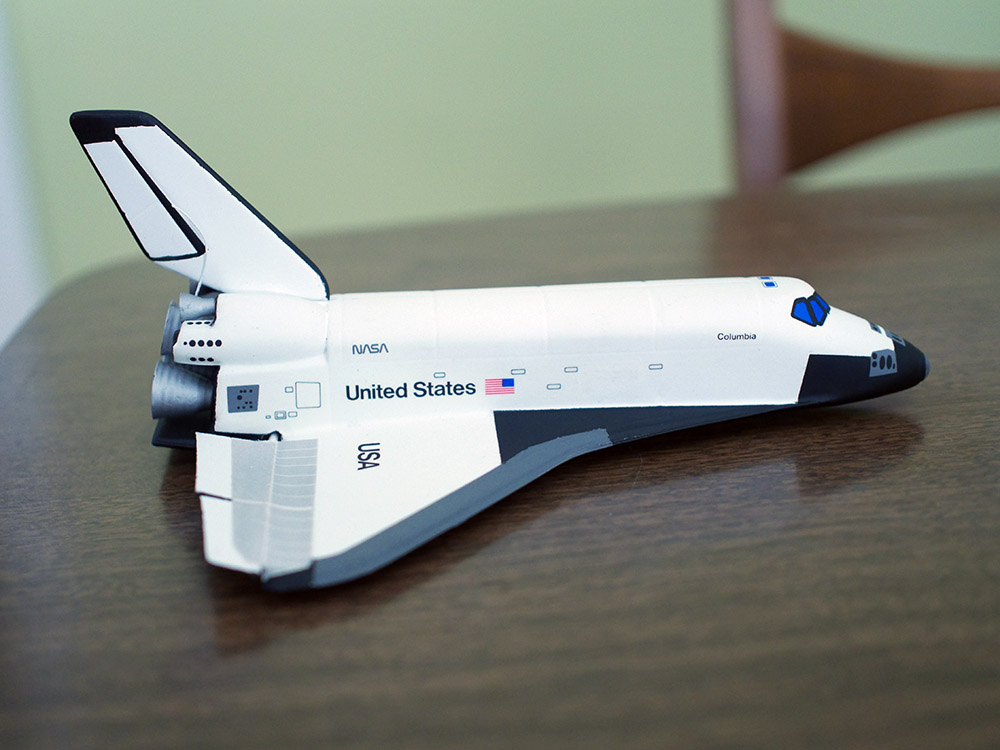
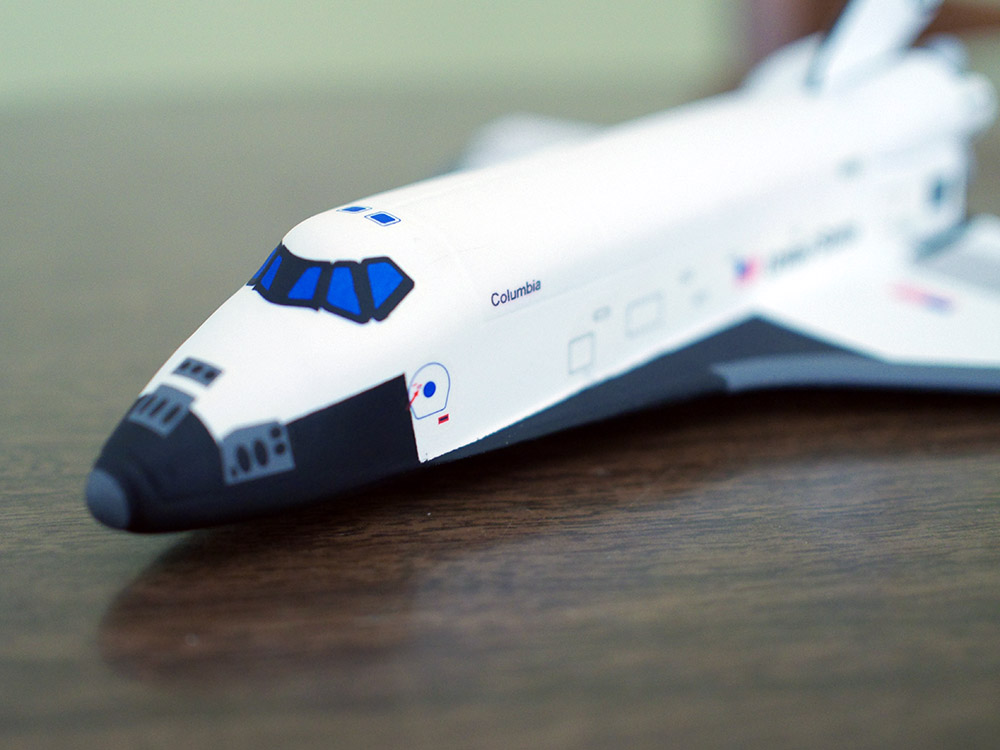
Getting it masked for black. I decided to model the Columbia, as it was my favorite as a kid and
the first shuttle to launch into space. It has more black on the wings and tail than some other orbiters.

The black came out ok but there are some masking issues. I'll work around them with touch-up.
I have it all touched up and the tail detailed.
Lots of tedious brush work was required to get the color scheme correct on the tail.
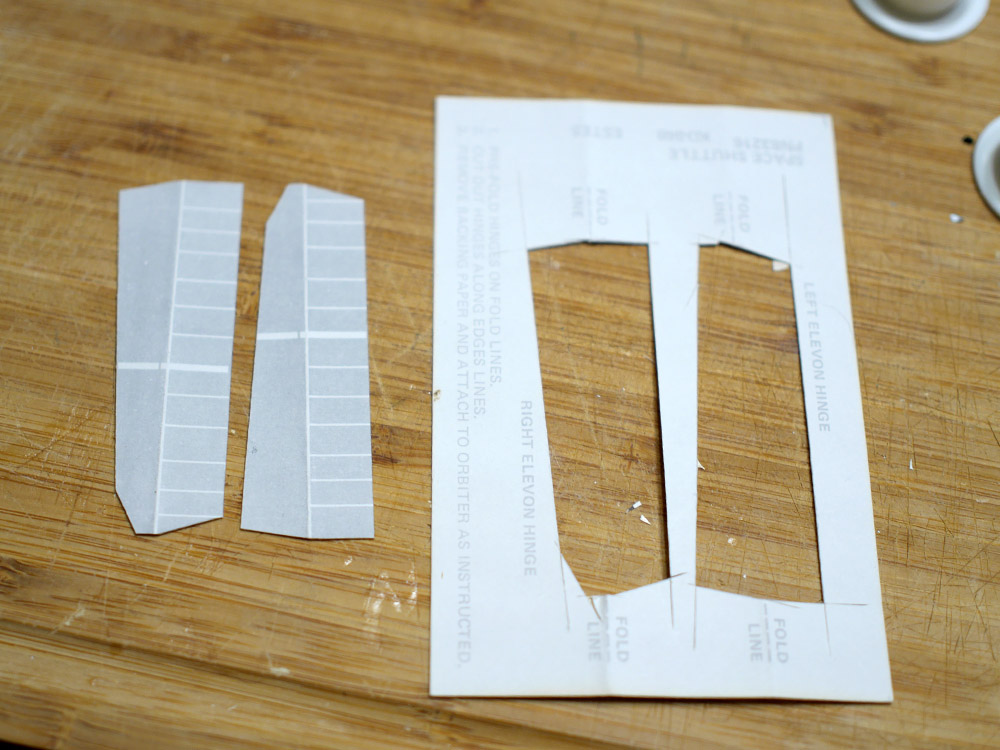
The kit comes with a couple of paper decals that are used as the "hinges" for the
wing flaps. I'm torn as to whether to paint them to more correct colors or not.
Decals applied. These were old (late 80s or early 90s) decals and they needed some
coaxing to get them off the backing, but they turned out great. Very nice quality.
My "Columbia" decal disappeared from the left side somehow so I'm going to make a new one.
Luckily somebody on the internet already had an image file of all the decals so I just
printed it out on decal paper and coated it with clear lacquer.
The finished decal looks pretty good. There's faint red bleeding in all my printed
decals but it's not too noticeable.
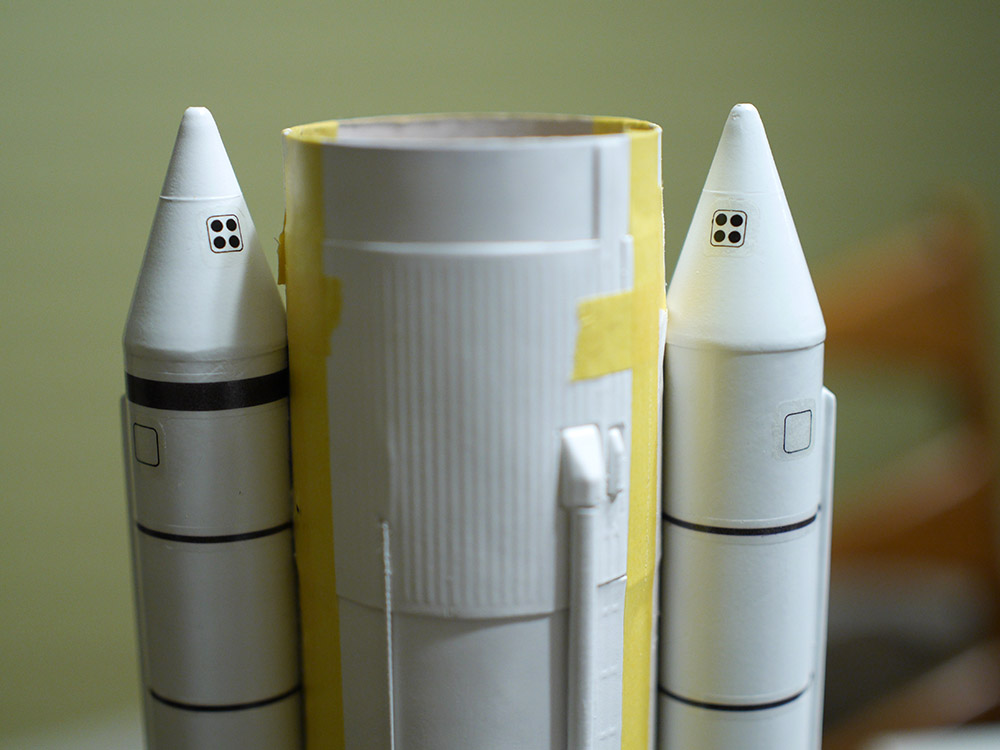
It wasn't clear where all these dot decals go but after poring over shuttle photos online
I've determined this is the correct placement.
The boosters just get these two decals each.
I also took this opportunity to paint the tips of the thrusters black.
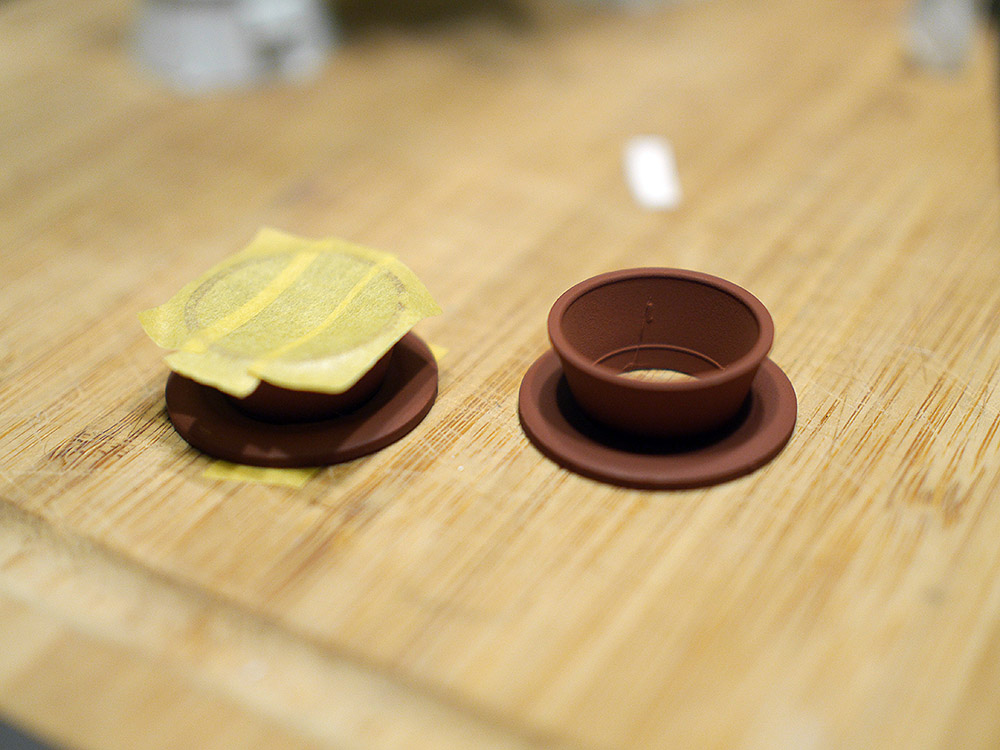
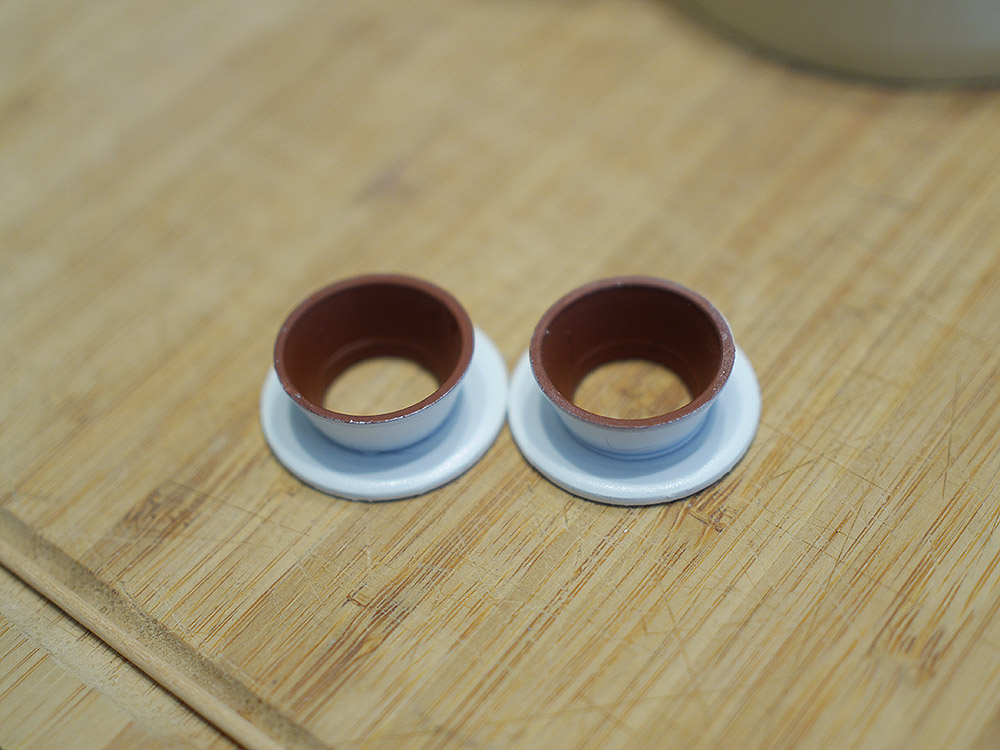
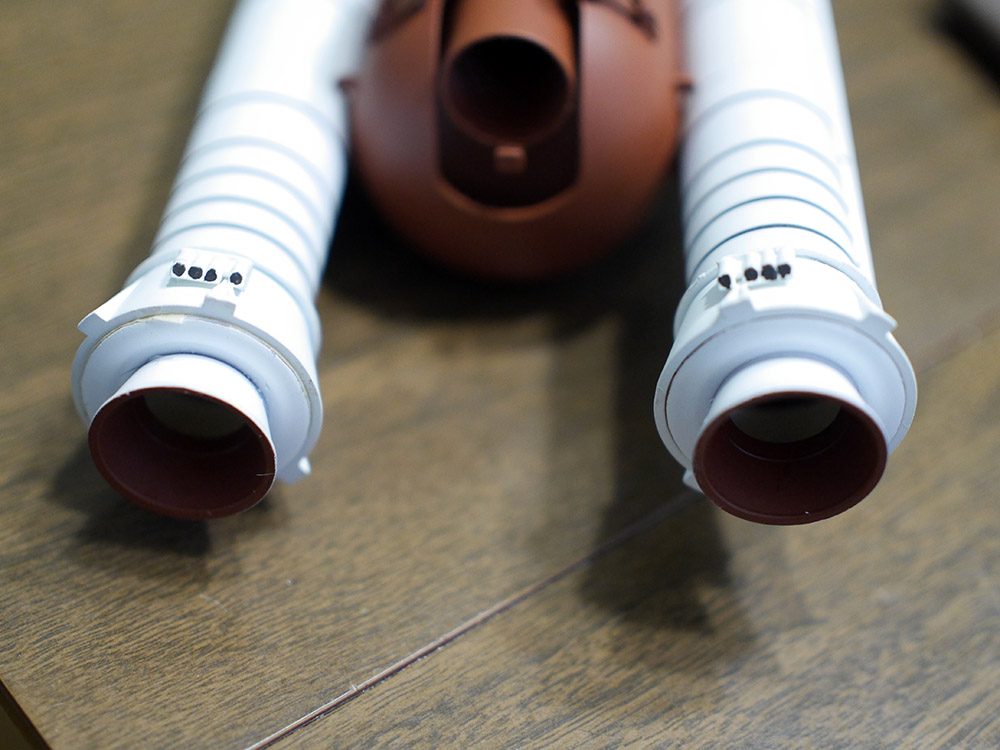
The instructions say the nozzles should be tan, but I think that color was only used on the very
earliest launches. Most of the photos I saw had white outsides with some dark orange inside.
I just used the same red primer I'm using on the fuel tank, then painted the outsides white.
The orbiter after Tamiya TS-80 flat clearcoat, which makes everything look nice
The booseters are now masked, ready to spray the tank.
I'm using red oxide primer with flat clearcoat over the top.
The tank came out good.
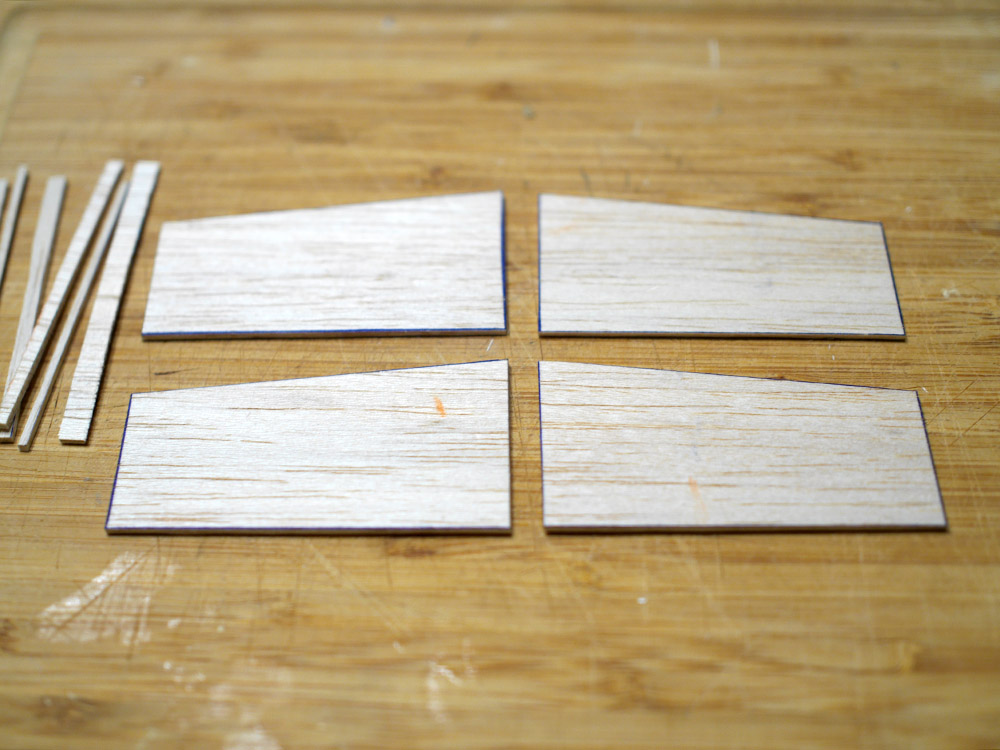
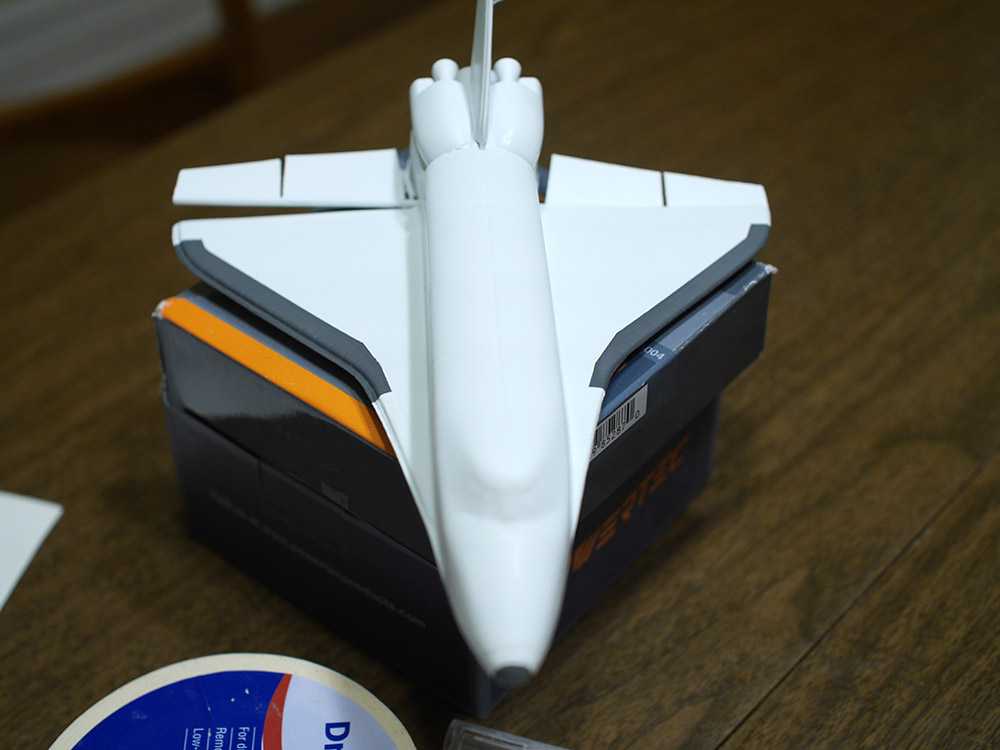
I didn't spend a ton of time getting the fins perfect, since they're just for launching anyway.
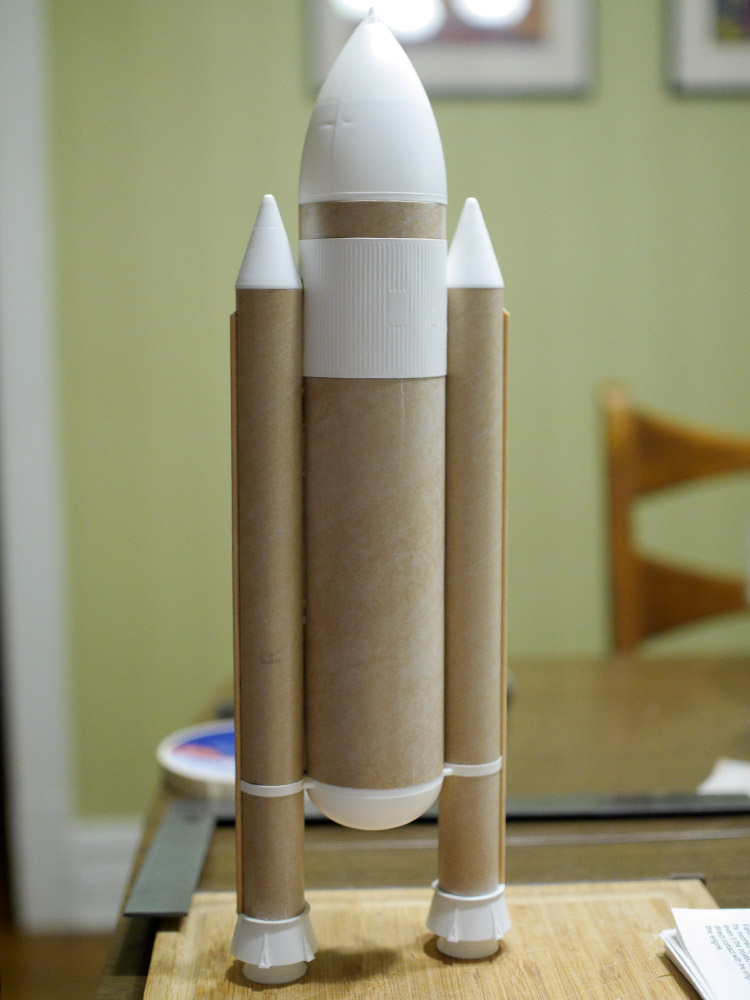
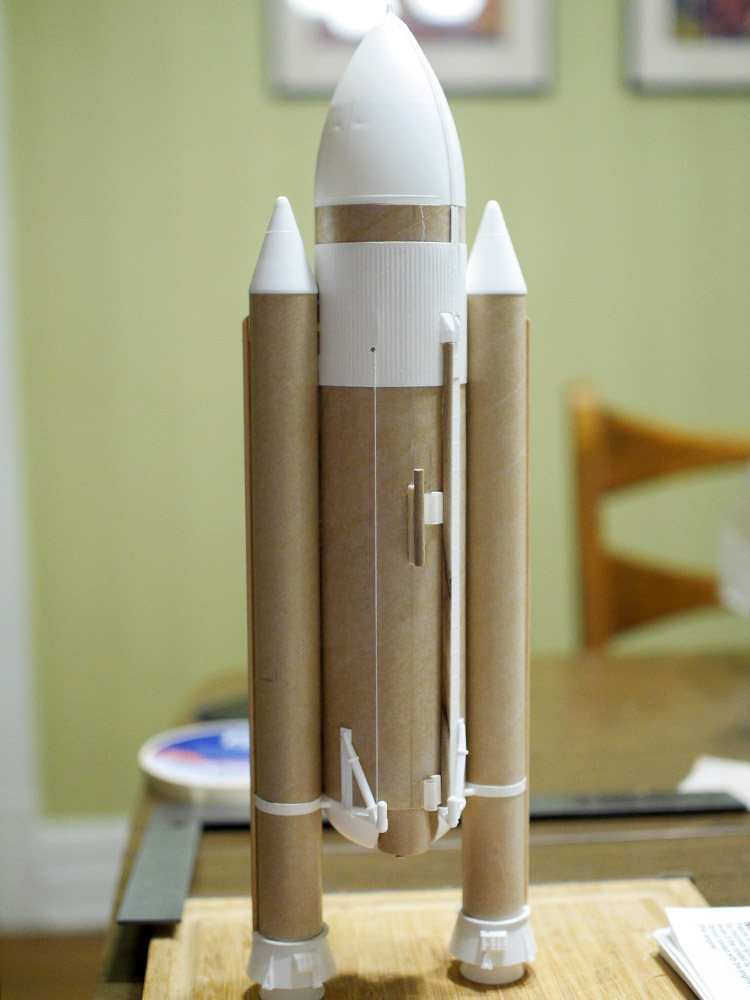
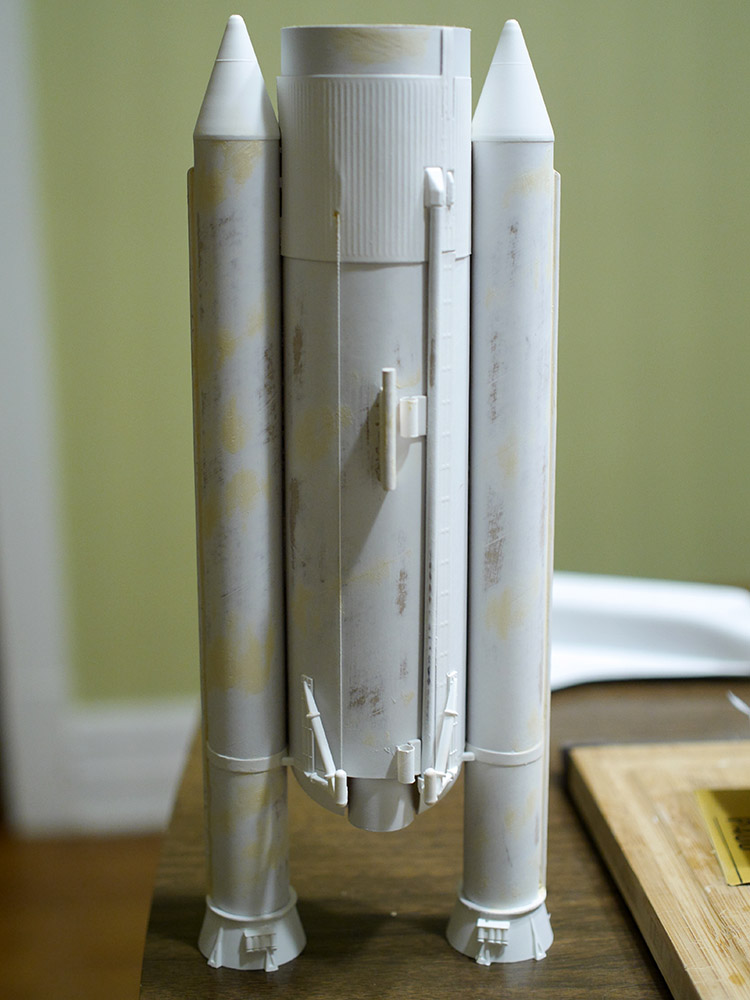
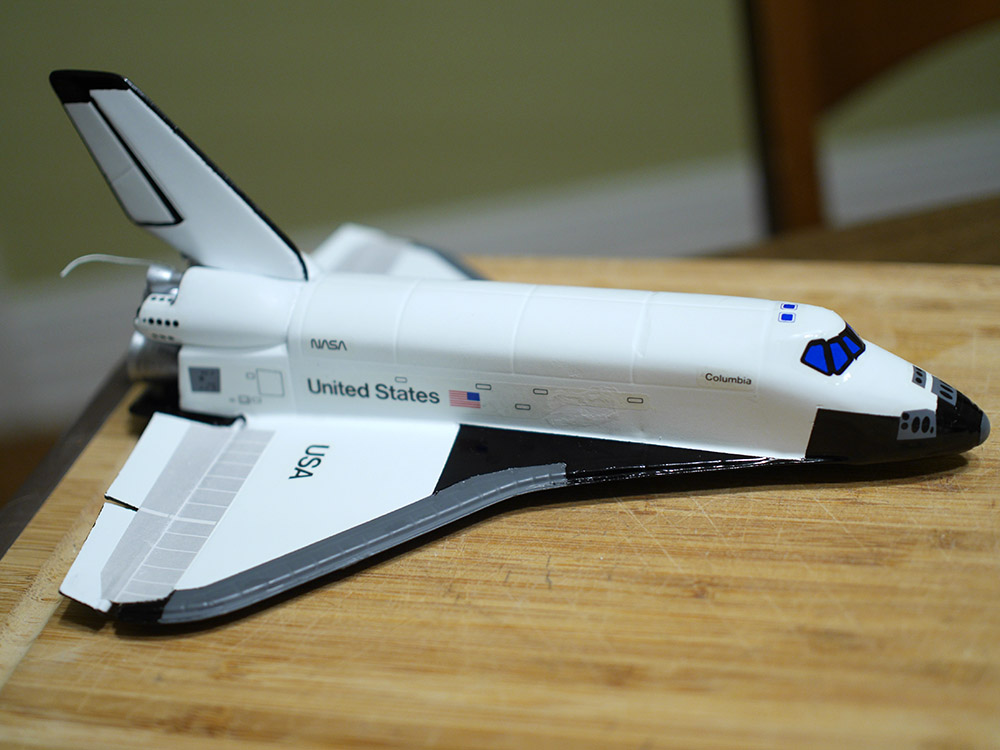
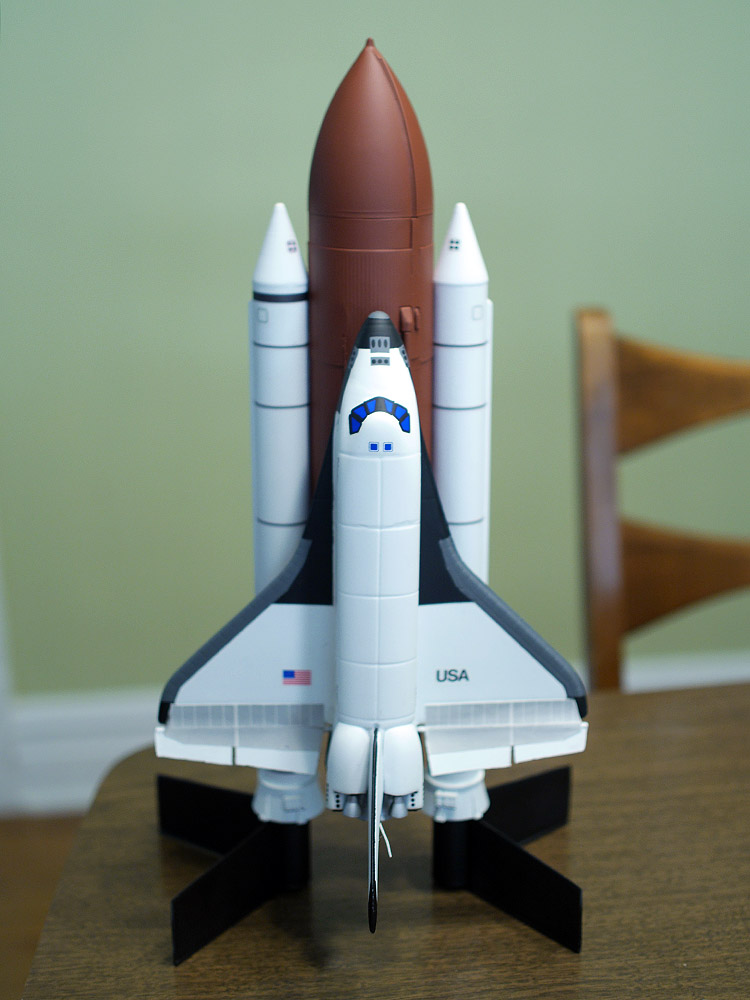
Here's the whole setup as it would be for launch, with fins installed.
I sanded the edges of the nozzles to get them to fit, but one I sanded too much so I added a thin
strip of masking tape to hold it in place with friction.
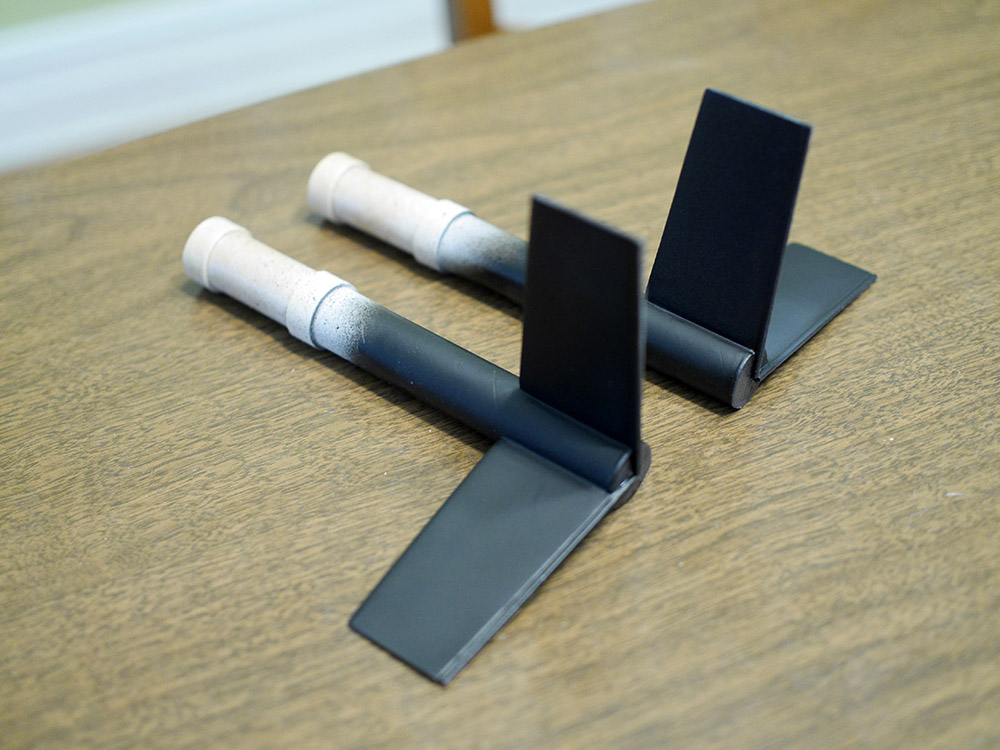
When all assembled the shebang is top heavy and doesn't stand up on its own. Looks pretty good though!