These are instructions based on how I drill my power panels and cases for installing the panels. There
are certainly other ways to achieve this, but this is my usual work flow so hopefully it's helpful to others!
First, I measure the height of the trim strip that the panel will fit underneath. These are different heights
depending on the era of the case manufacture. You don't need to use a caliper and could do it with a ruler.

Next I add 9mm to the height measured above, and mark that on the outside of the case side in two locations.
I usually line this up with the center of the reinforcing "ribs" on the case faces for aesthetic reasons.
This is where I'll drill the side panel-mounting holes.

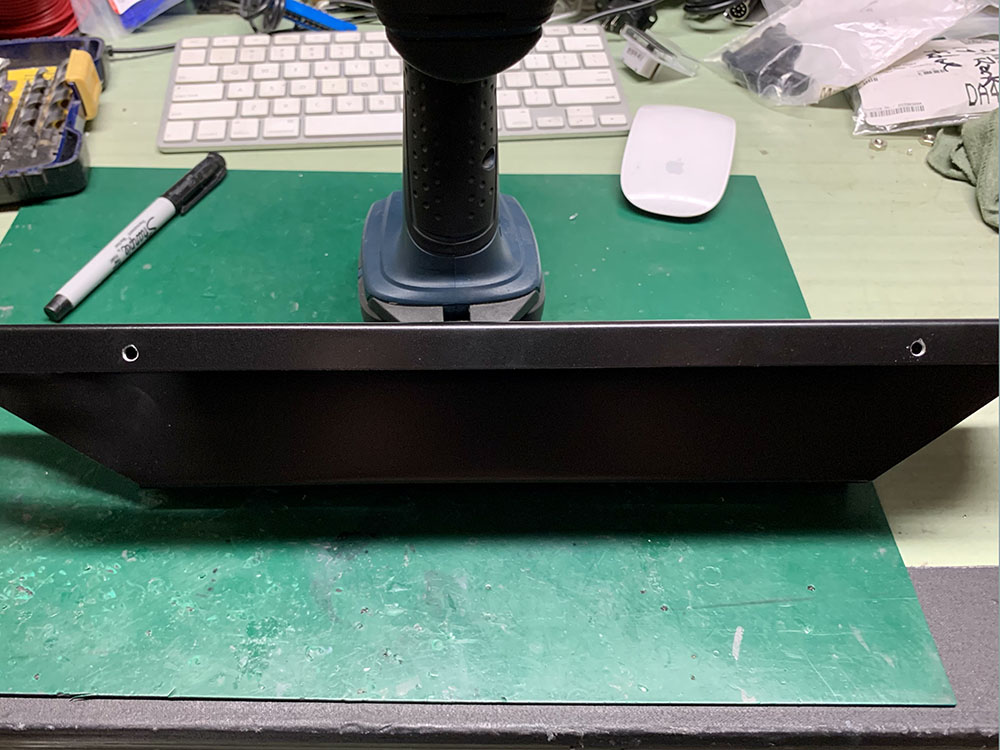
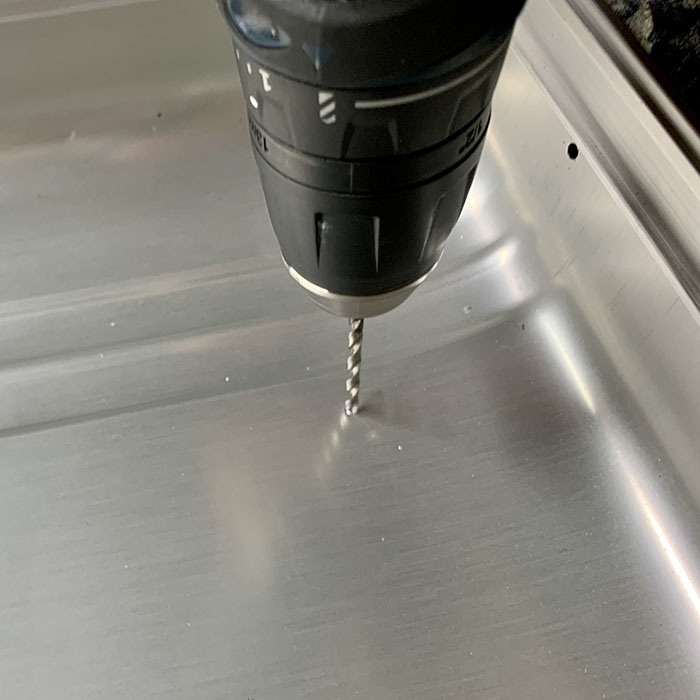
Next I drill the holes and countersink them. I use a 5/32" drill bit for all my mounting holes, and I use M4 hardware.
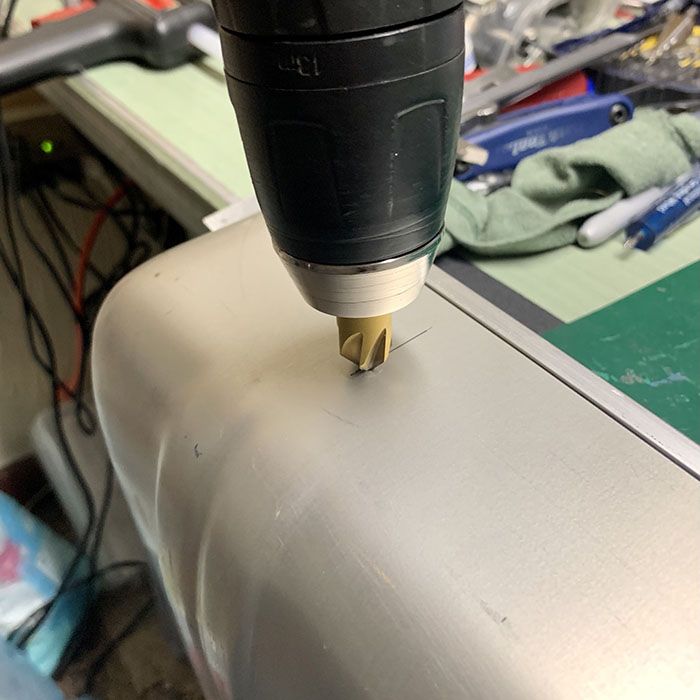
This is the result
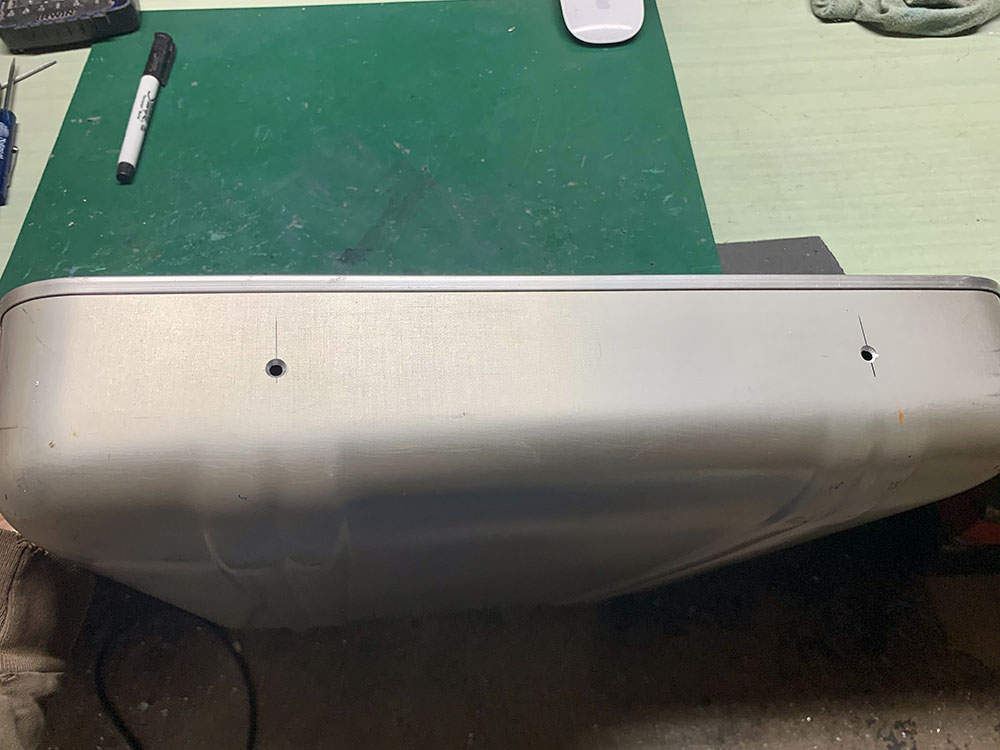
Next I put the panel in place in the case. With one hand I hold it in place, making sure it's snug against
the trim strip. Then I mark the panel for its side-mounting drilling locations through the case holes just drilled.
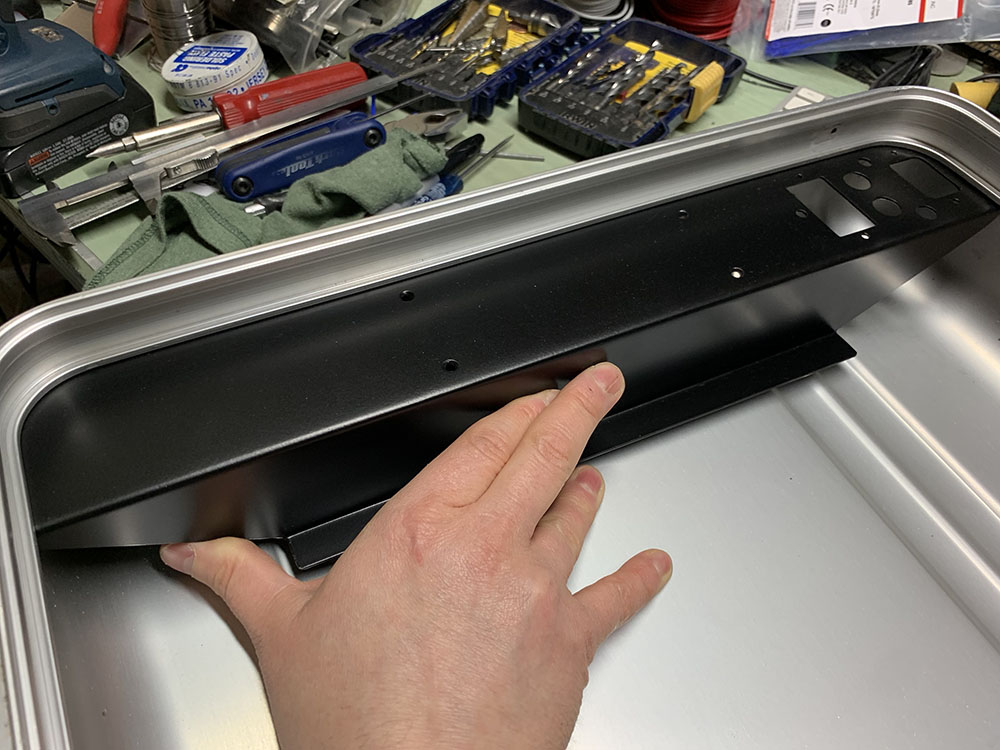
This is the result after drilling
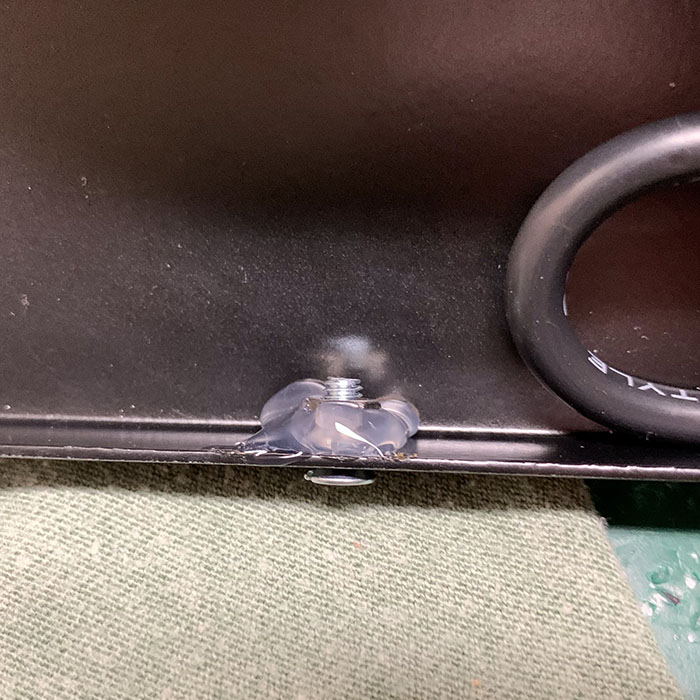
Now I put a mounting screw through both the panel holes and put lock washers and nuts on them, just finger tight.
Then I put a glob of hot glue around the perimeter. Once the glue is solidified I carefully remove the screws.
The glue holds the washer and nut temporarily in place while the screw is installed for mounting. You could
also use speed clips (aka Tinnerman nuts) on the panel for this purpose.
Now I install the panel from the side, carefully threading in the screws and tightening them up.
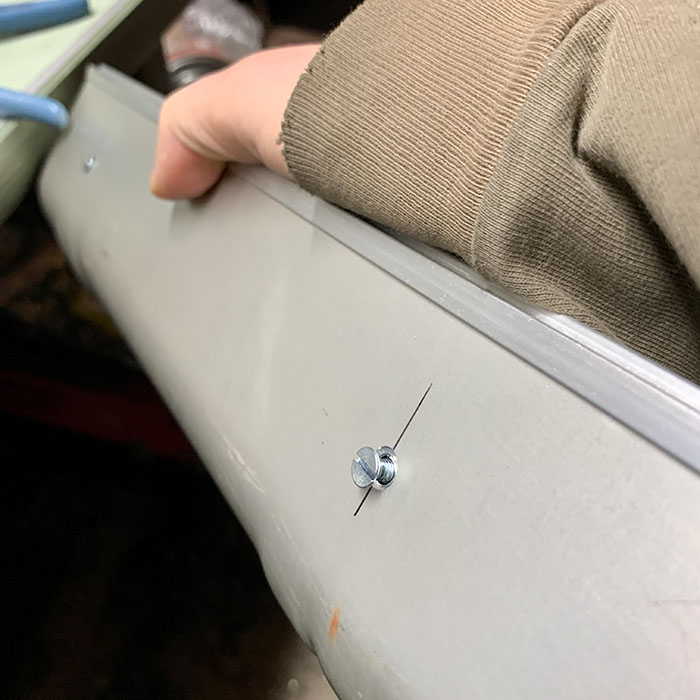
Next I mark and drill the holes that will hold the panel to the base of the case. You can drill the panel
before you install it, or wait till it's in place and locate where you want to drill them. You can see here
I initially drilled them too far to the edges on this panel, which would have lined them up with the case ribs.
The red arrows show a better location. Make sure to hold the panel up into position when marking the holes, so
it's flush with the trim strip. You can use an awl or a drill bit to mark the lower hole through the upper one.
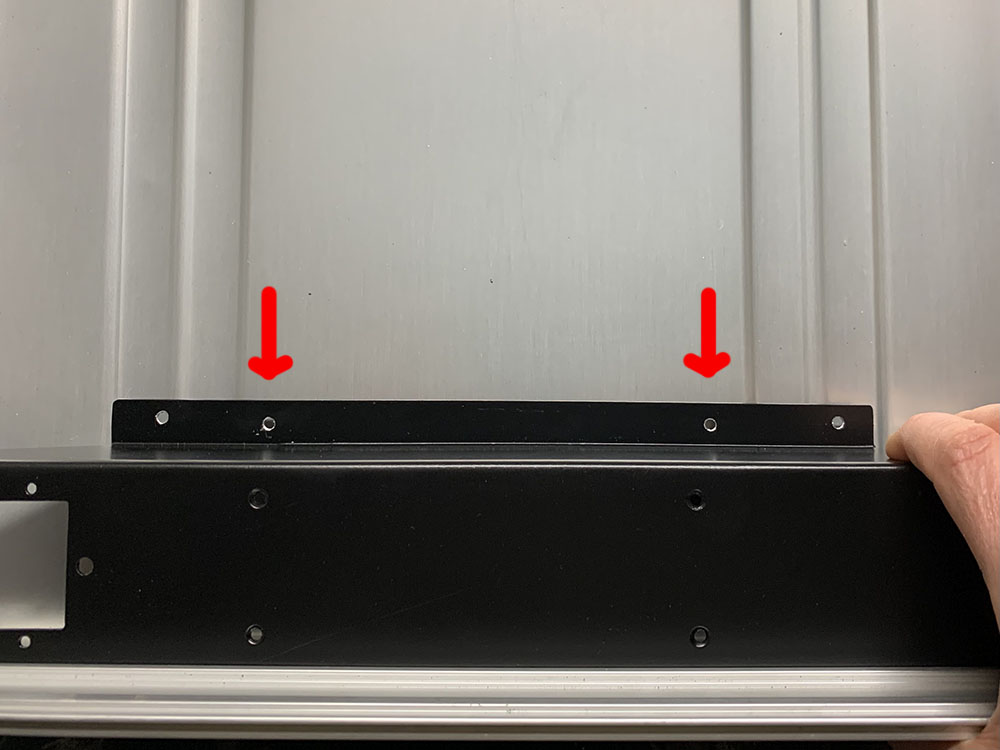
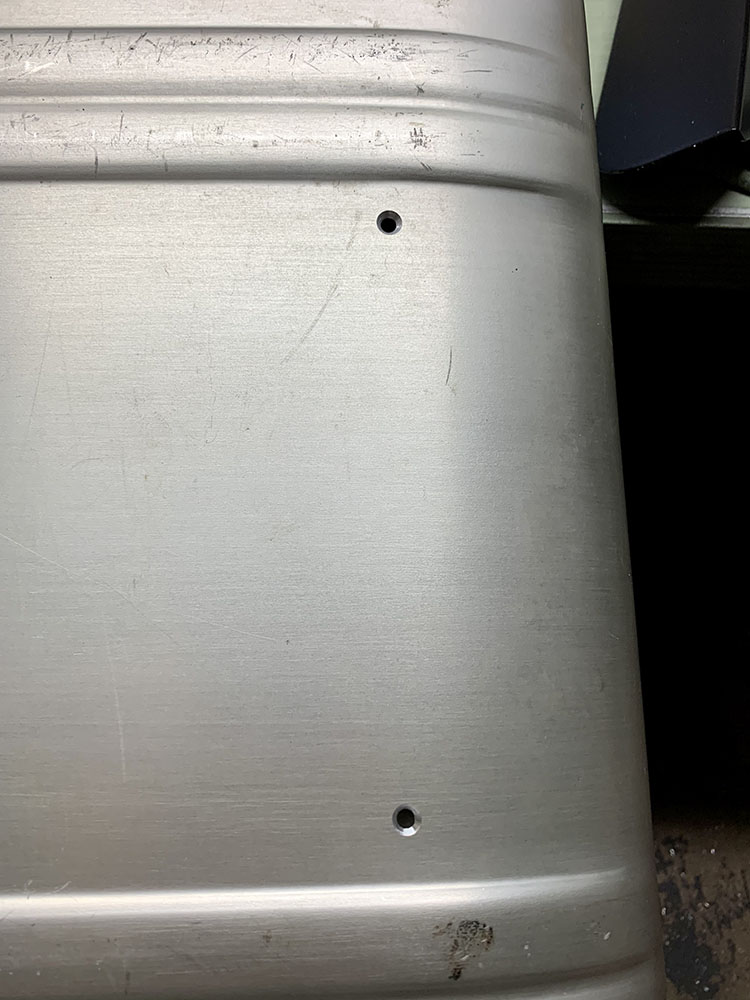
Then I remove the panel again, drill the case holes from the inside, and countersink them from the outside.
Here's the result
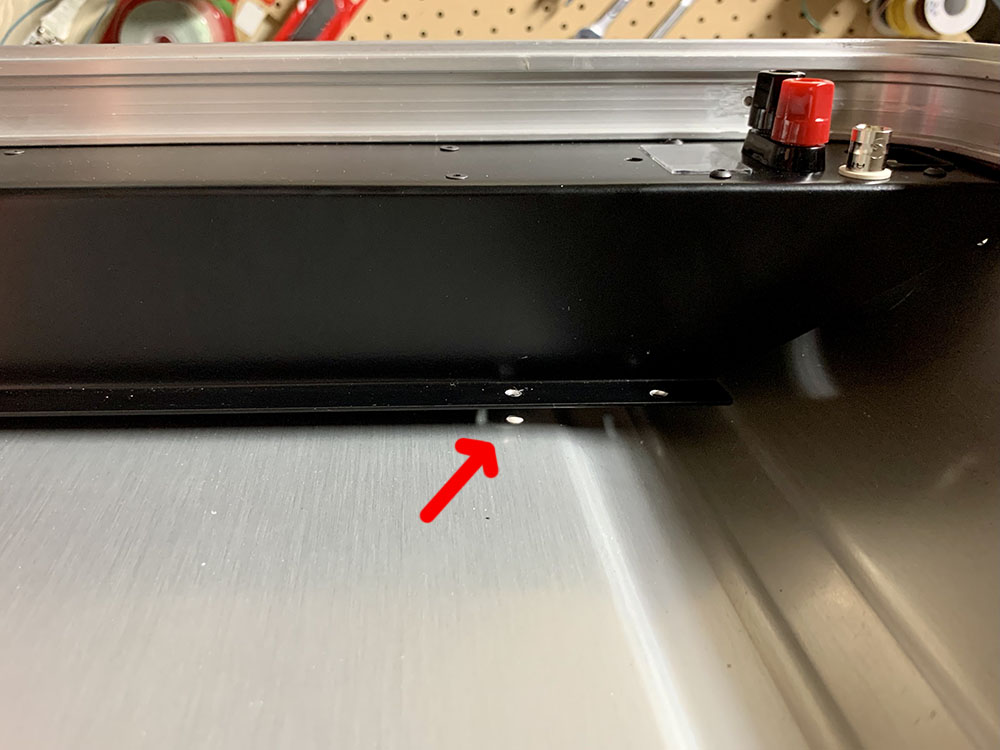
Now I re-install the panel from the side. You can see that there's space between the panel and the case. This
space varies depending on the height of the hand-made panel and how much material (if any) was removed from the
case. We'll need to create the right amount of spacing to hold the panel up into place in the proper position.
For this case I ended up using a 1/4" thick spacer and two washers, which gave me just the right height.
You could just stack a bunch of washers up or use larger nuts for this too - whatever you have around.
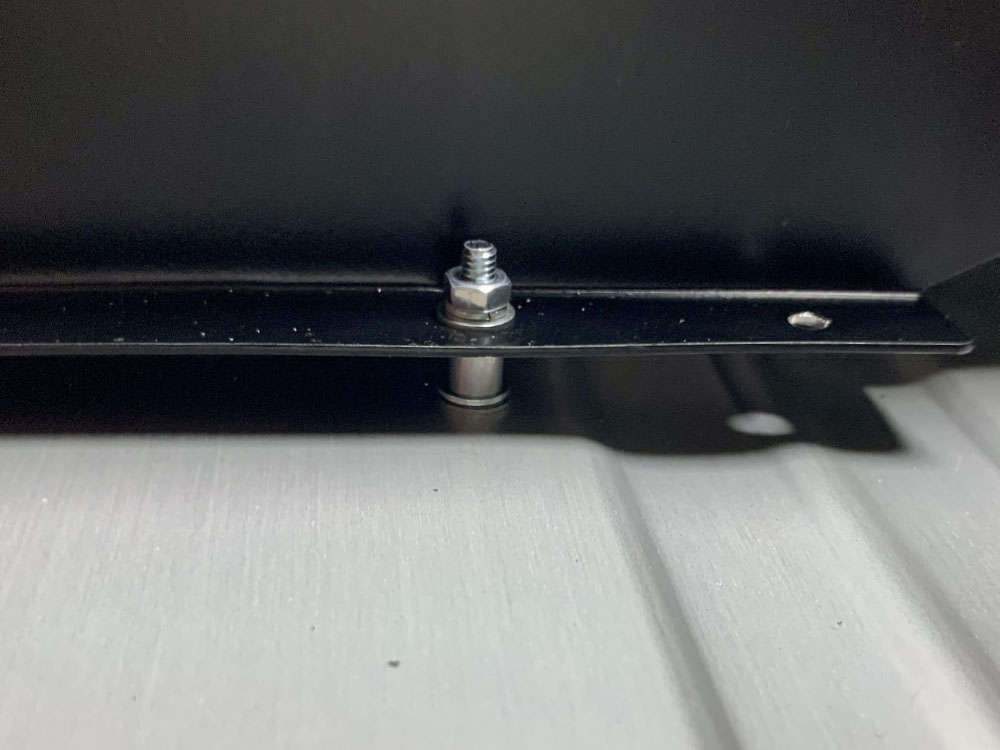
You know the height is correct when the panel sits flush against the trim strip.
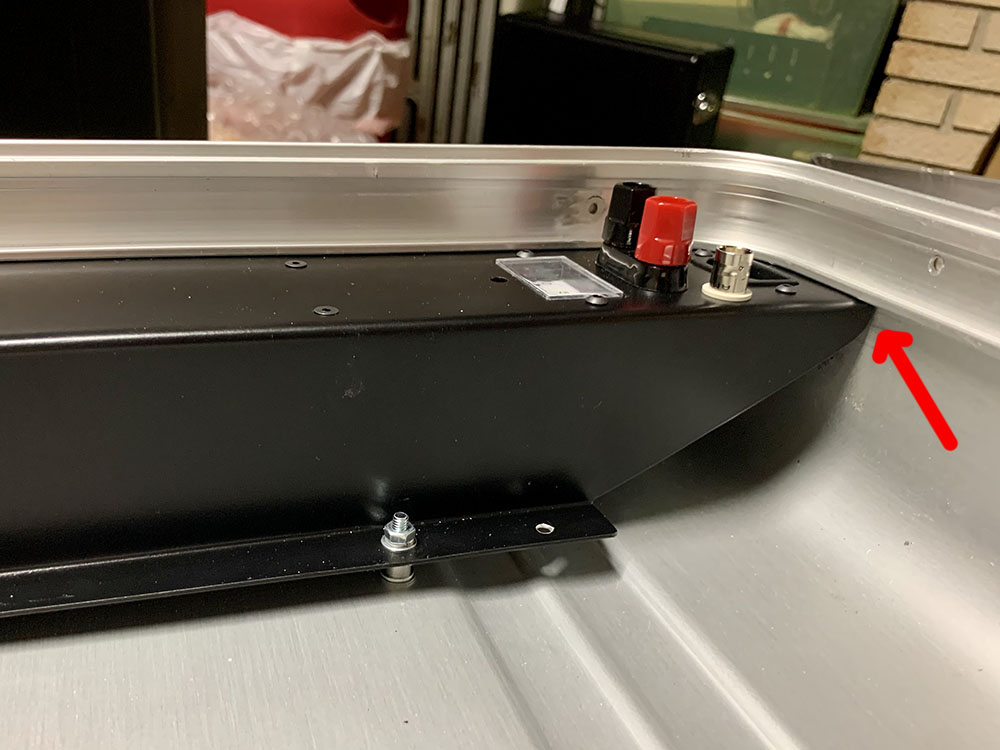
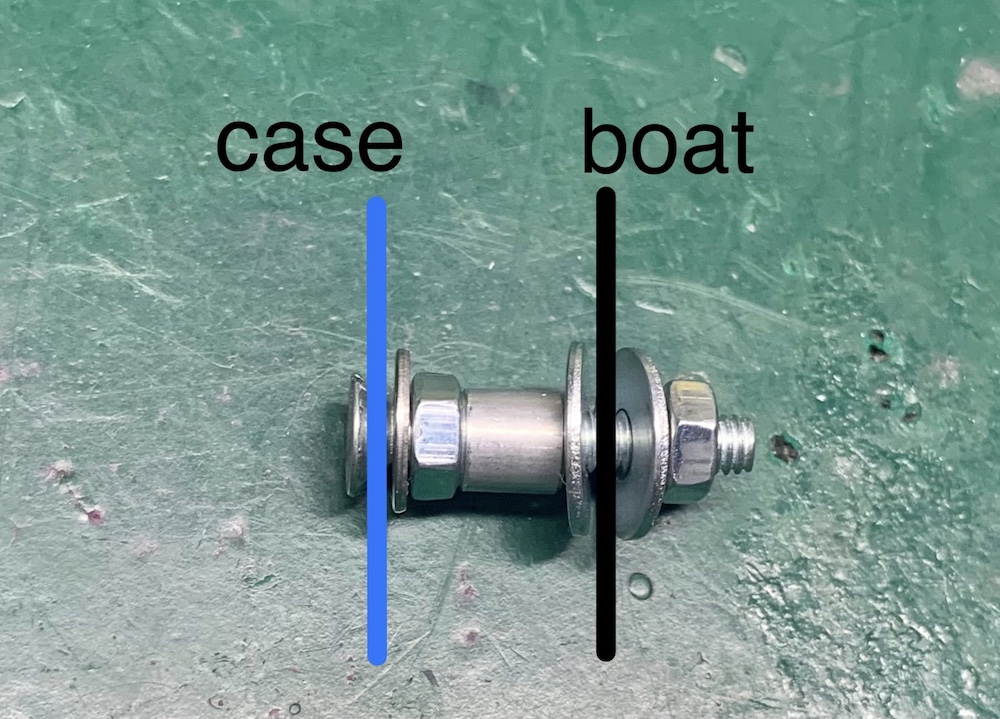
This section isn't for panel installation, but could come in handy for DIY assemblers.
This is the stack of hardware I use to install my boats. In order, it goes:
1. M4 x 25mm screw w/countersink flat head
2. Case shell
3. M5 washer (this allows the screw to sit flush on the outside and be tightened down)
4. M4 nut, which gets tightened
5. spacer - usually I use 1/4" or 3/8" but it depends on the height of the boats used.
6. M4 fender washer or large diameter washer
7. boat
8. another M4 fender washer
9. a split lock washer (you can't see it here)
10. M4 nut which holds the boat down
